Create your first dashboard to retrieve balances on Stellar without writing code
Introduction
Assessing your financial situation can be quite a task, often involving sifting through various online resources, which can occasionally result in overlooking some of your assets.
In the world of Web3, individuals less involved in online activities may find it challenging to consolidate their digital assets into one cohesive overview.
Moreover, you'll soon recognize the convenience offered by QuickNode and FlipSide.
This guide is designed to help you streamline the process of gathering your balance information efficiently.
What We Will Do
What You Will Need
- Create an account on QuickNode.
What is QuickNode?
QuickNode makes it easy for you to be creative without all the fuss of dealing with complicated web3 stuff.
You won't have to stress about things like making sure your transactions are safe or keeping track of different blockchains.
QuickNode handles all that tricky stuff for you, so you can concentrate on doing what you love – working on important tasks and exciting projects! 😊
Creating our powerful integration with QuickNode and FlipSide.
To access details about our wallet, it is necessary to establish an RPC connection. This RPC acts as the conduit through which we can interact with the blockchain.
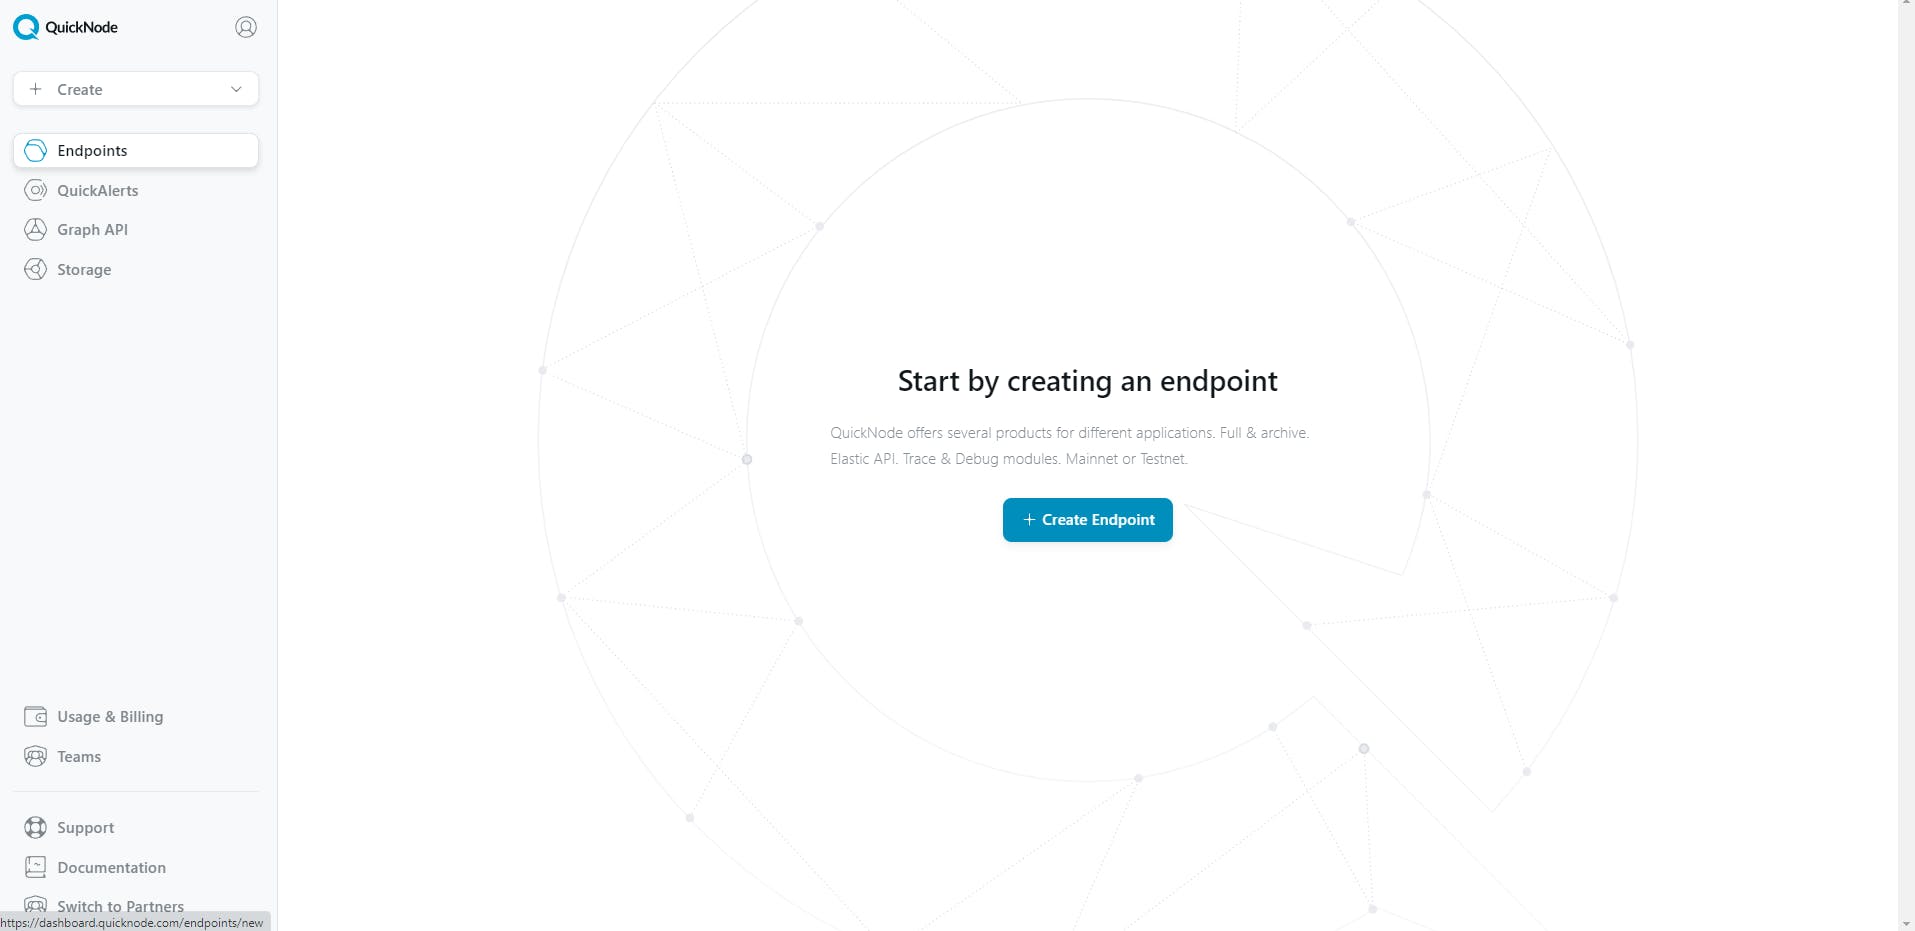
To accomplish this, please proceed to the QuickNode dashboard.
https://dashboard.quicknode.com/endpoints
As a result, you should click on the "Create Endpoint" button.

Choose the Stellar blockchain.

Select the mainnet network,and after that click on Continue.

After clicking the “Continue" and "Create Endpoint” button, you will see this panel:

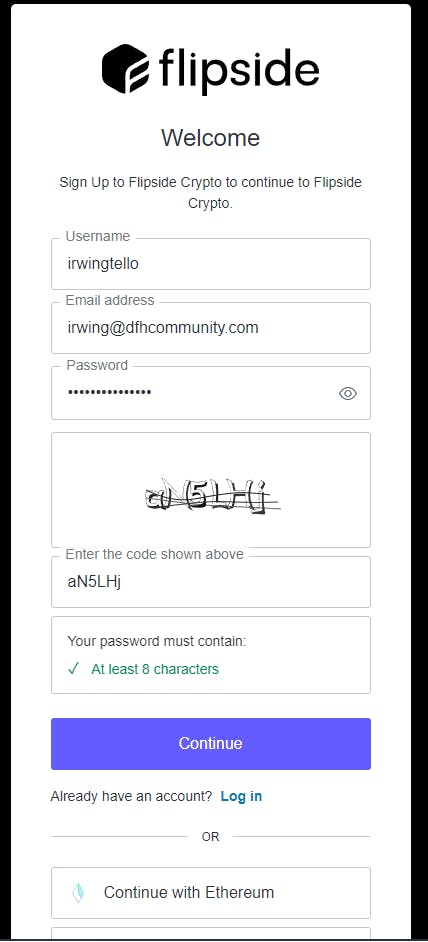
After that you need to create an account on Flipside LiveQuery .
As a result, you will be presented with a sign-up form where you can enter your account details.

Click on the "Accept" button.

Afterward, you'll see the Flipside LiveQuery dashboard. On the left, you will see three tabs. Click on the 'API' tab.

In consequence, you will the services from QuickNode!

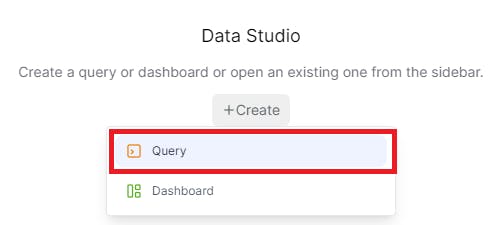
After seeing all the services from QuickNode, we need to create the data to retrieve later on our Dashboard. Click on the "Create" button.

Please select the "Query" option.

As a result, you will see an empty query. After that, you will create the query to retrieve balances from a specific wallet.
Please copy this code and paste it into your query:
WITH json_response AS (
  SELECT
    PARSE_JSON(response) AS json_data
  FROM
    (
      SELECT
        live.udf_api(
          'https://Your Stellar QuickNode RPC/accounts/{{param_1O8u}}'
        ) as response
    )
),

processed_assets AS (
  SELECT
   asset.value:asset_code::STRING AS asset_code,
   asset.value:asset_type::STRING AS asset_type,
   asset.value:balance::STRING AS balance,
   asset.value:limit::STRING AS limit,
   asset.value:buying_liabilities::STRING AS buying_liabilities,
   asset.value:is_authorized::STRING AS is_authorized,
   asset.value:is_authorized_to_maintain_liabilities::STRING AS is_authorized_to_maintain_liabilities,
   asset.value:is_clawback_enabled::STRING AS is_clawback_enabled,
   asset.value:last_modified_ledger::STRING AS last_modified_ledger,
   asset.value:selling_liabilities::STRING AS selling_liabilities
    FROM json_response,
    LATERAL FLATTEN(input => json_data:data:balances) AS asset
)

SELECT
  COALESCE(asset_code, 'native') as asset_code,
  asset_type,
  balance,
  COALESCE(limit,'na') as limit,
  buying_liabilities,
  is_authorized,
  is_authorized_to_maintain_liabilities,
  is_clawback_enabled,
  selling_liabilities

FROM processed_assets;
You will have something like this:

After that, you will notice these parameters:
- Wallet - Your desired wallet.
Please fill in these values with the data you want to be displayed.

After that click the ">" button to run the query.

Also, you can change the title about your query.

When the query is in progress, you will see something like this:

Now you have the information related to your wallet where you have your balances.

Creating our dashboard
After creating the queries, you need to create the dashboard. To do this, click on the "+" button, and then select the "dashboard" option.

In our dashboard, we can organize our information into tabs. In this step, we will create a new tab.

Additionally, you can personalize it with your preferred name.

In my case, I will name this tab NFT's.

Afterward, we need to add a table to retrieve the data from our NFT query.

As a result, you will need the previously created query to retrieve balances.

Now you can see the balance information associated from your wallet.

You will notice the appearance of parameters with default values. You can dynamically change this information with another wallet.
Also, you can add a title and description for your dashboard.

To make our dashboard public, click on the "Publish" button.

Finally, you have created your first dashboard with valuable information from Stellar.

Here is my dashboard:

Conclusion
Great job! You've made your first Stellar dashboard without needing to know how to code.
I encourage you to try and make it do even more.
Remember, small steps can lead to big results 🚀.
We ❤️ Feedback!
If you have any feedback or questions on this guide, let us know.
Or, feel free to reach out to us via Twitter or our Discord community server.
We’d love to hear from you!
Author: Irwing Tello
Discord: discord.com/invite/ADjtsHVreT
Twitter: twitter.com/irwingtello
LinkedIn: linkedin.com/in/irwingtello
Email: irwing@dfhcommunity.com
Youtube: youtube.com/@irwingtellomx
You can support my work here:
BTC: 34kXK9CpTJP1PyHKw2kUD2bt6rtGcG5CHY
EVM Address: 0x8B98F8Ff69d2A720120eD6C71A9Bc5072b8Eb46D
Solana: Ey9oVFHW79giacRZaKxigYjeihMsY7ox8jxc7Hp1sJmS
