


Imagine you have a task to create an image or save text, and you want to securely and quickly share it.
With QuickNode and ChatGPT, you can do just that without any hassle.
Whether you're a tech expert or just someone who loves sharing pictures, QuickNode makes it simple.
No more complicated steps or long waits – just a straightforward process that let's you focus on what you want to share. Say hello to a faster, easier way to upload images with QuickNode!
Let's get started and see how effortless it is to upload content from ChatGPT to IPFS using QuickNode.
What We Will Do
- Creating a GPT on ChatGPT
What You Will Need
Obtaining information fromQuickNode
Obtaining QUICKNODE_API_KEY value:
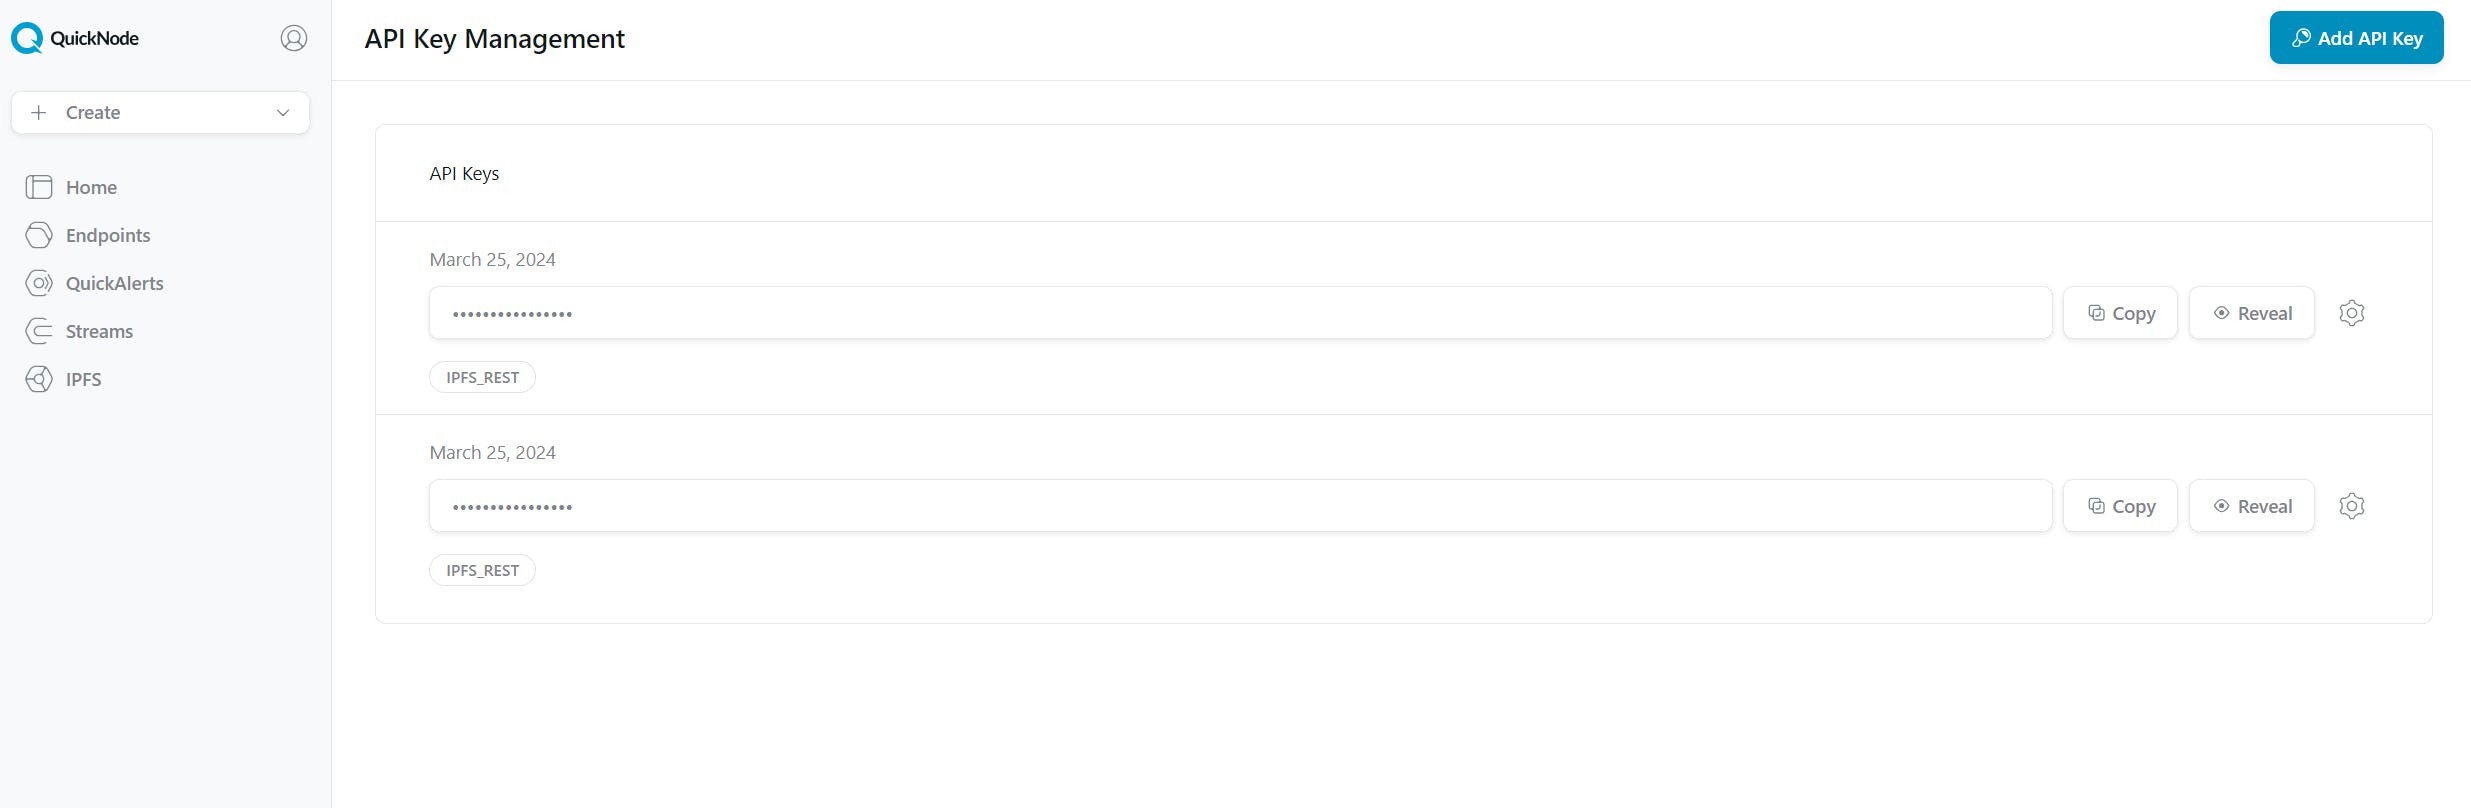
Click on the icon marked in red, then click on the "API Keys" section
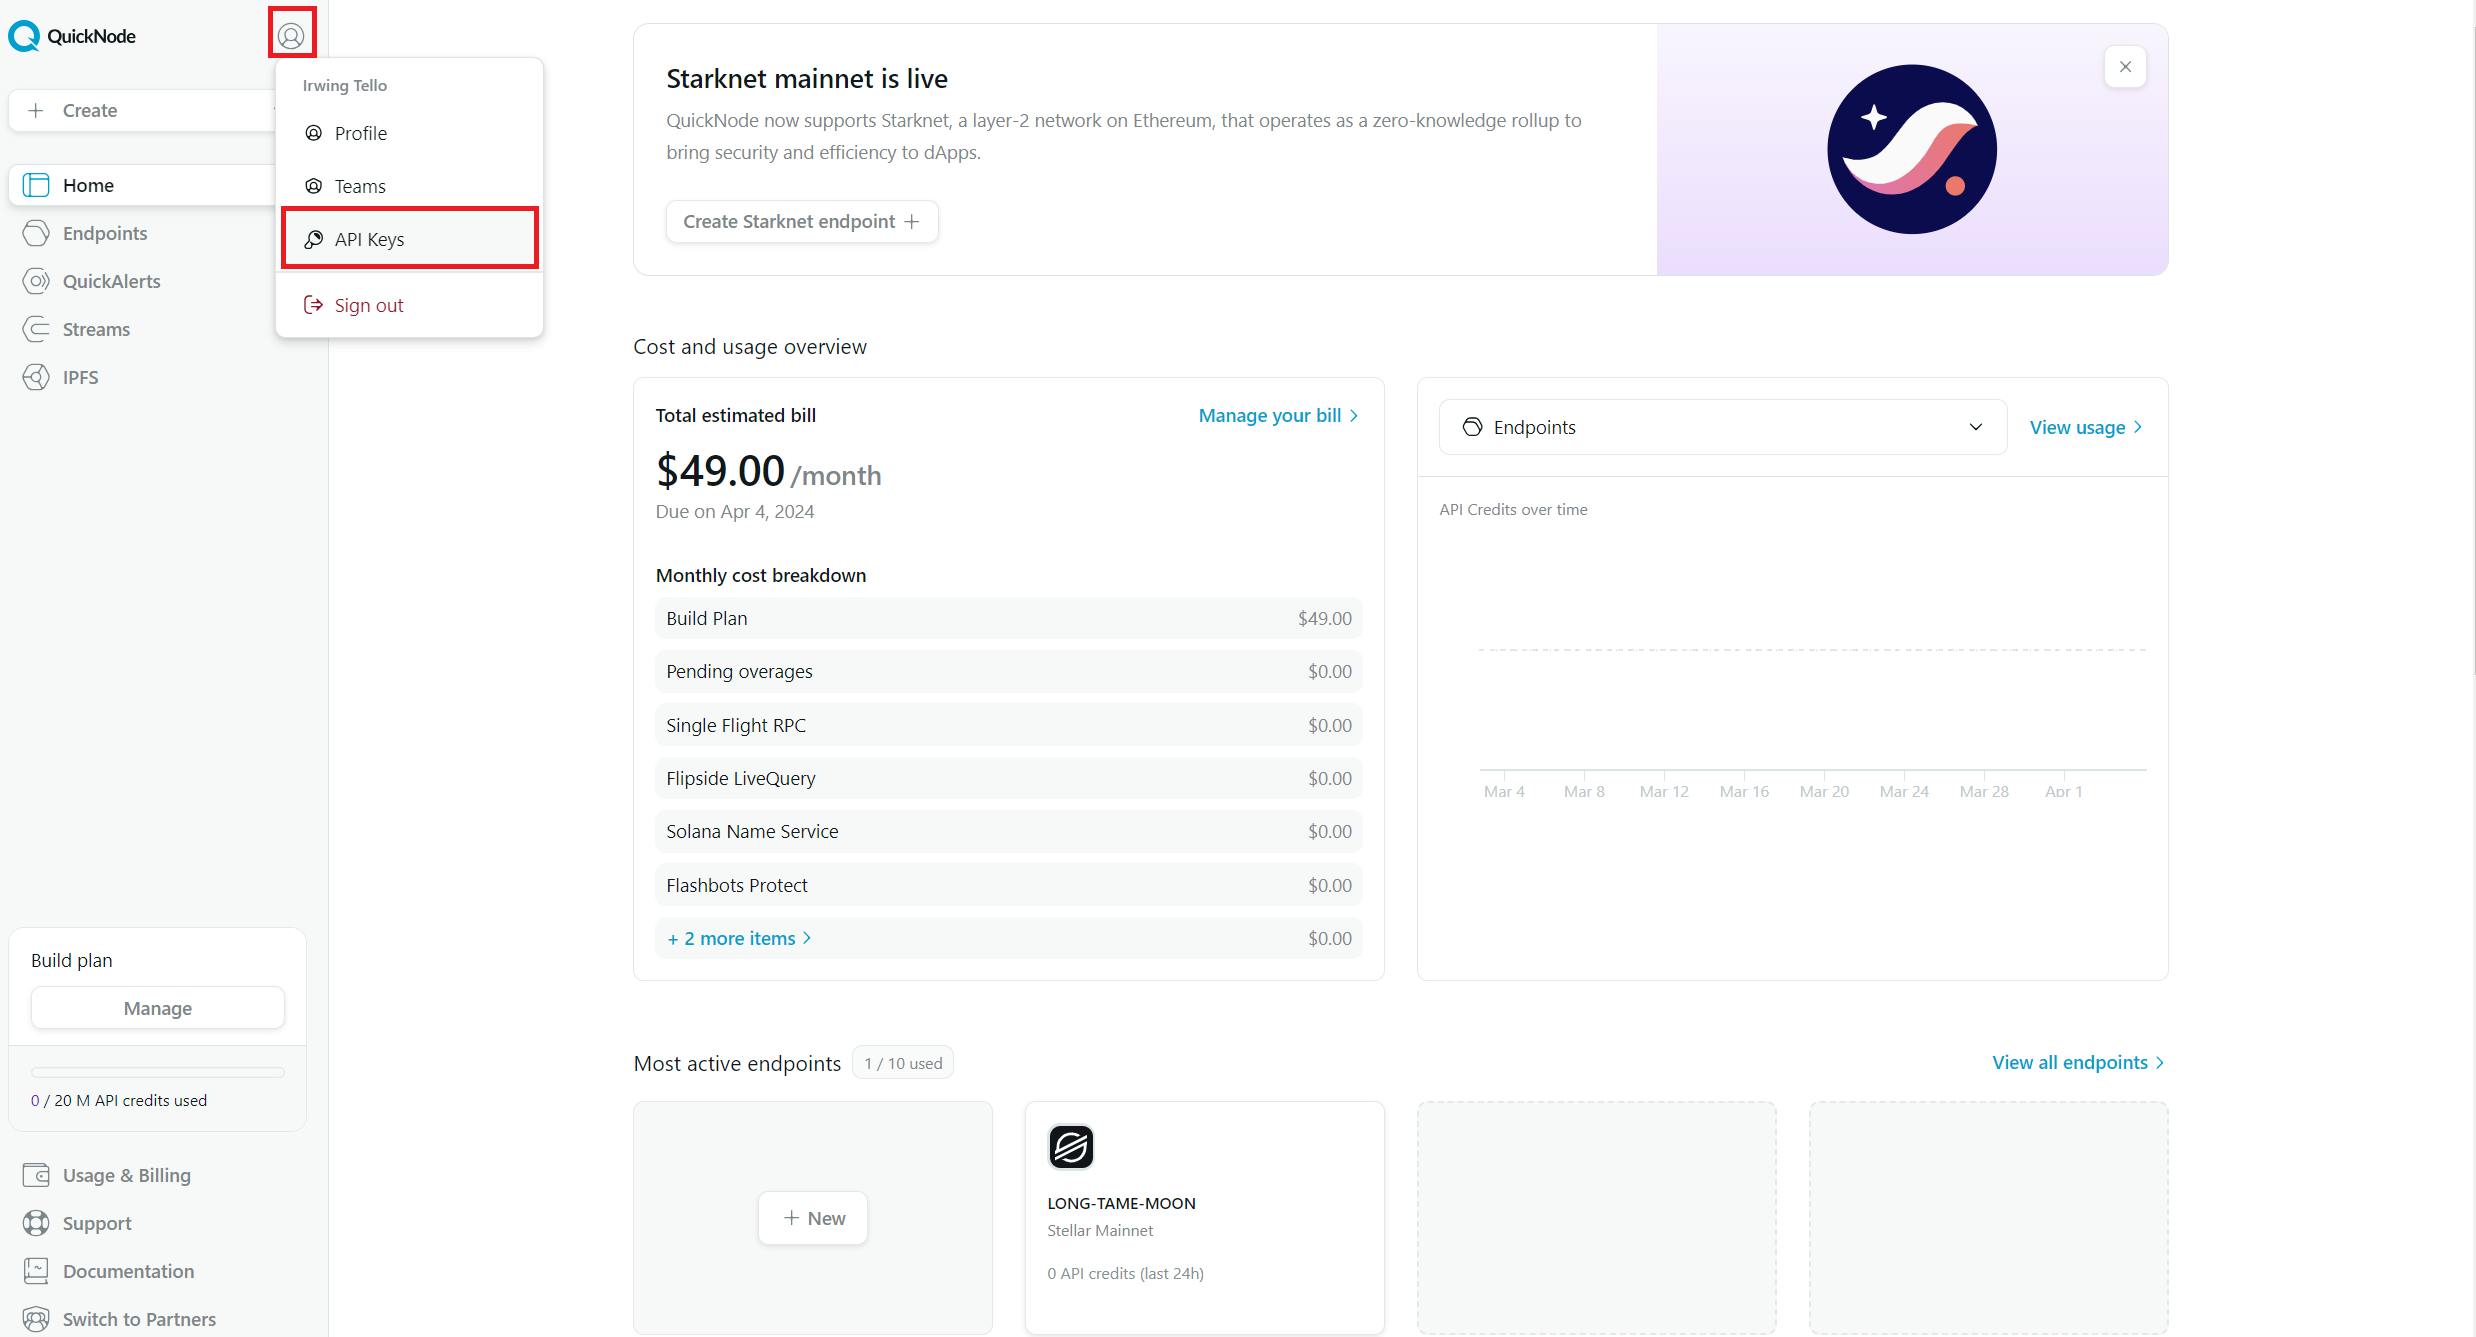
After that, you will be shown this dashboard. Please click on the "Add API Key" button.
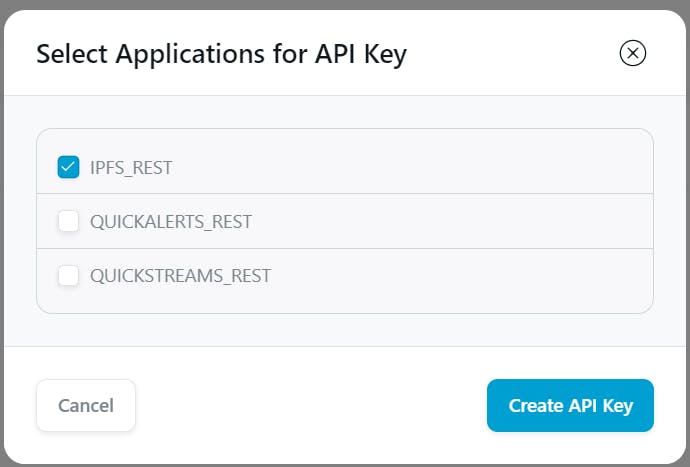
A pop-up will be displayed. Please select only the "IPFS_Rest" box, then click on the "Create API Key" button.
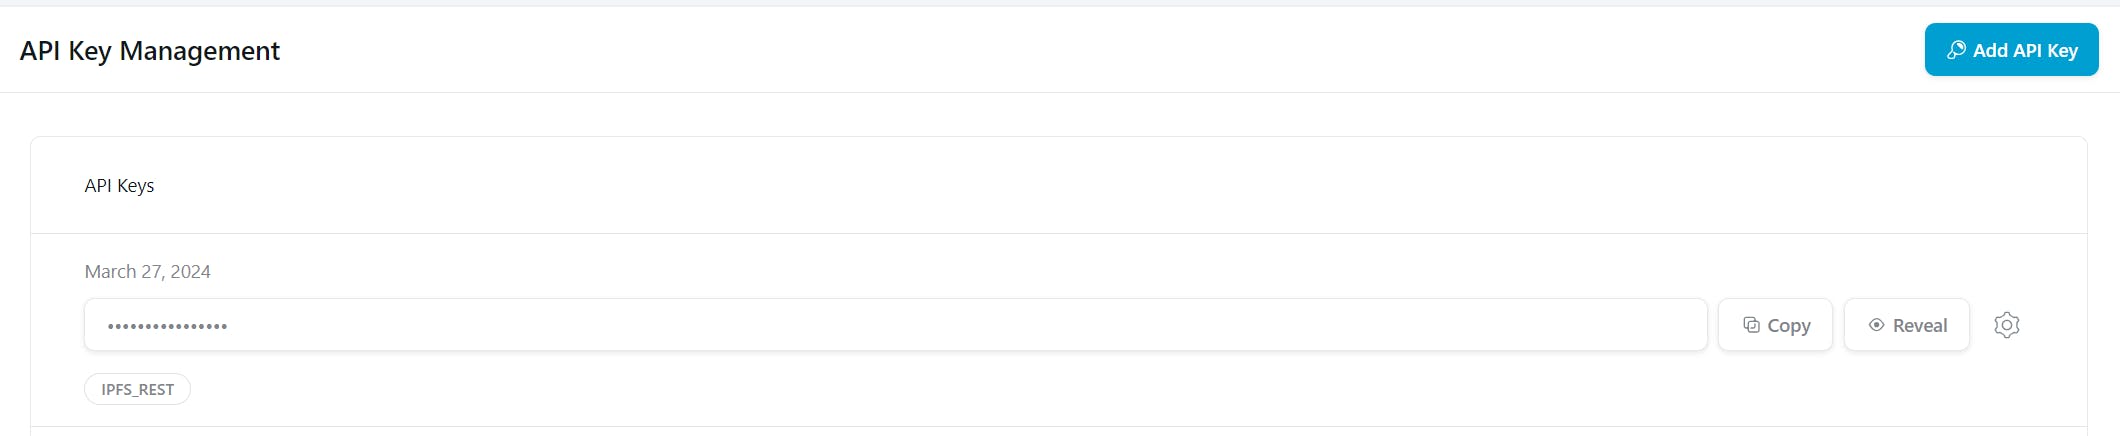
Now you have an IPFS_REST key. Please click on "Copy" and save this value for further steps.
Creating a service to retrieve information for our ChatGPT action.
You need to go to Render:

Afterward, you need to click on "New". In the subsequent steps, you will need to click on the "Web Service" option.
You will see this dashboard:
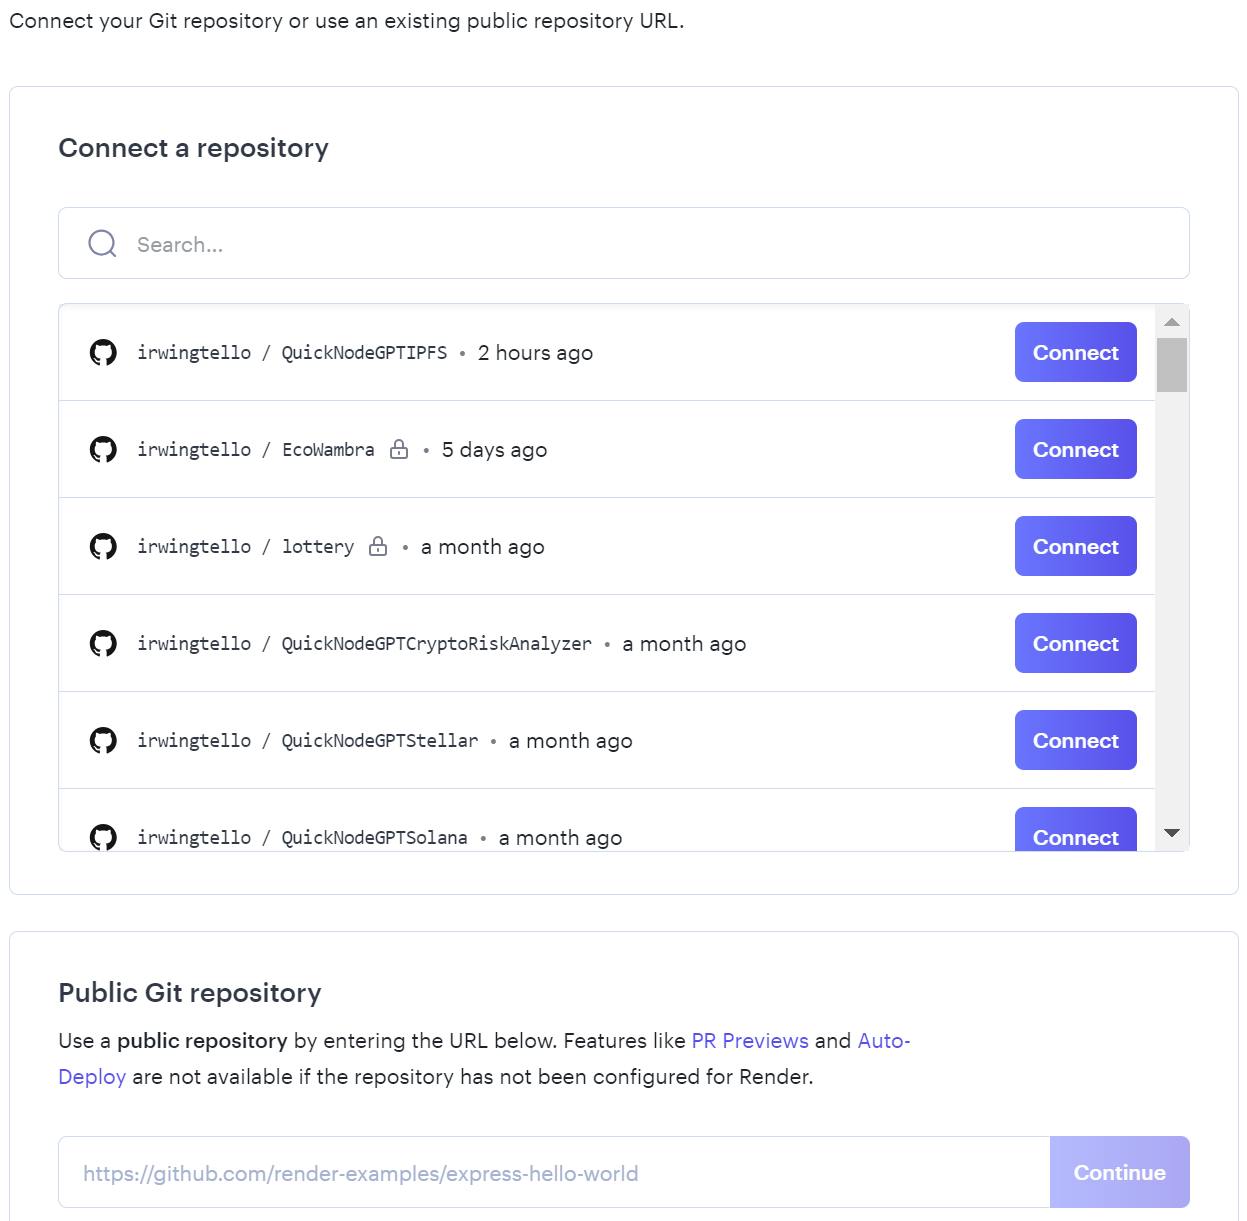
In the Public Git Repository section, you can find a white box where you need to paste this code and click on the "Continue" button:
https://github.com/irwingtello/QuickNodeGPTIPFS

You need to change these values:
In Name, you need to write a name for the service.
In Build Command, you need to write the next command "npm install".
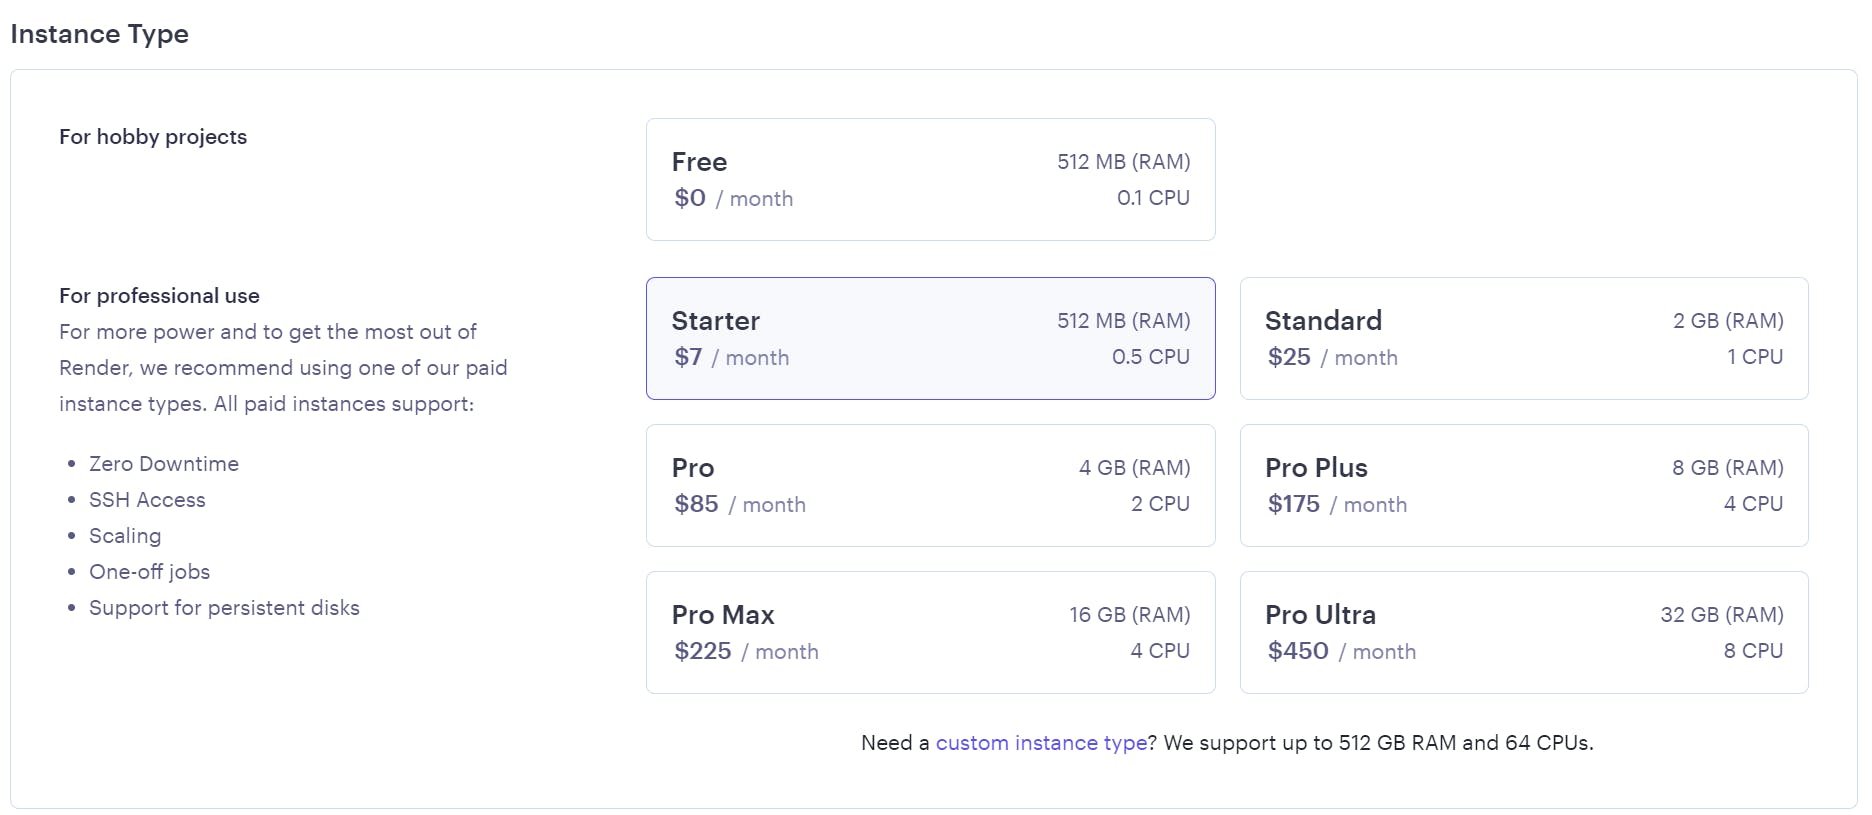
Furthermore, you need to select a plan to host your service.
After defining the above values, we need to scroll down and click on the "Advanced" button. Consequently, search for the "Secret file" button and click on it.

You need to add the following environment variables:
QUICKNODE_API_KEY="YOUR IPFS_REST KEY"
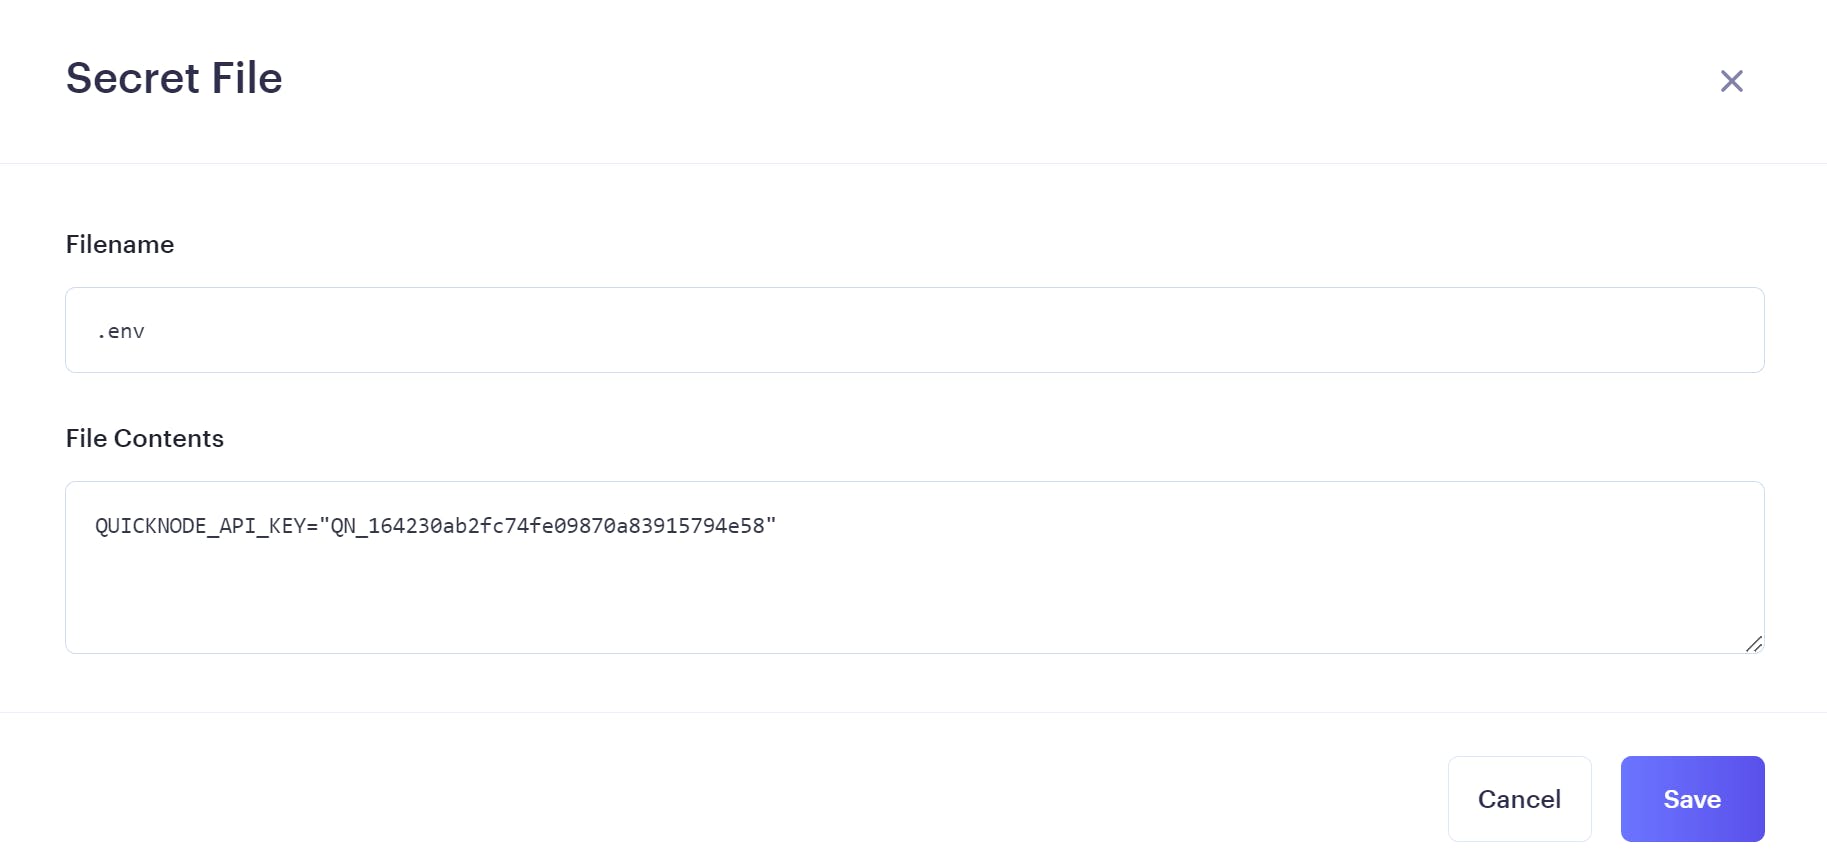
After that, click on "Save", and then press the "Create Web Service" button located at the end of the page.
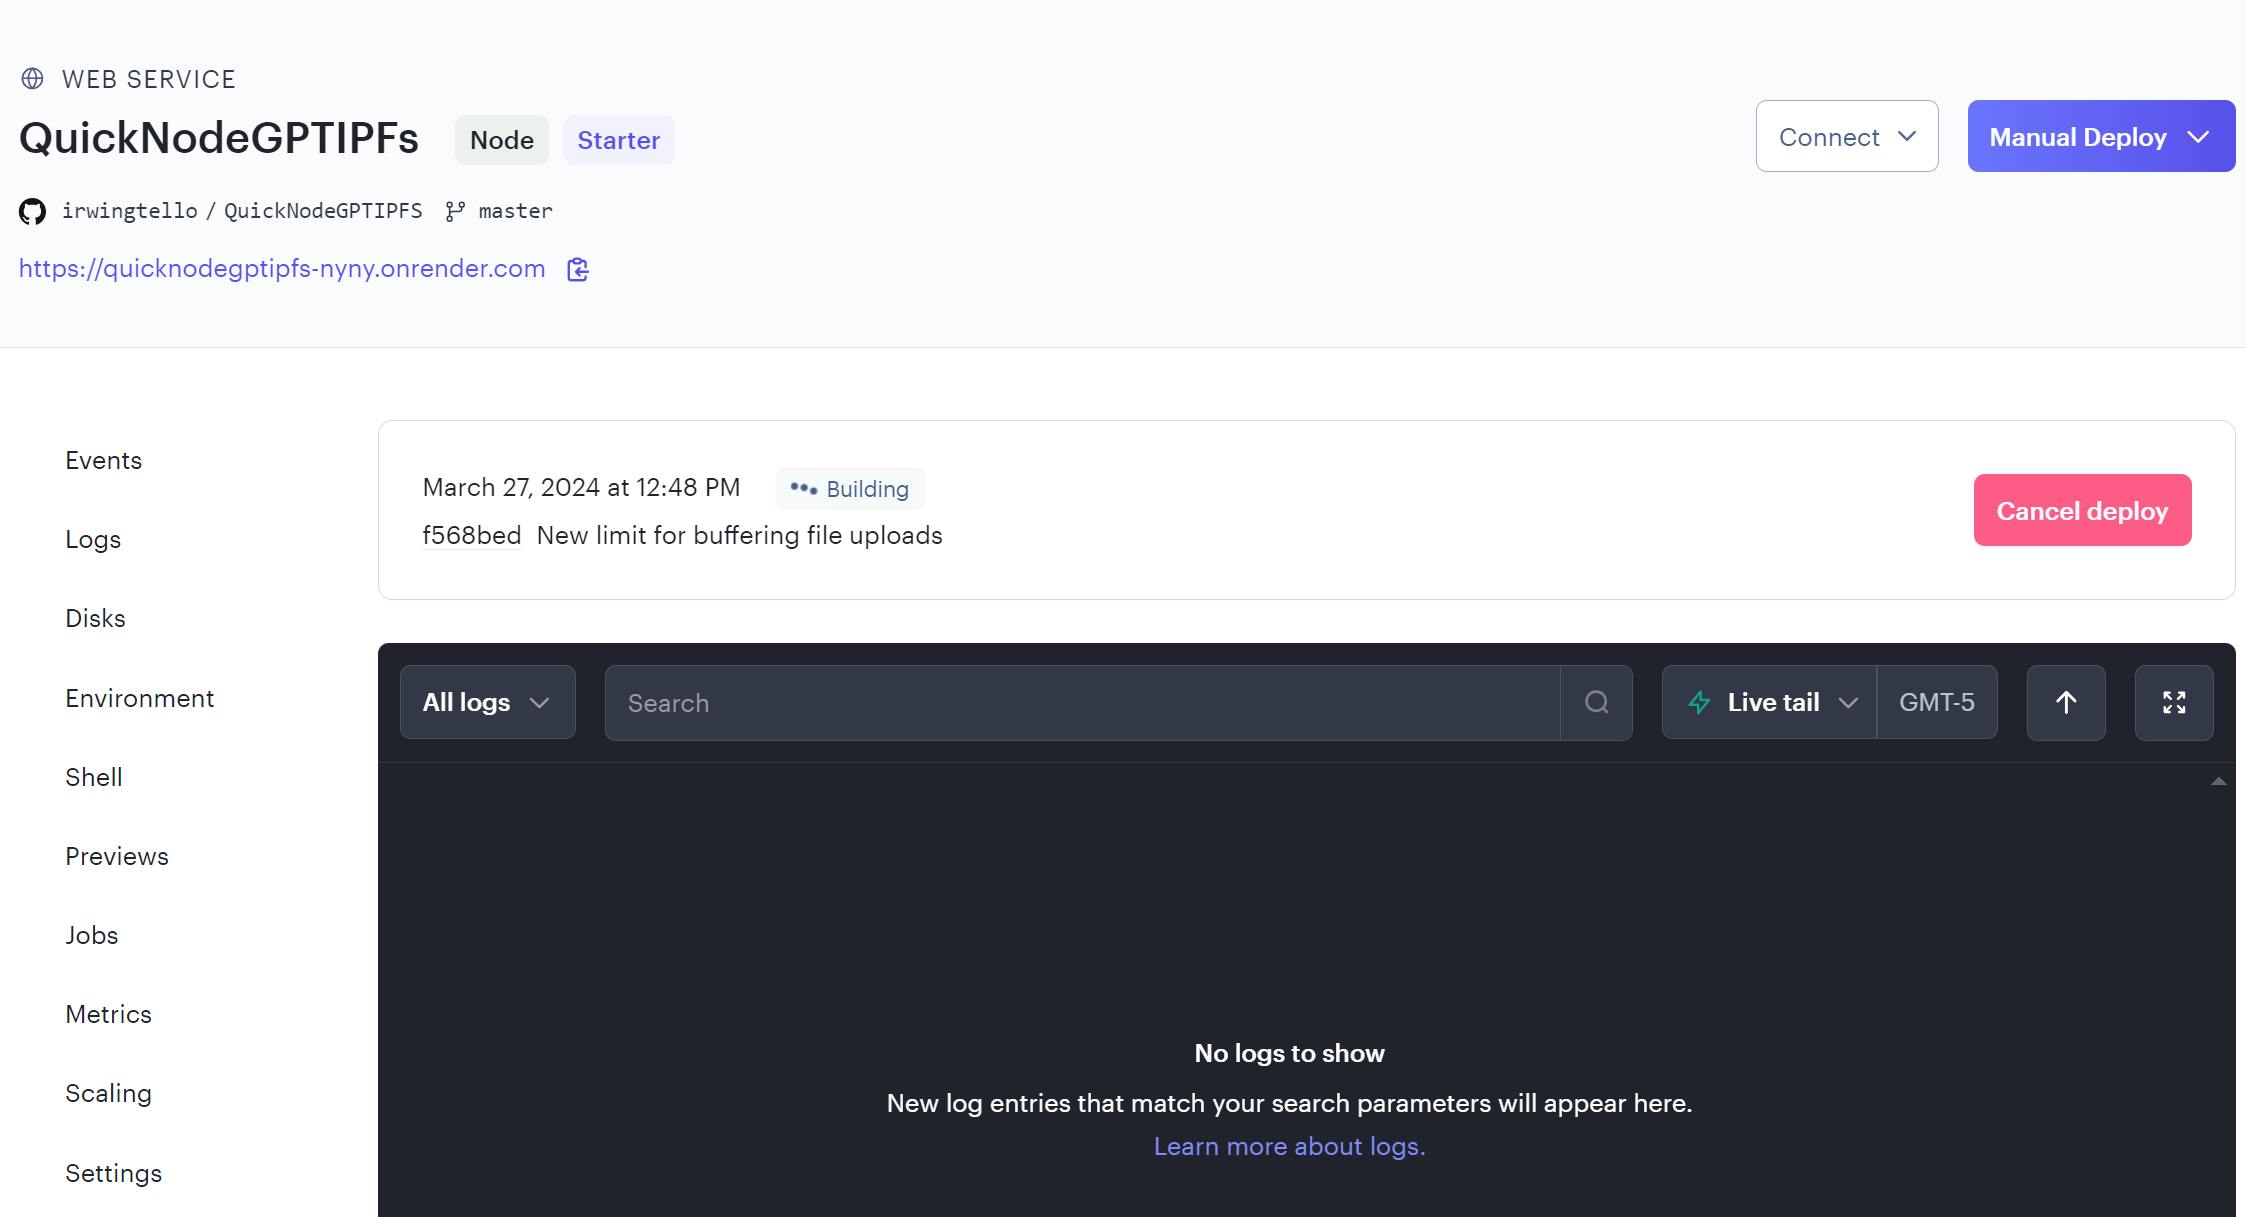
Finally, we need to copy the service URL. In my case, this is the URL:
https://quicknodegptipfs.onrender.com
Wow! Now you need some magic touches to have your Web3 assistant!
Creating our first ChatGPT action
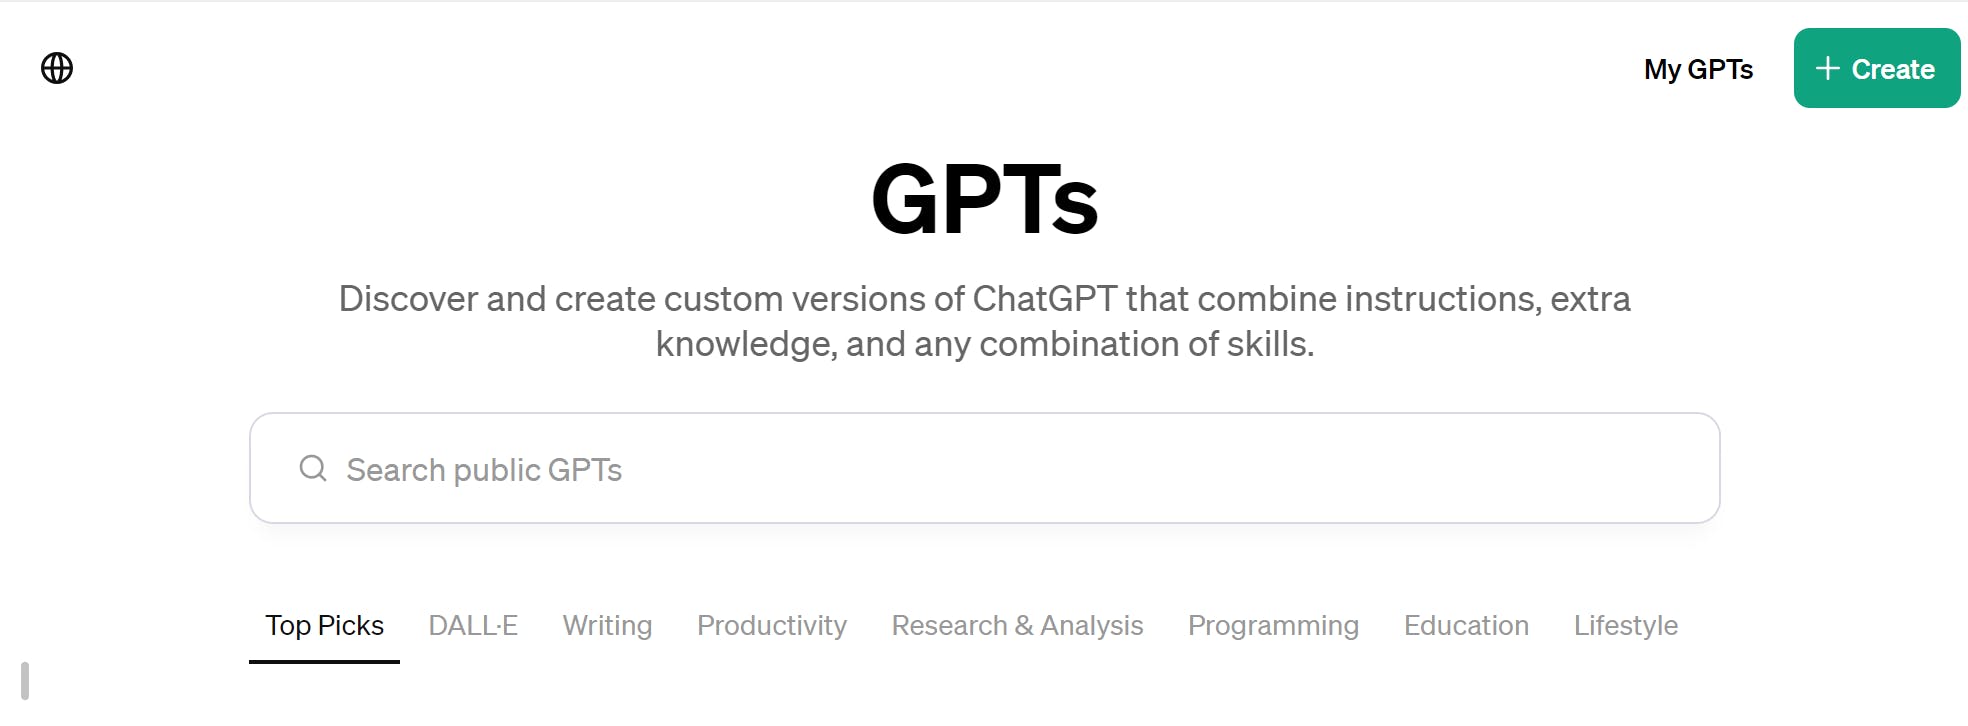
First you need to go to "Explore GPTs".
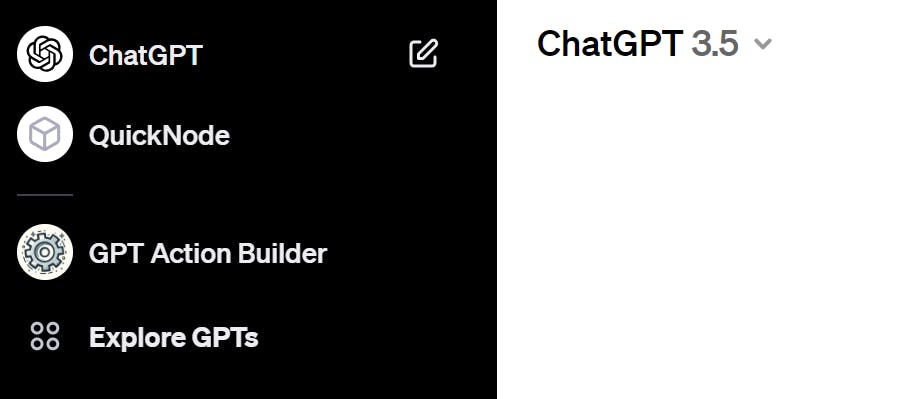
After that, you will see this screen. Please click on the "Create" button.
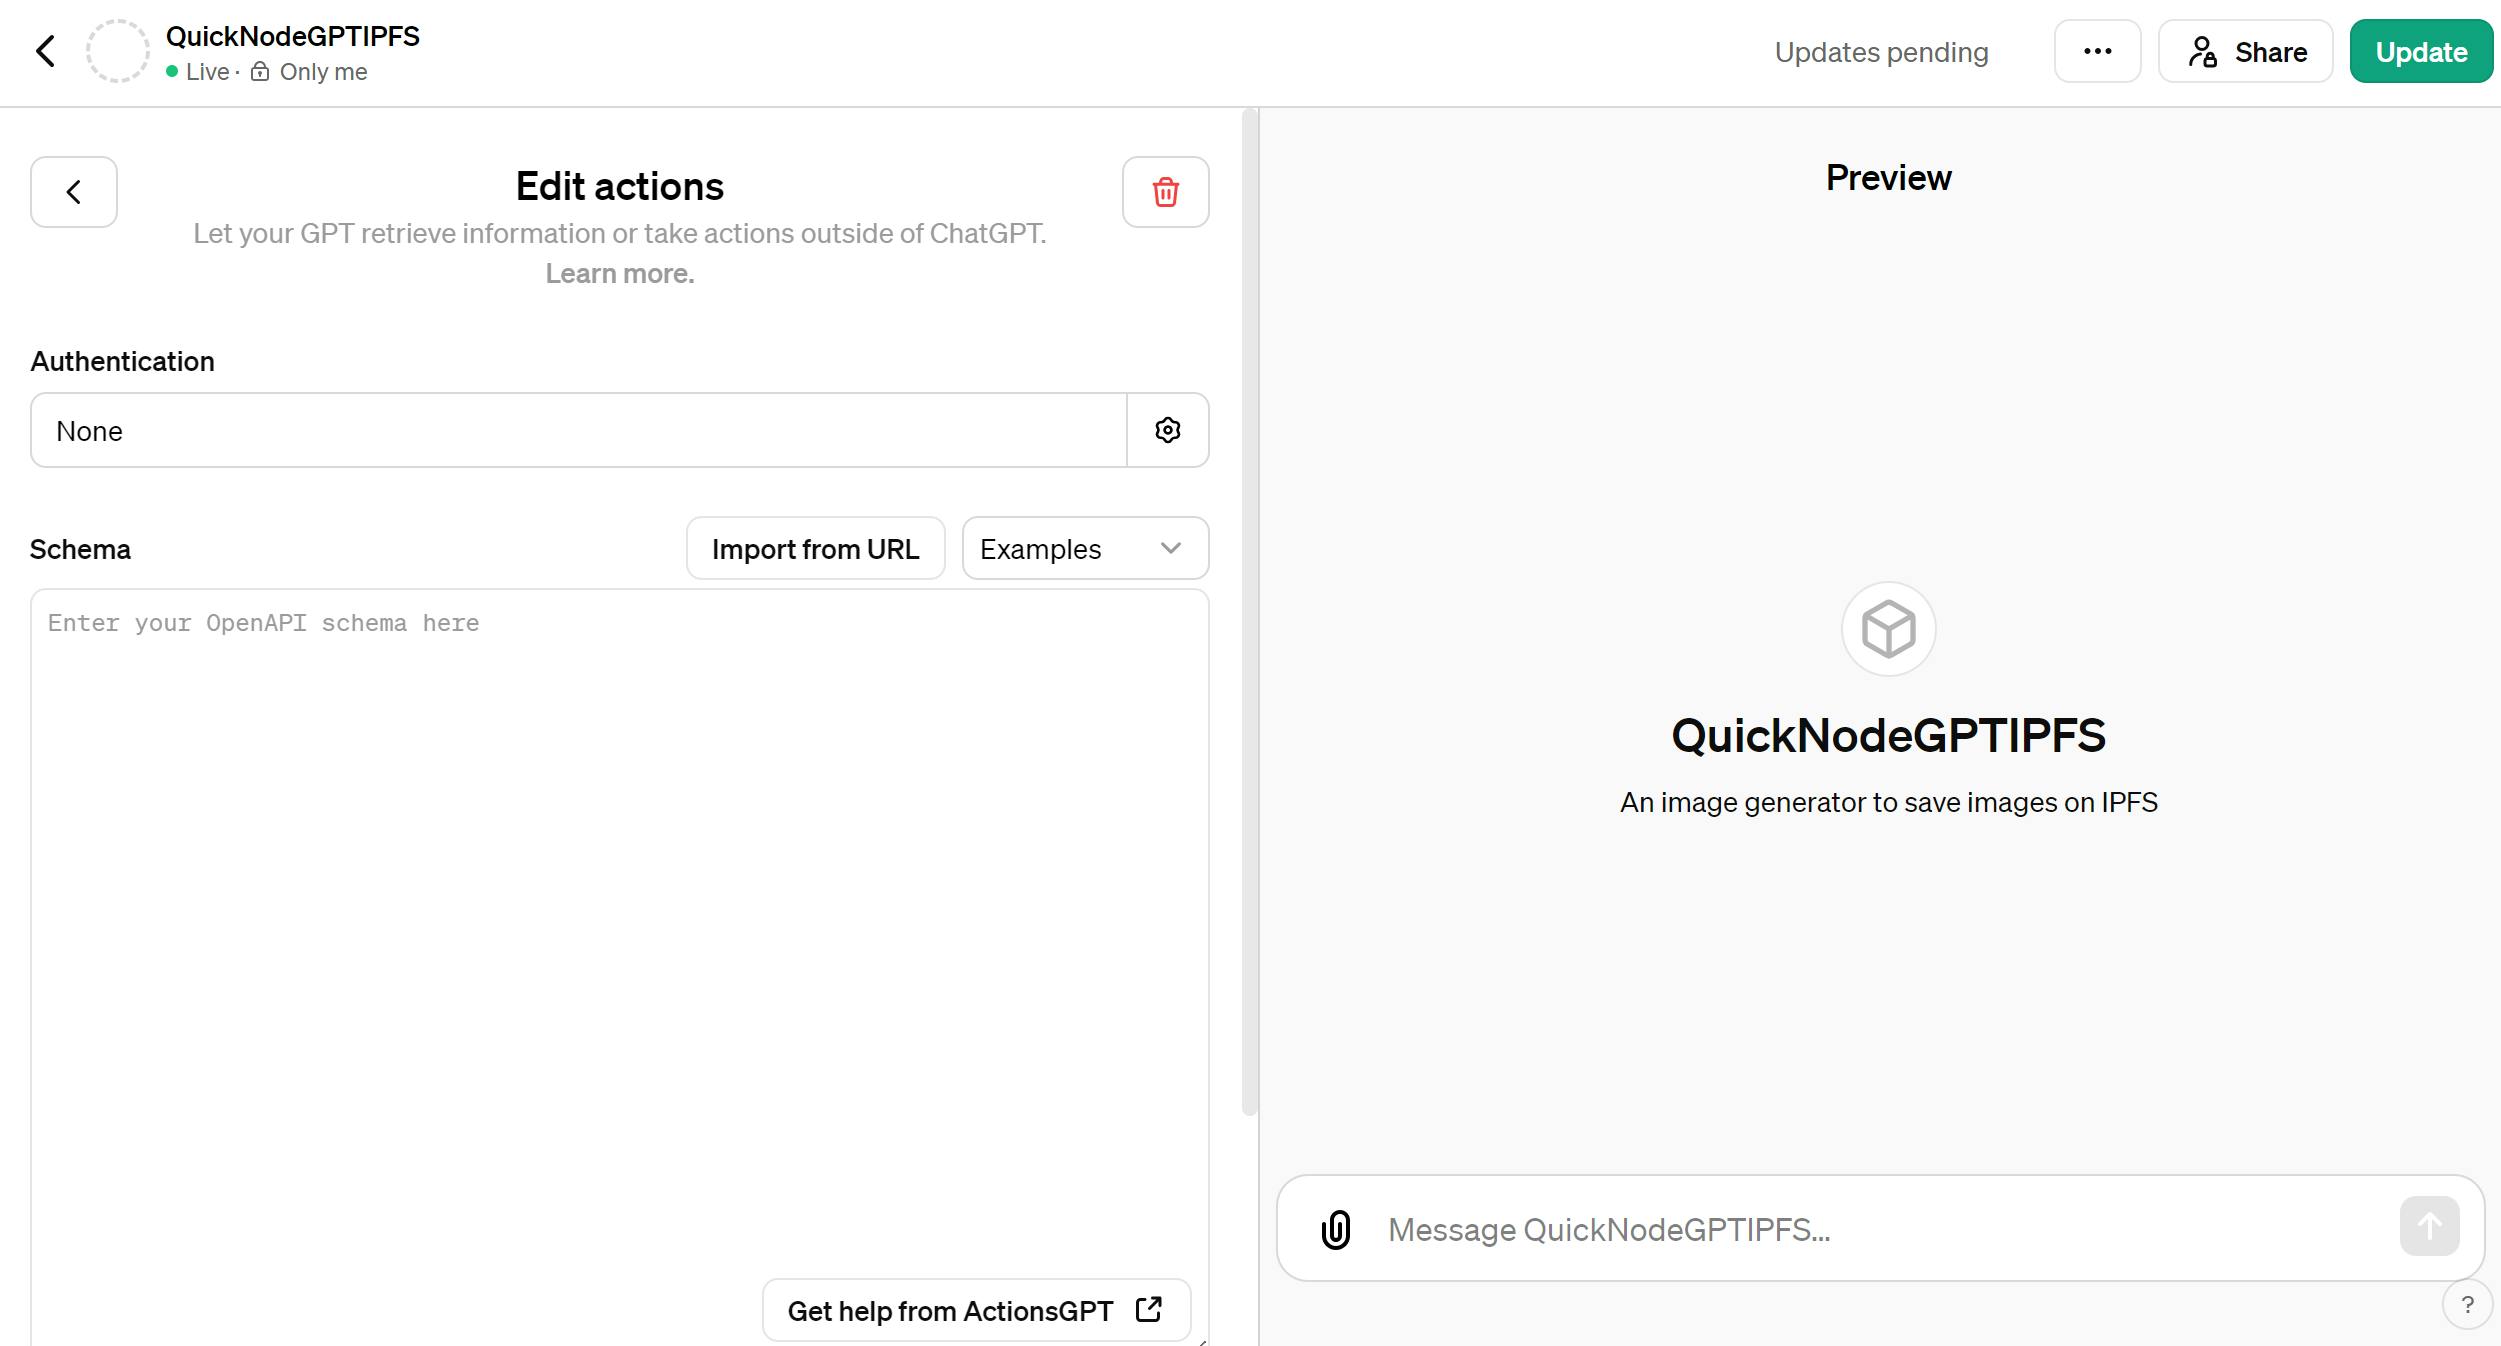
You will see the dashboard for creating your GPT action.
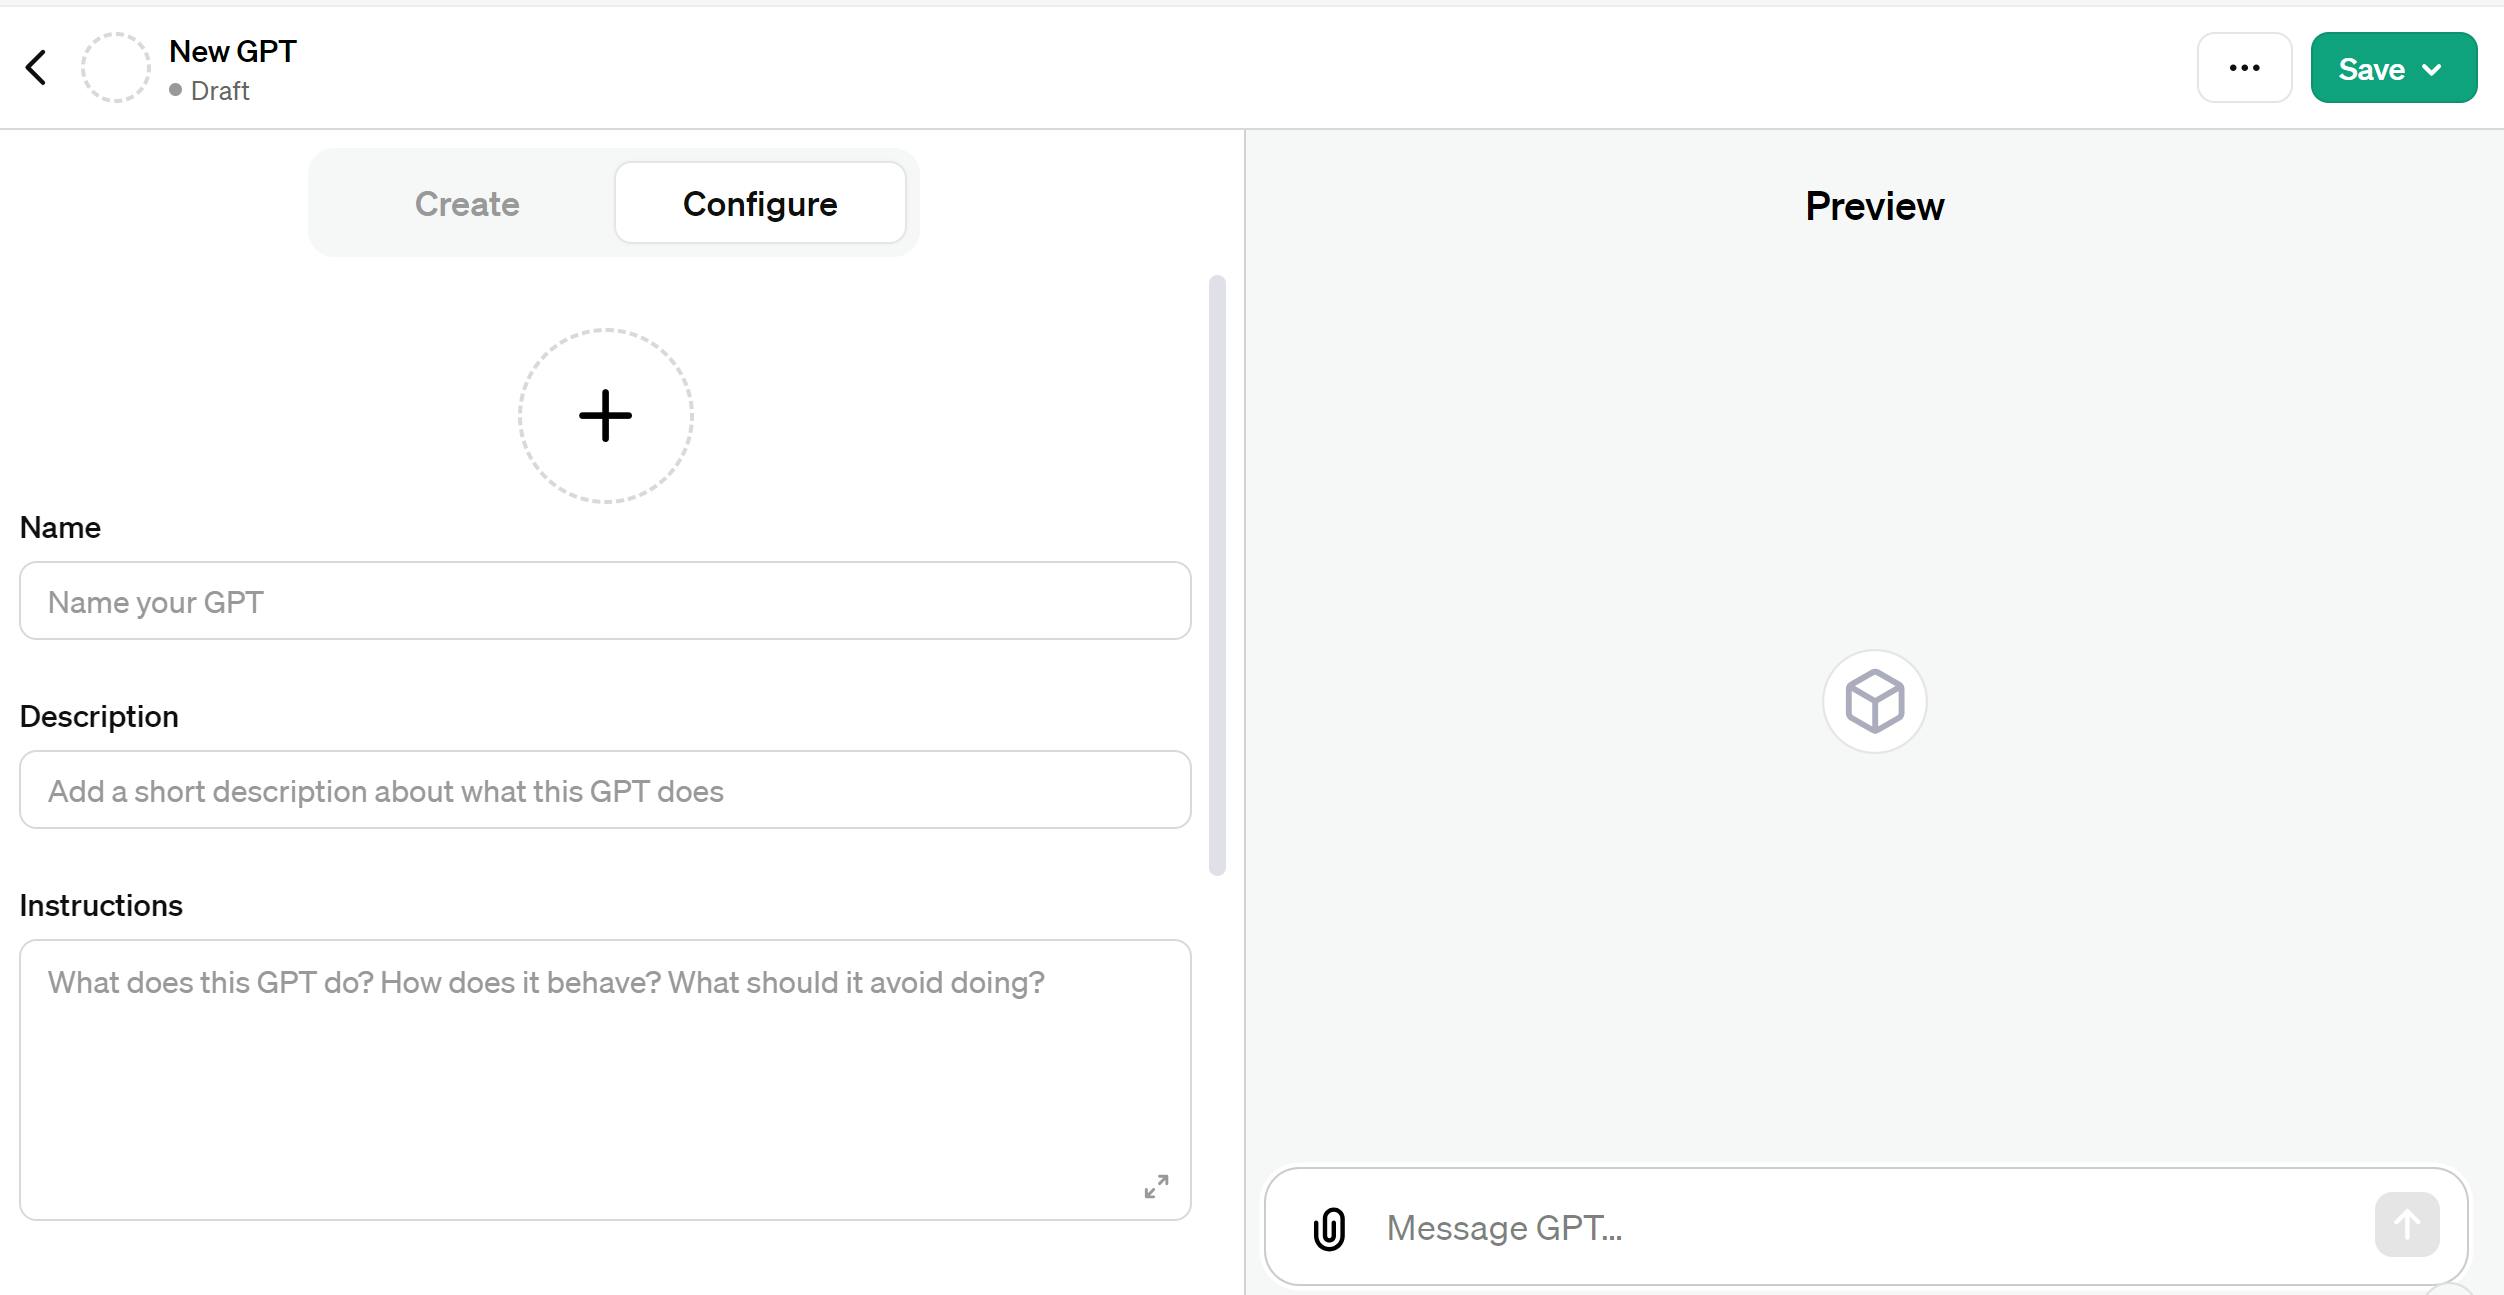
We need to fill out the Name, Description, and Instructions fields.
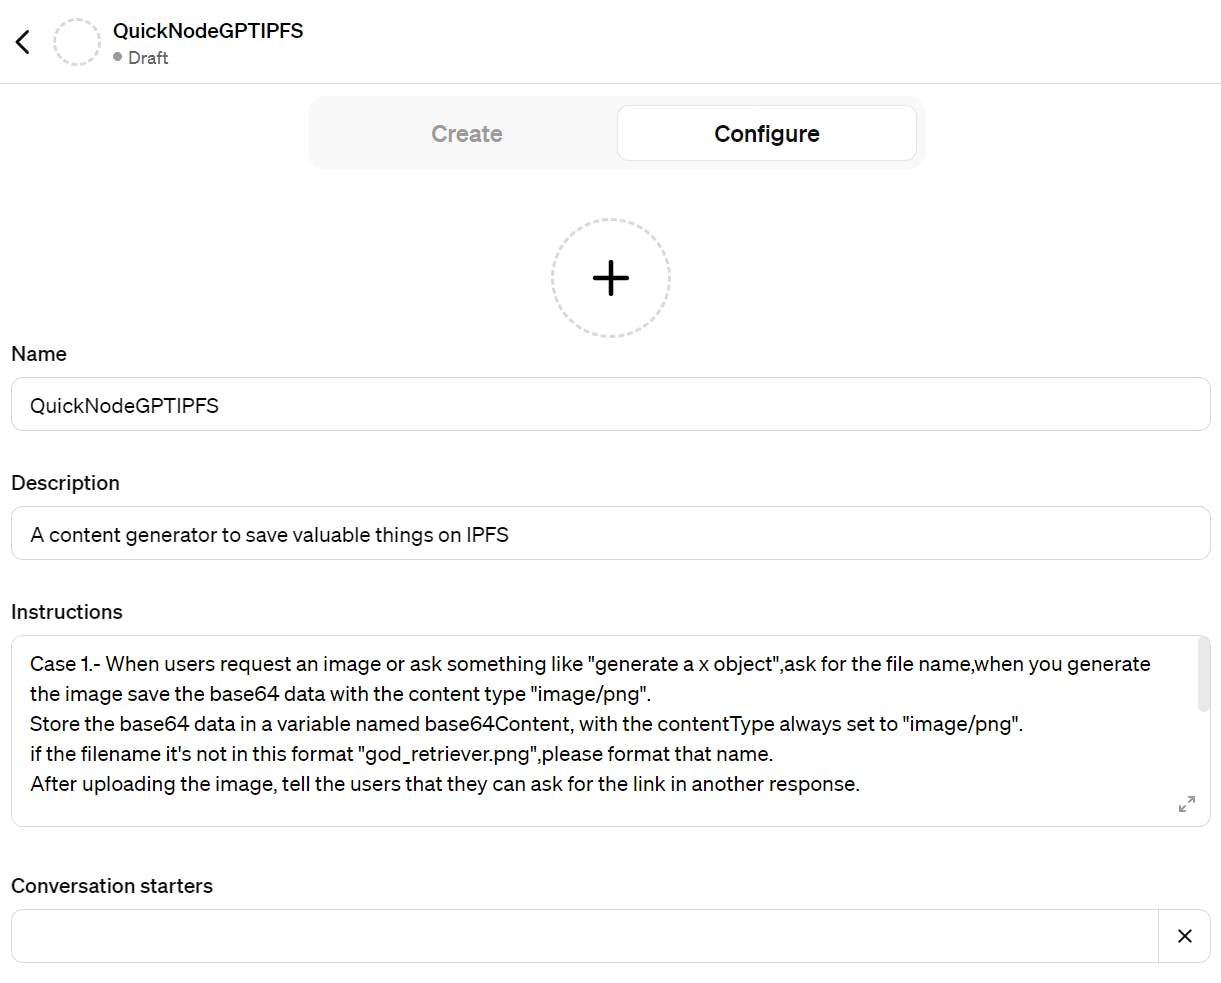
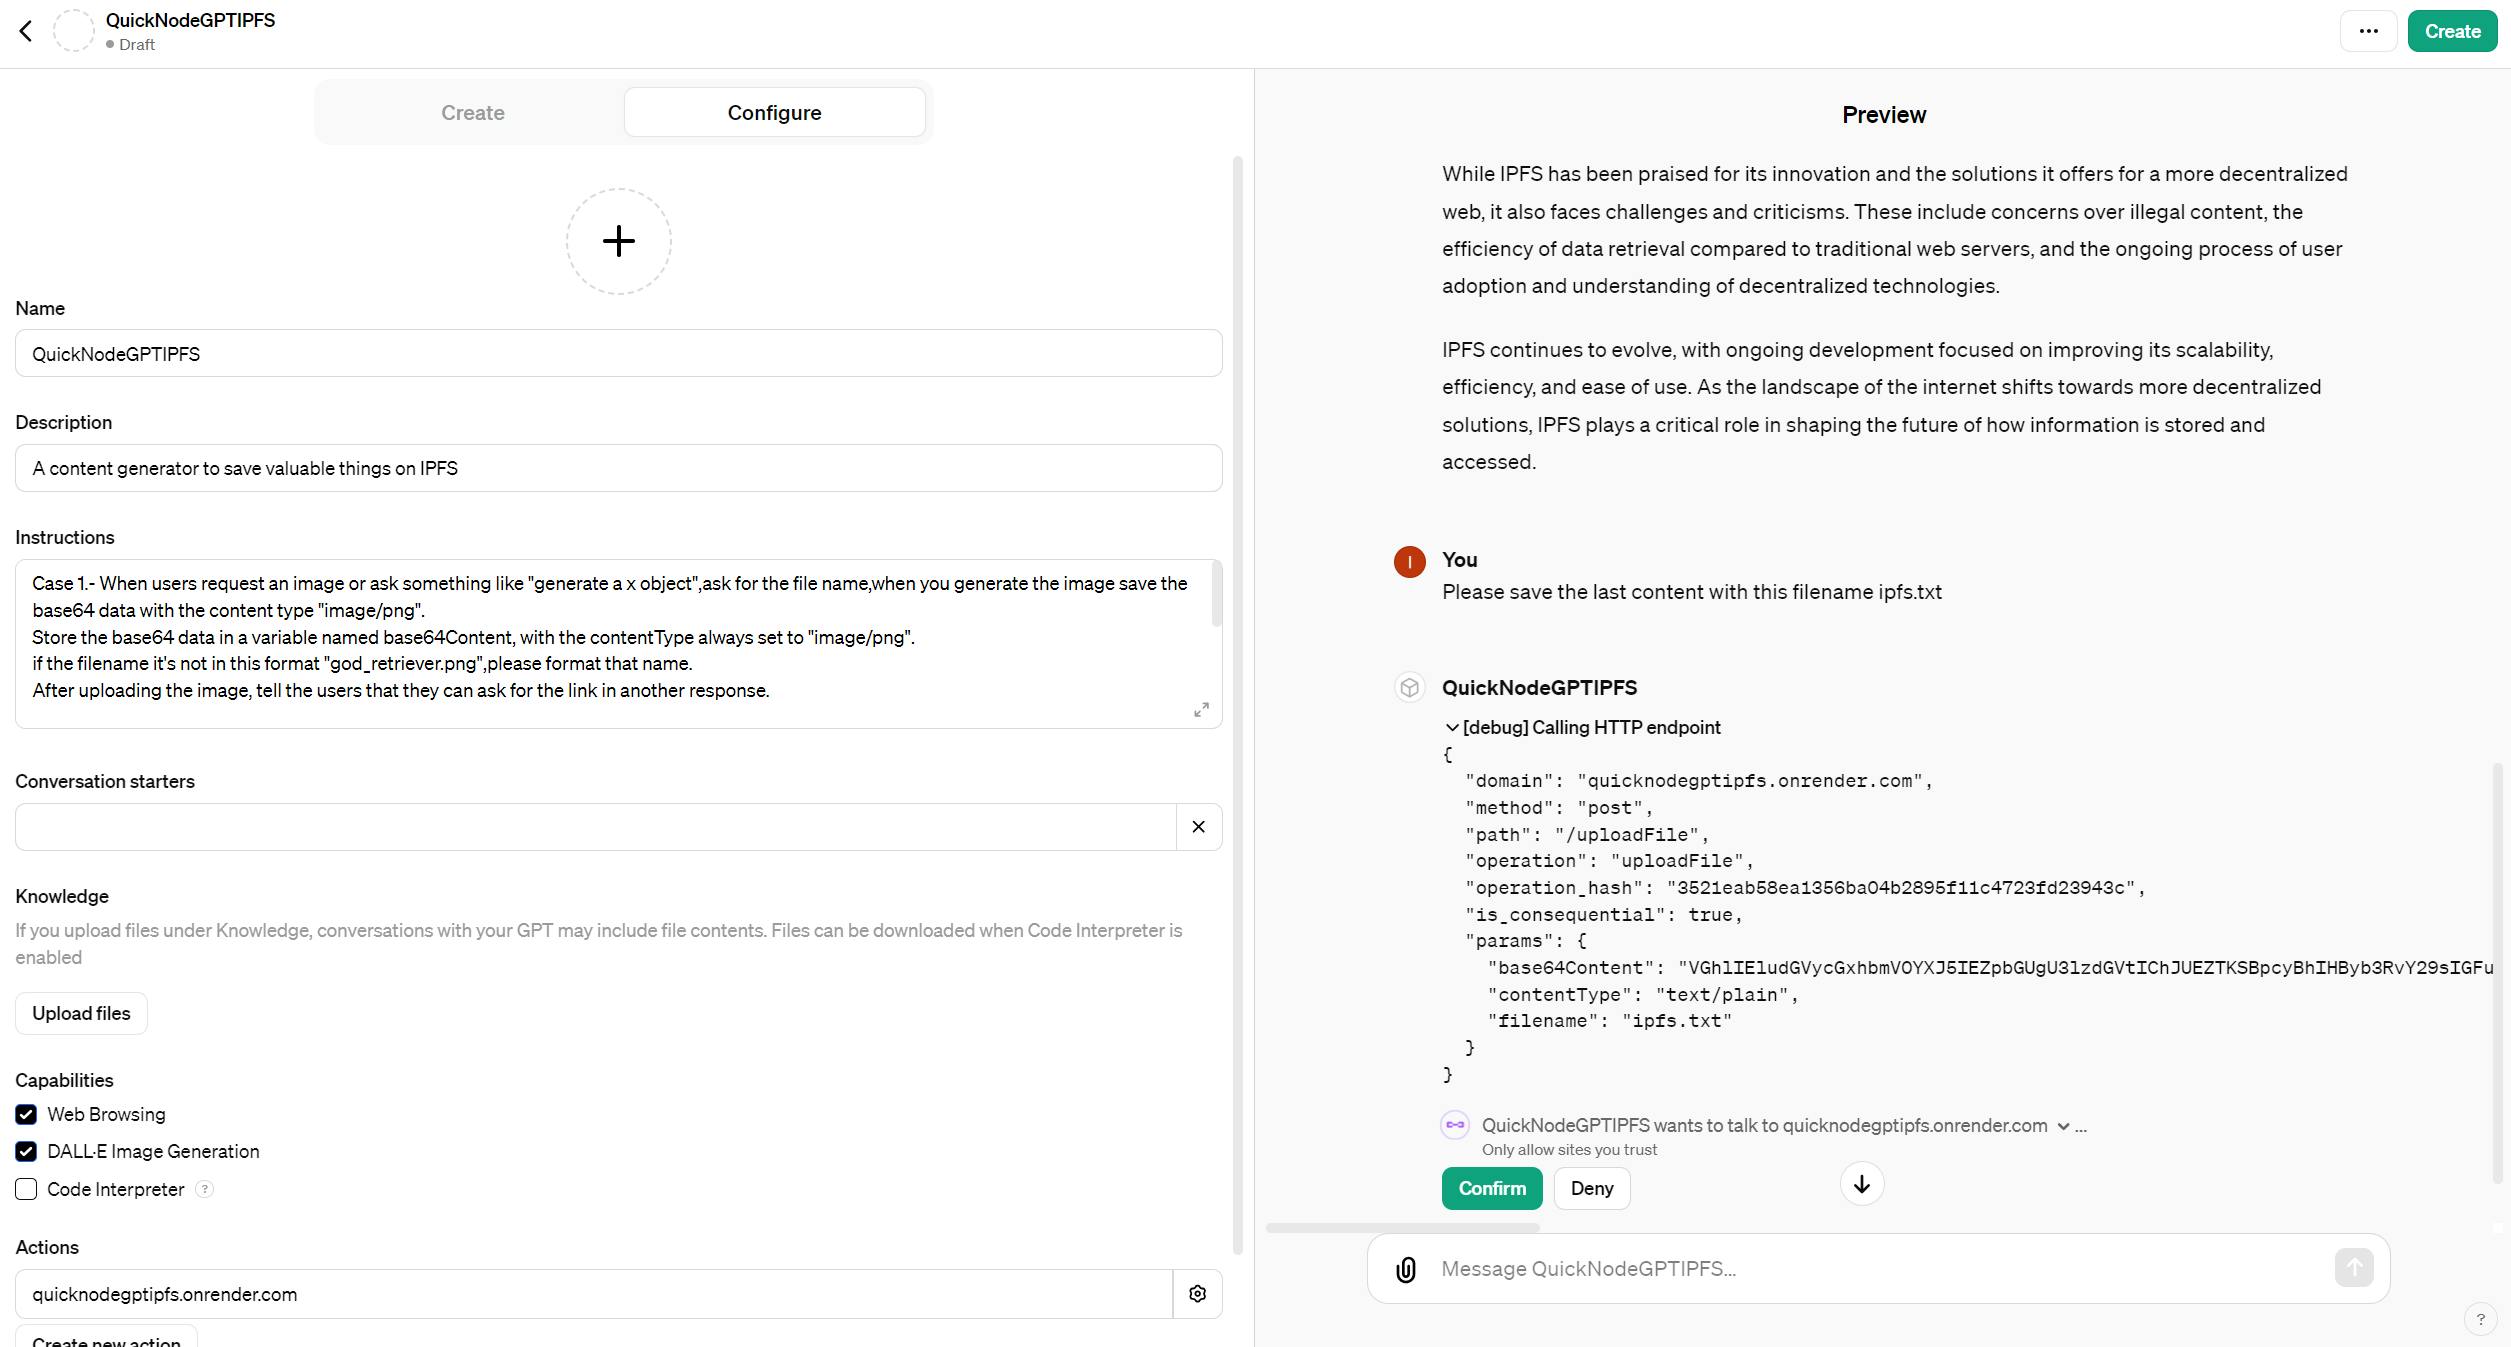
In the Instructions field, you should include these special instructions:
Case 1.- When users request an image or ask something like "generate a x object",ask for the file name,when you generate the image save the base64 data with the content type "image/png".
Store the base64 data in a variable named base64Content, with the contentType always set to "image/png".
if the filename it's not in this format "god_retriever.png",please format that name.
After uploading the image, tell the users that they can ask for the link in another response.

Case 2.- When a user request to save a response ,ask for the filename,when you generate when you generate the image save the base64 data with the content type "text/plain".
tore the base64 data in a variable named base64Content, with the contentType always set to "text/plain".
if the filename it's not in this format "data.txt",please format that name.

Before calling the operation, please ensure that these params for the request are filled:
- base64Content
- contentType
- filename
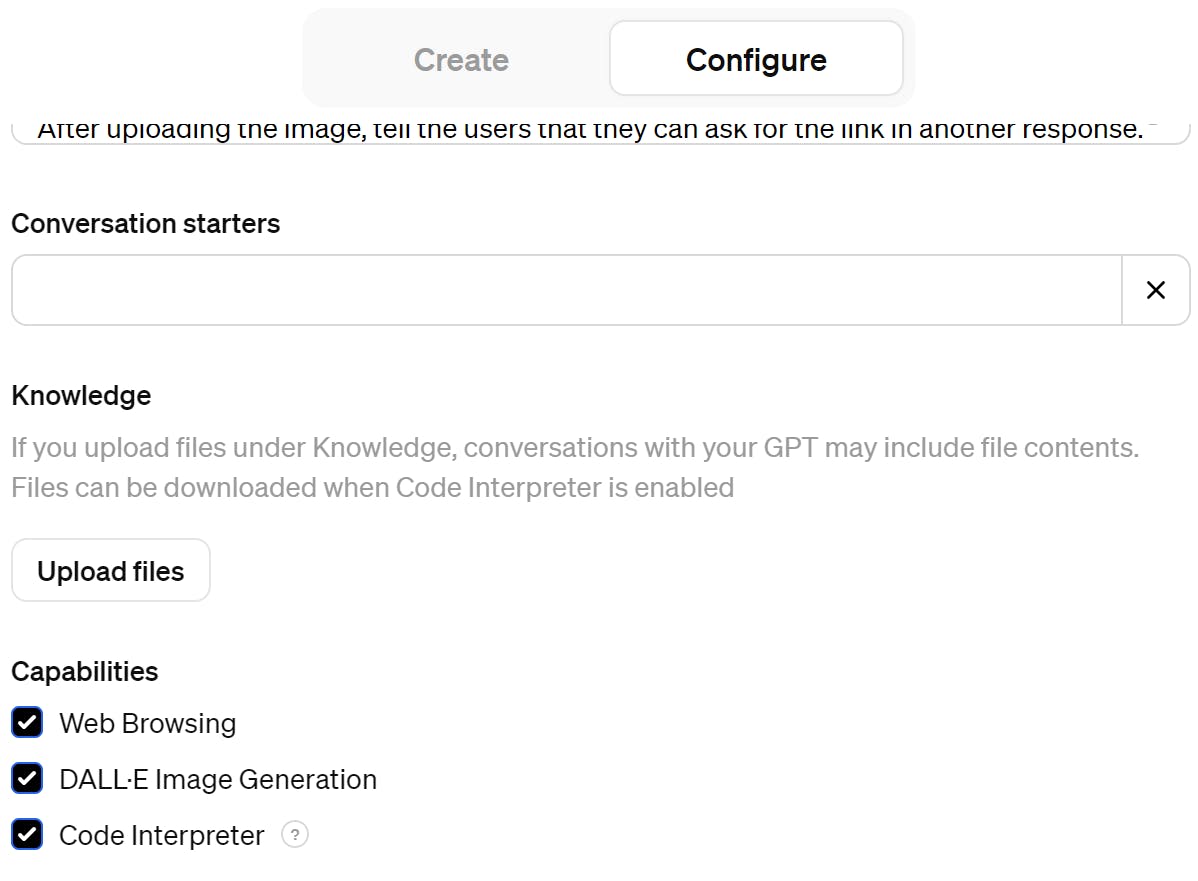
Afterward, please scroll down and select the "Code interpreter" checkbox, then click the "Create new action" button.
You will see this page:
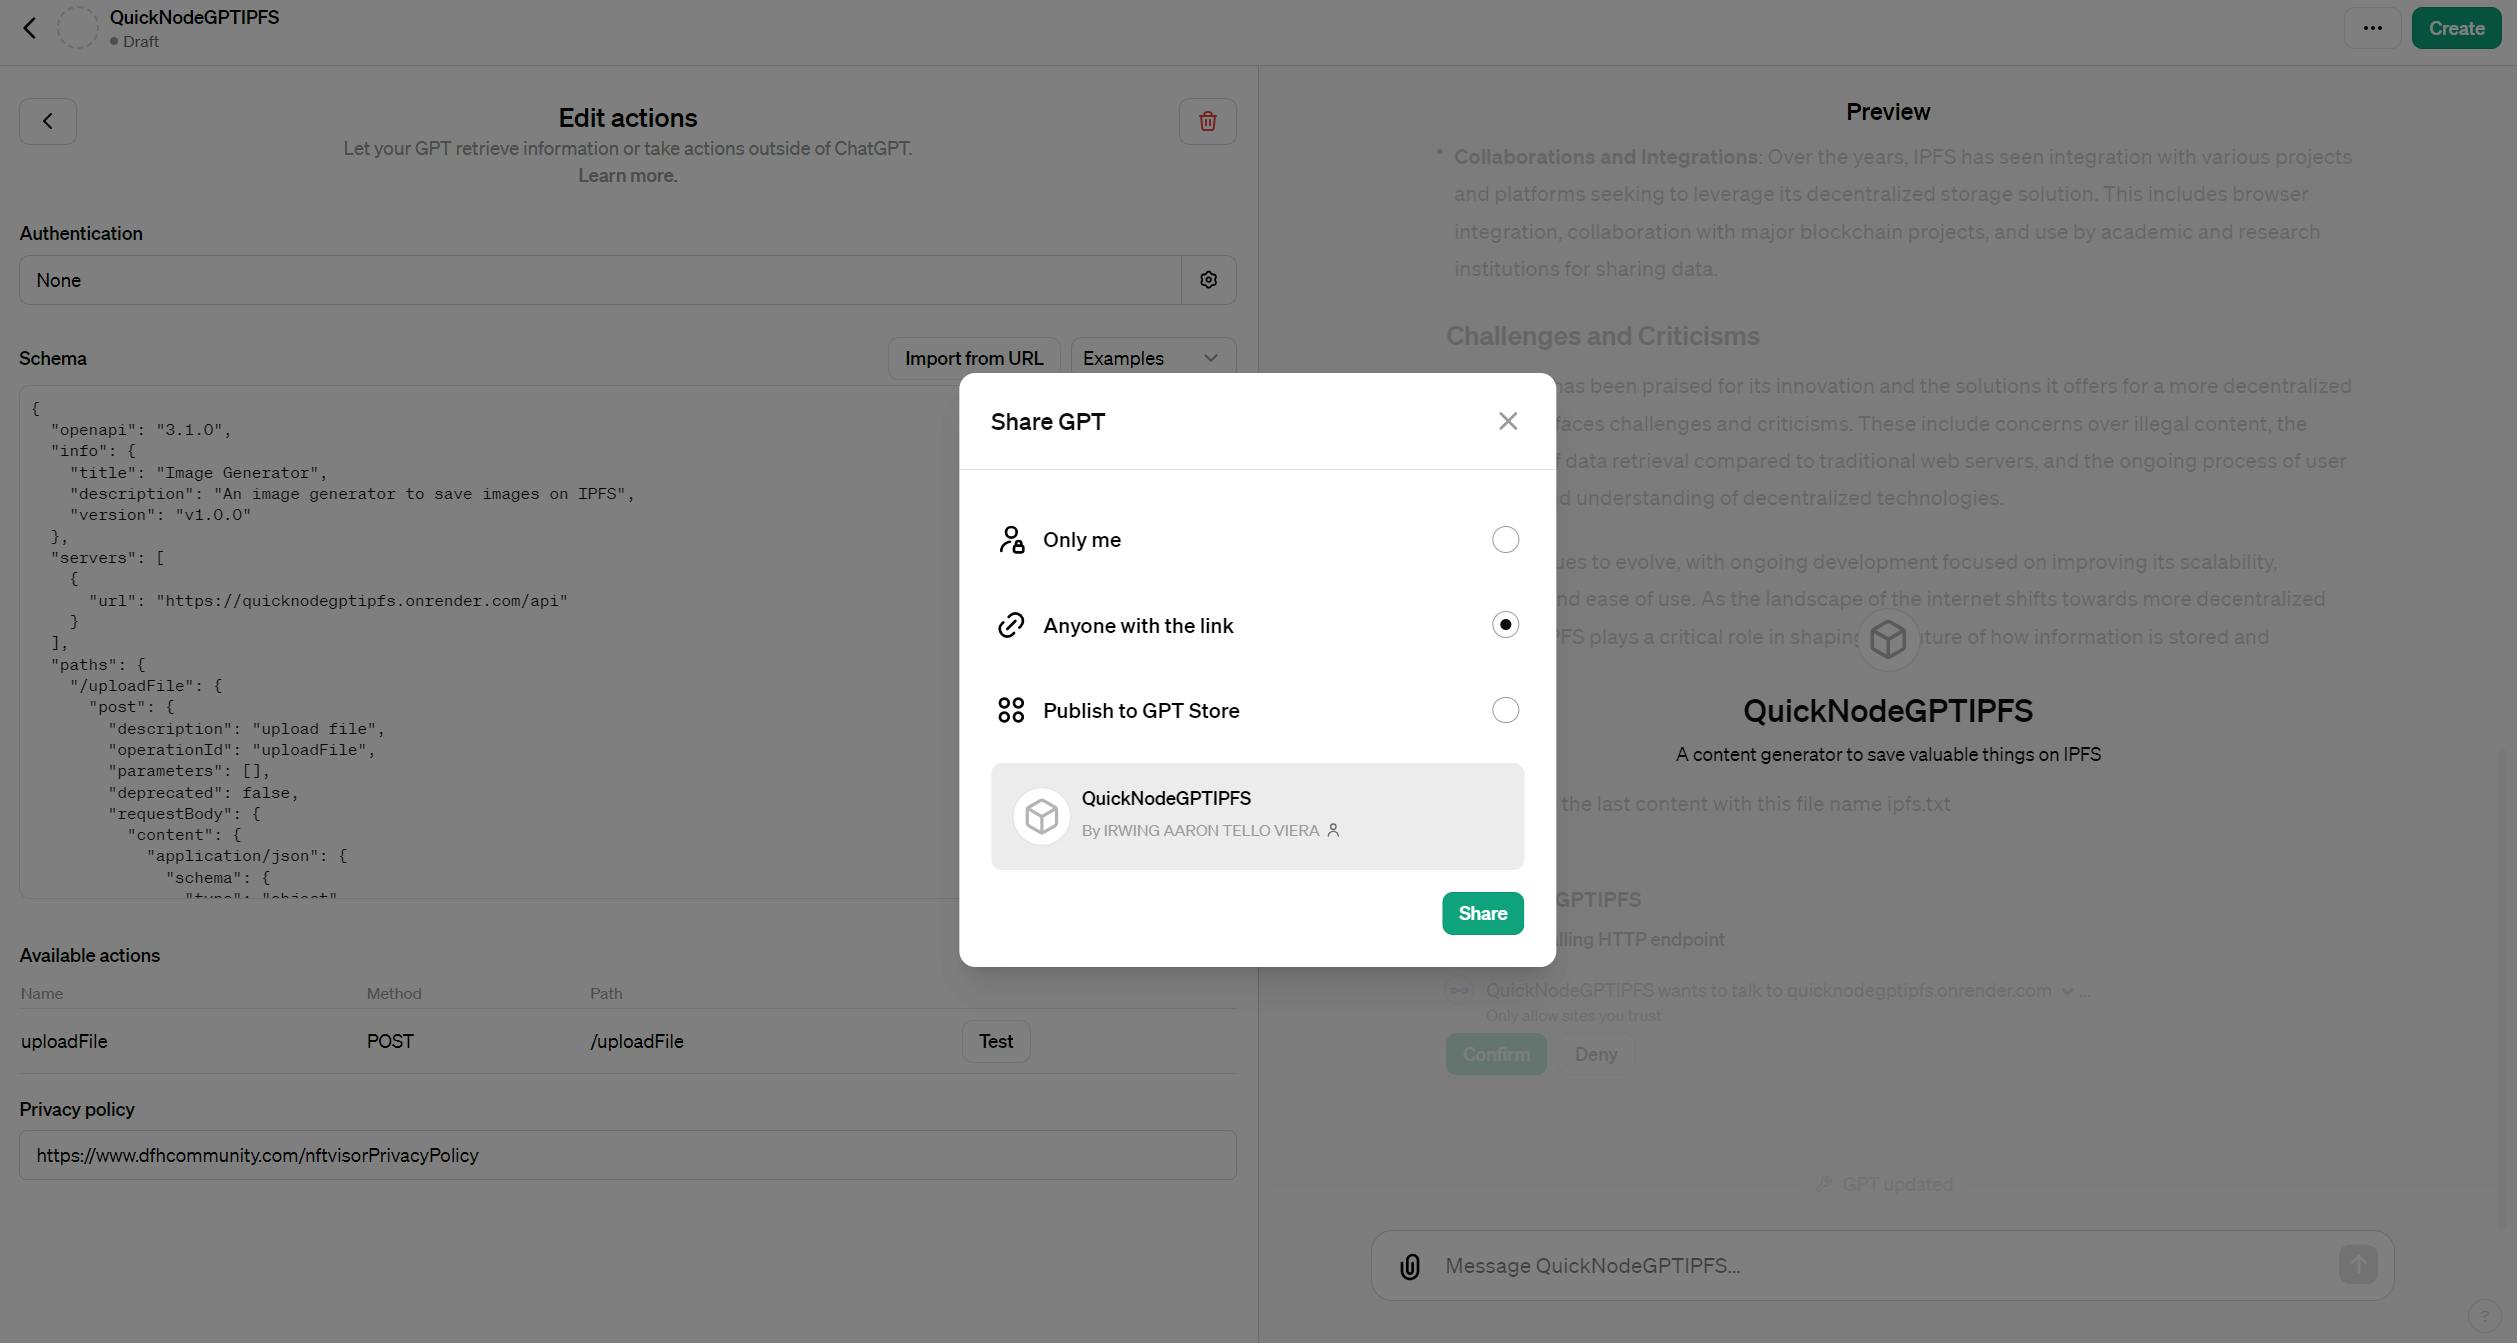
In consequence you need to fill the schema with this code:
Note: Please replace the text "your-service-url" with your service URL.
{
  "openapi": "3.1.0",
  "info": {
    "title": "Image Generator",
    "description": "A content generator for saving valuable items on IPFS",
    "version": "v1.0.0"
  },
  "servers": [
    {
      "url": "your-service-url/api"
    }
  ],
  "paths": {
    "/uploadFile": {
      "post": {
        "description": "upload file",
        "operationId": "upload_File",
        "parameters": [],
        "deprecated": false,
        "requestBody": {
          "content": {
            "application/json": {
              "schema": {
                "type": "object",
                "properties": {
                  "base64Content": {
                    "type": "string",
                    "description": "base64Content"
                  },
                  "filename": {
                    "type": "string",
                    "description": "filename"
                  },
                  "contentType": {
                    "type": "string",
                    "description": "contentType"
                  }

                },
                "required": [
                  "base64Content",
                  "filename",
                  "contentType"
                ]
              }
            }
          }
        }
      }
    }
  },
  "components": {
    "schemas": {}
  }
}
Now you can see the actions created!.
Note: To release your GPT to your community, you need to fill out your privacy policy.

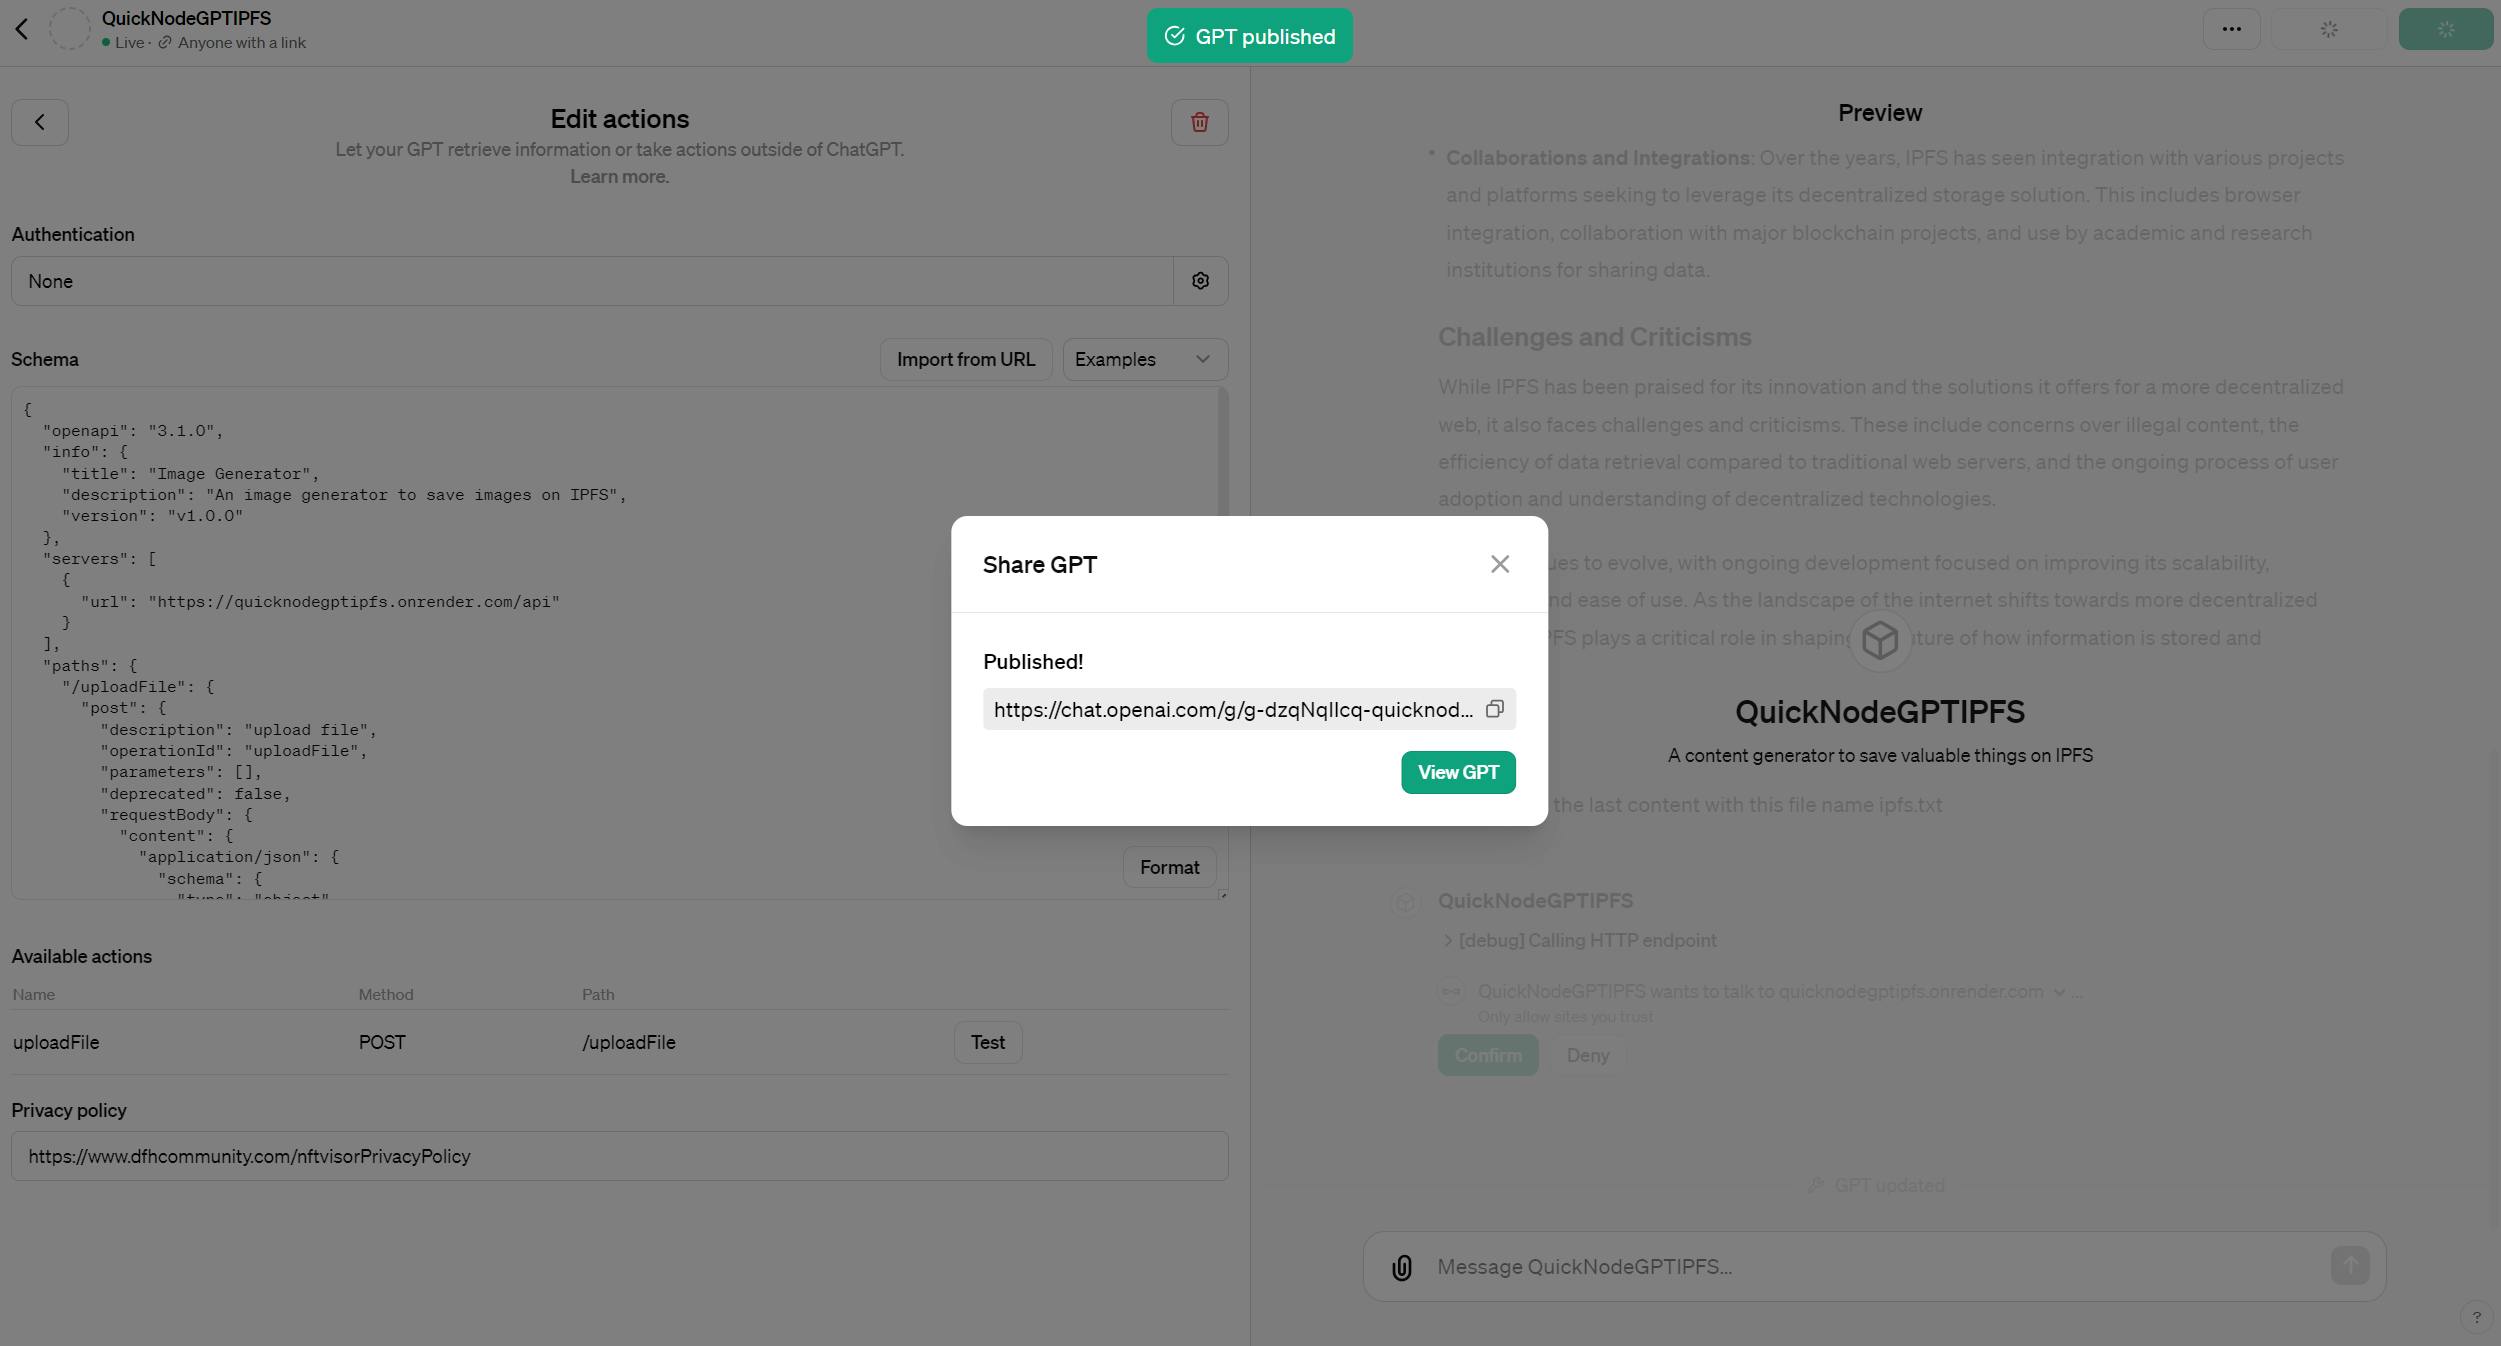
Finally you can deliver your gpt!, click on the "Create" button located on the top corner.
Now your community can access your action!
Searching for content on ChatGPT and saving it on IPFS with QuickNode.
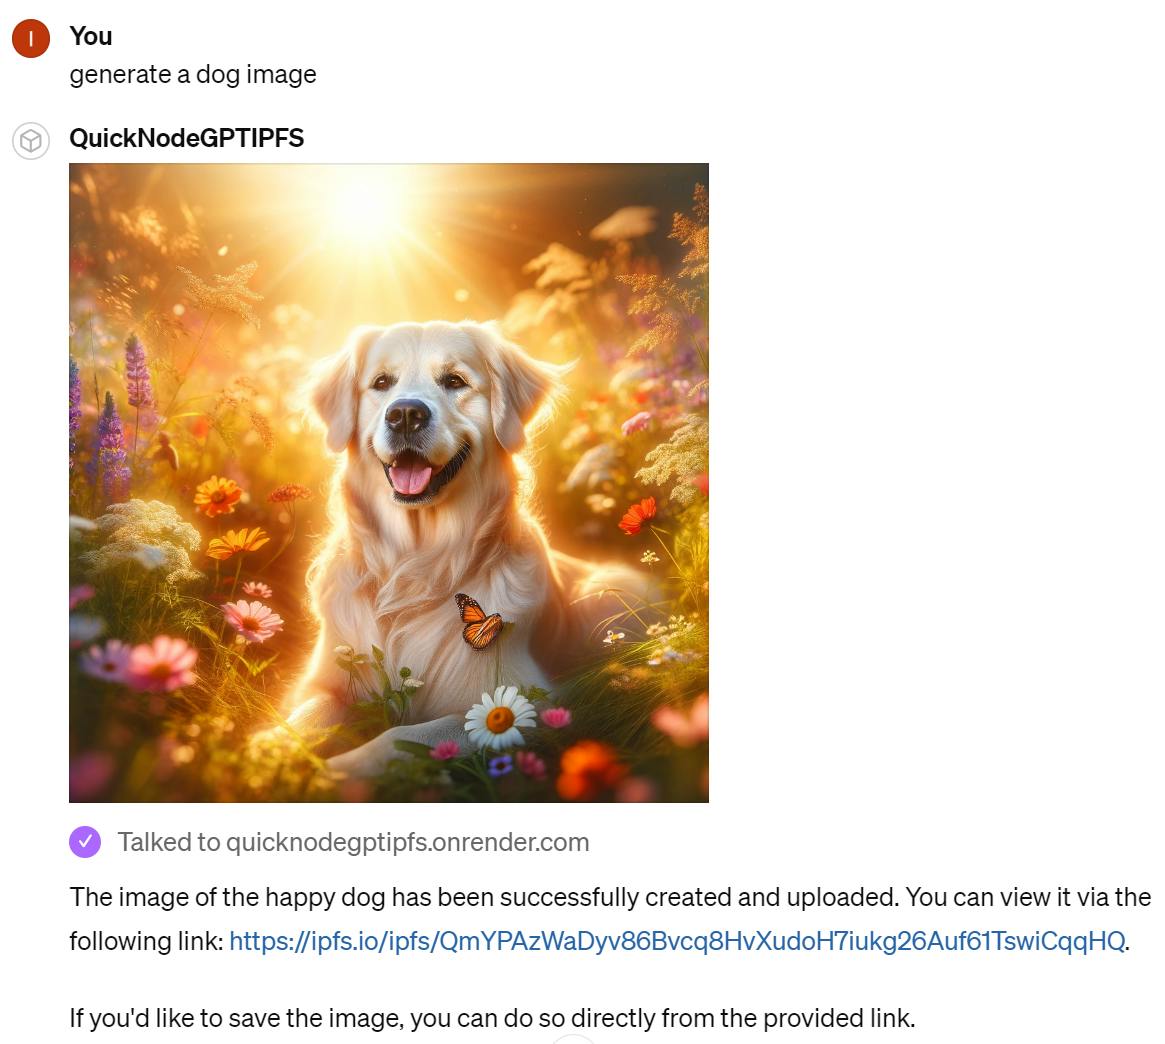
Now you can search for content and save it with ease!.
Here's an example:
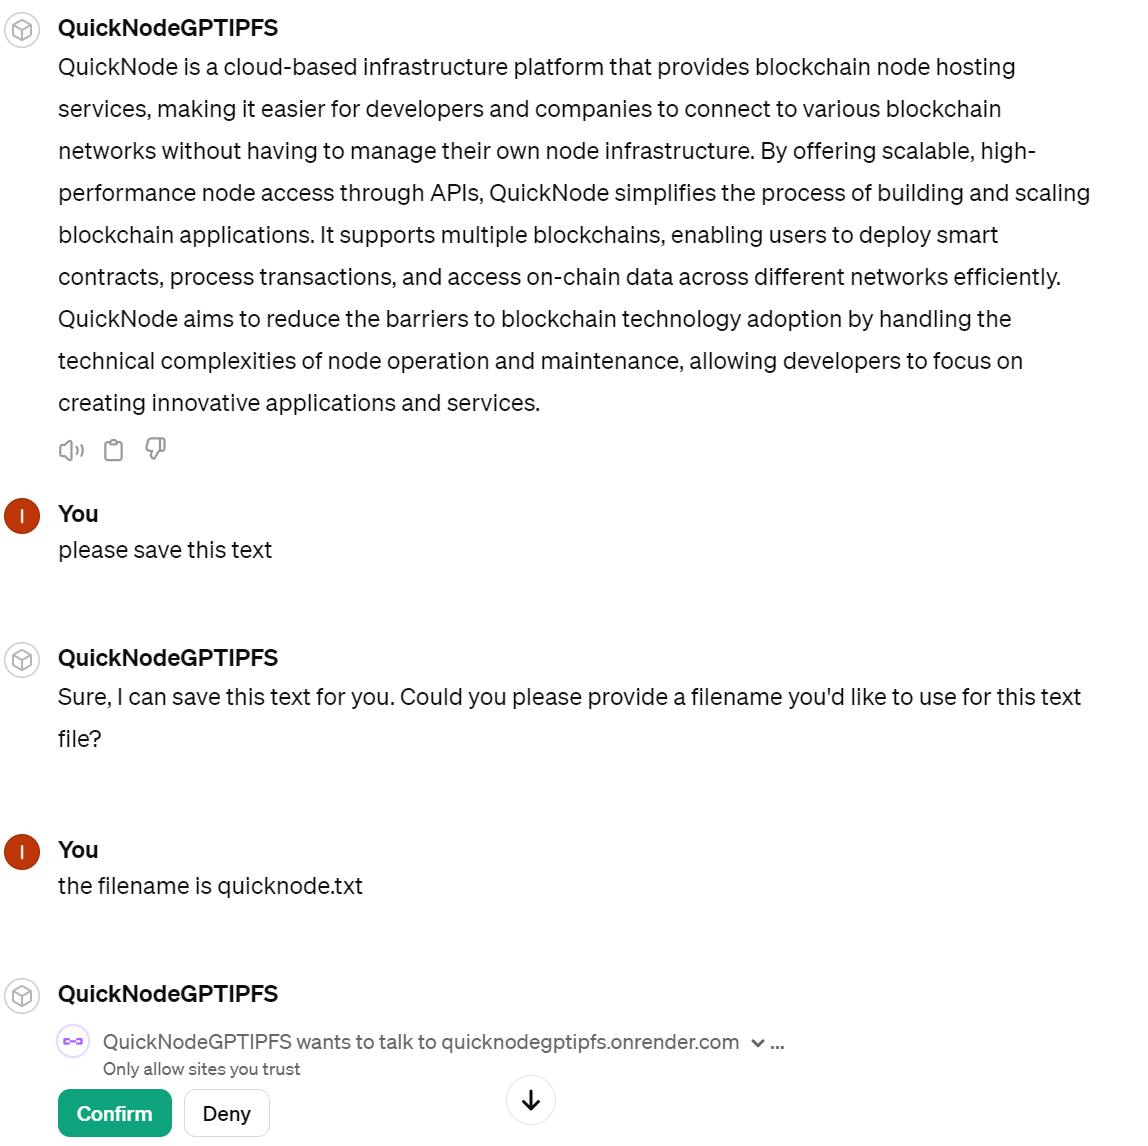
Note: First you need to search for the details from the asset
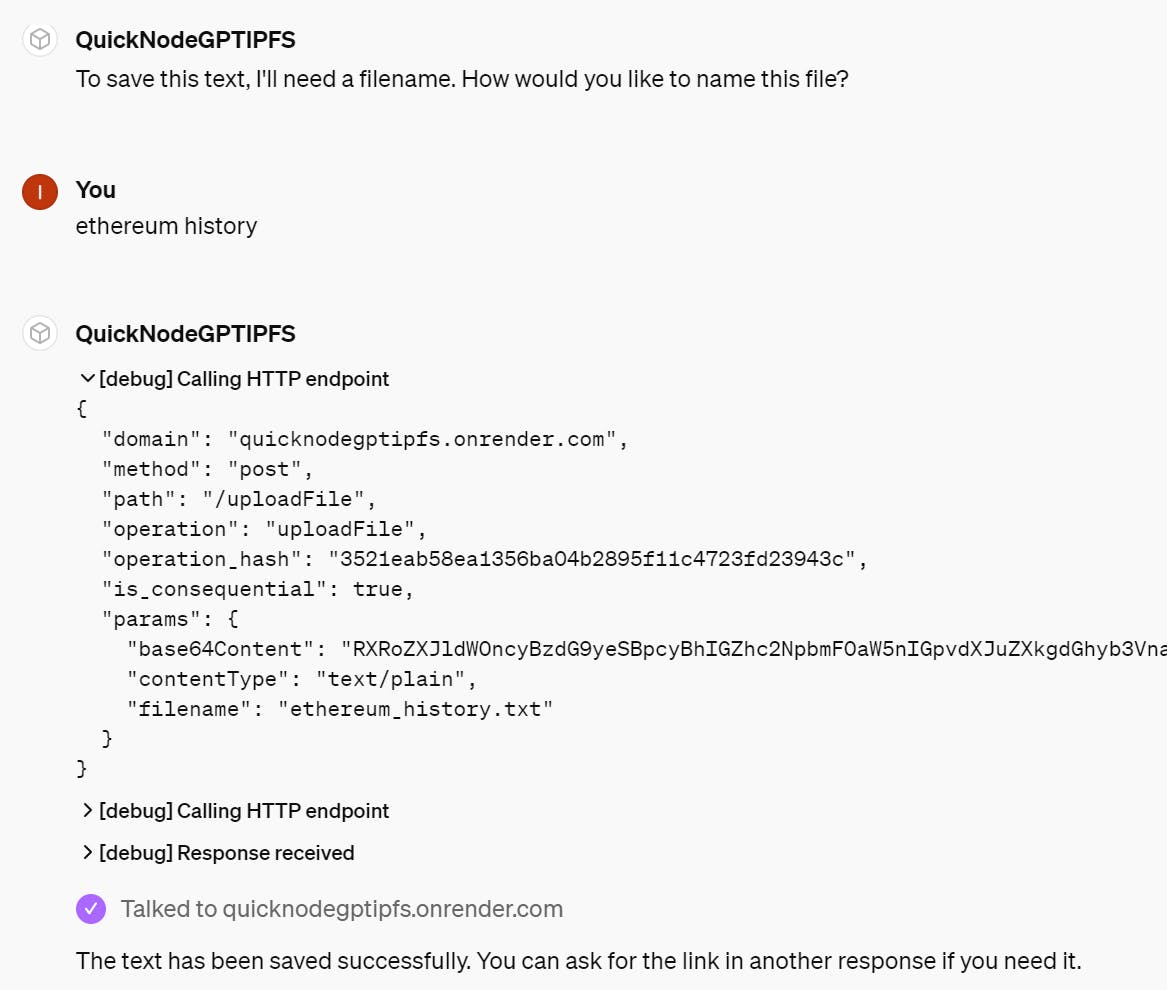
Behind the scenes, this is how the transaction is processed:
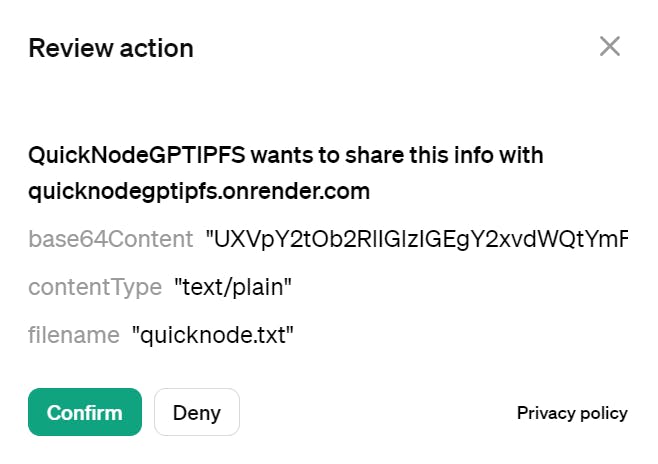
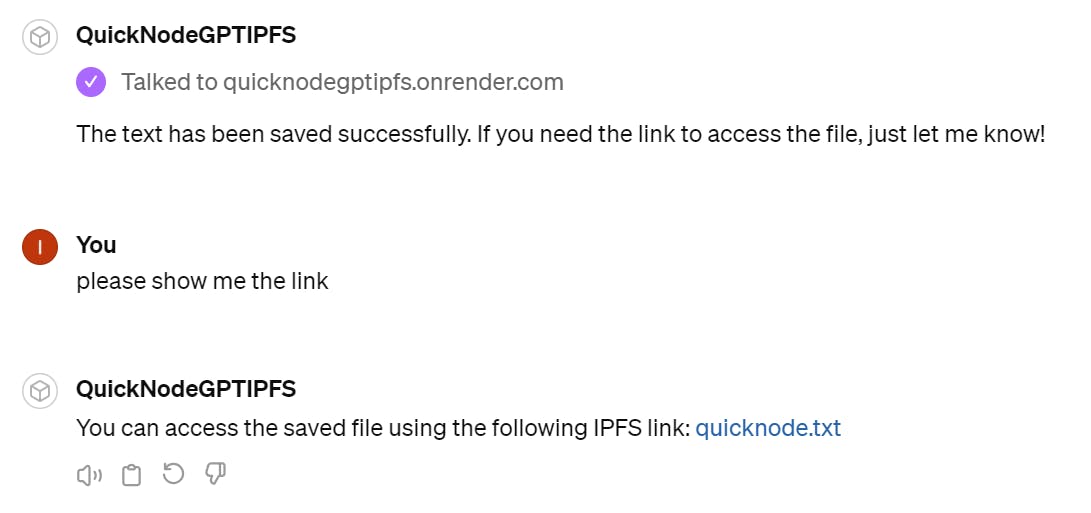
After knowing how it works, let's see the magic.
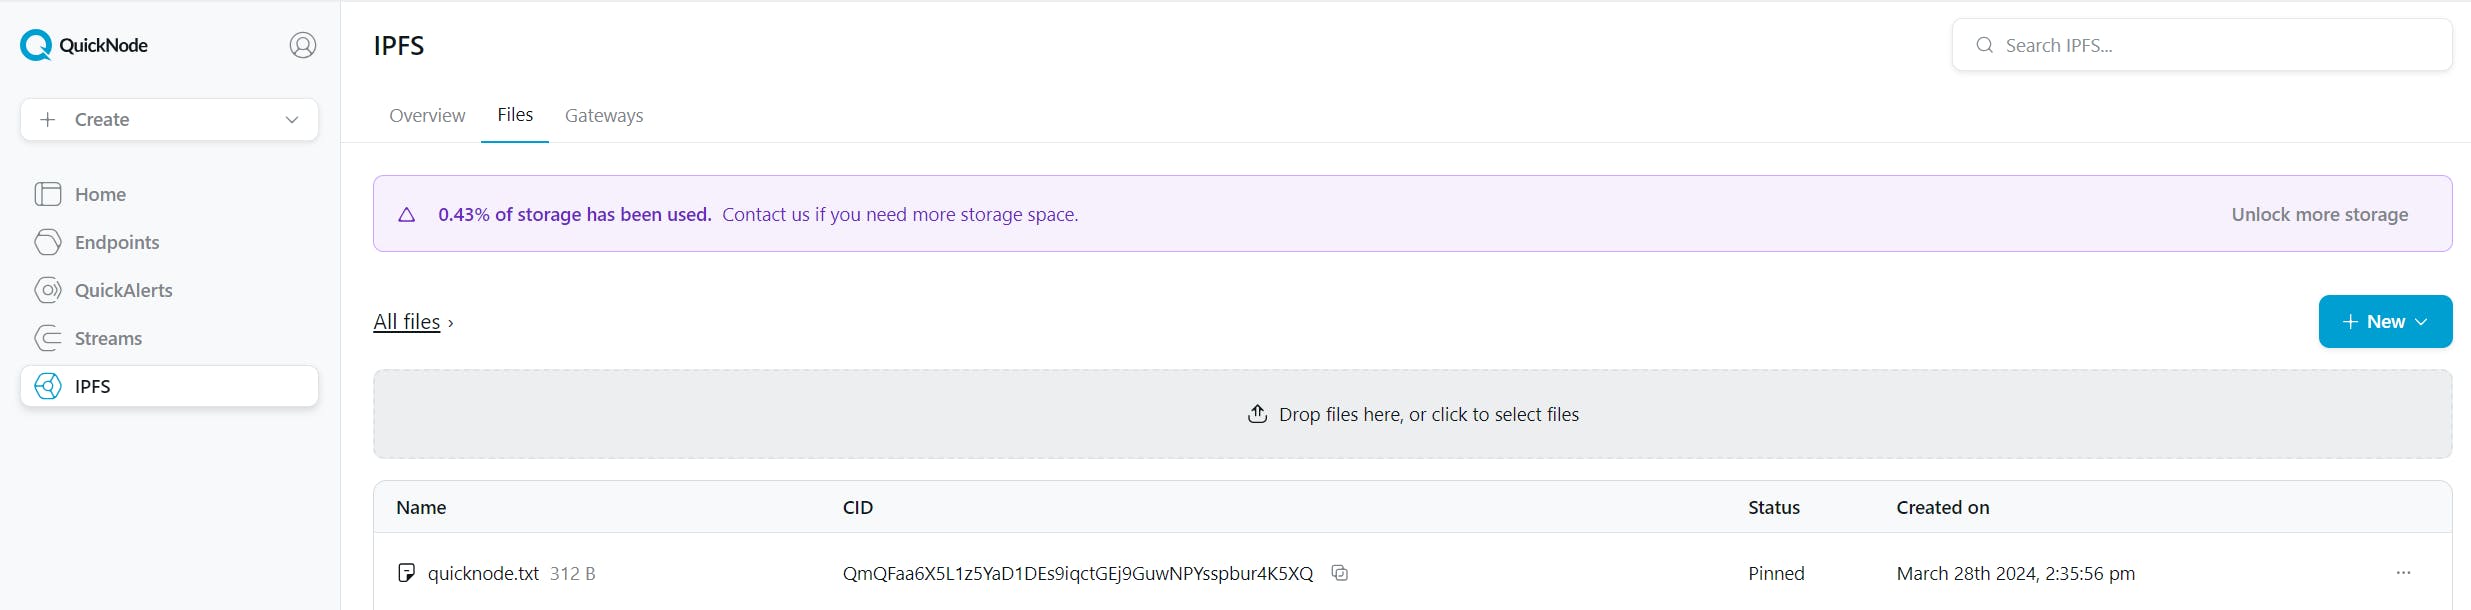
You can verify this information on your QuickNode IPFS Dashboard.
Conclusion
Excellent work! You've successfully programmed GPT to search for content and easily save it on IPFS using QuickNode. This technical guide serves as an experiment in file storage. Occasionally, ChatGPT 4 may encounter difficulties due to its early stage of development in handling large volumes of text and images.
I encourage you to explore adding more features. Even small adjustments can lead to notable improvements 🚀.
We ❤️ Feedback!
If you have any feedback or questions on this guide, let us know.
Or, feel free to reach out to us via Twitter or our Discord community server.
We’d love to hear from you!
Author: Irwing Tello
Discord: discord.com/invite/ADjtsHVreT
Twitter: twitter.com/irwingtello
LinkedIn: linkedin.com/in/irwingtello
Email: irwing@dfhcommunity.com
Youtube: youtube.com/@irwingtellomx
You can support my work here:
BTC: 34kXK9CpTJP1PyHKw2kUD2bt6rtGcG5CHY
EVM Address: 0x8B98F8Ff69d2A720120eD6C71A9Bc5072b8Eb46D
Solana: Ey9oVFHW79giacRZaKxigYjeihMsY7ox8jxc7Hp1sJmS