Create effortless generative NFTs with Photoshop: Upload via QuickNode IPFS in seconds


Introduction
In today's world of digital art and web3, creating new items becomes challenging when you have many community members.
Generative art has become a common approach in such communities.
When you need to design and save over 900 assets, this becomes a tough job, especially when you also have to make metadata for each image.
However, don't worry, I've reduced this workload for you ⚡.
What We Will Do
What You Will Need
Create an account on QuickNode.
You can use this coupon:
BUILD-AMB-10, this coupon gives 1 month of Build ($49) plan free.
Note: It expires after Aug 31st.
Download this file.
.PSD file.
Photoshop (if you have problems, please comment in this tutorial to fix them as soon as possible, I have tested on Adobe Photoshop CS6 and Photoshop CC 2015 ).
Generating our assets
First, you need to open your project and navigate to File > Scripts > Browse
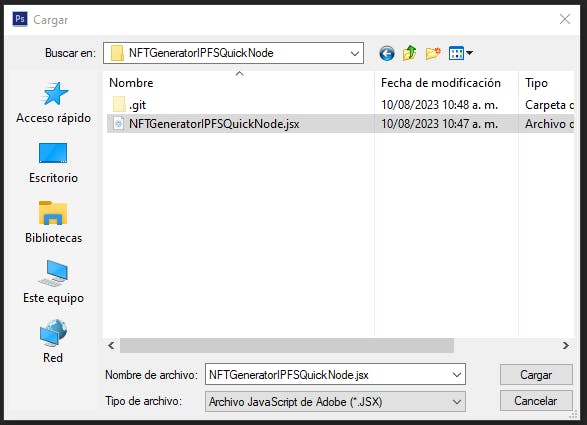
- Browse and load the downloaded
jsxfile
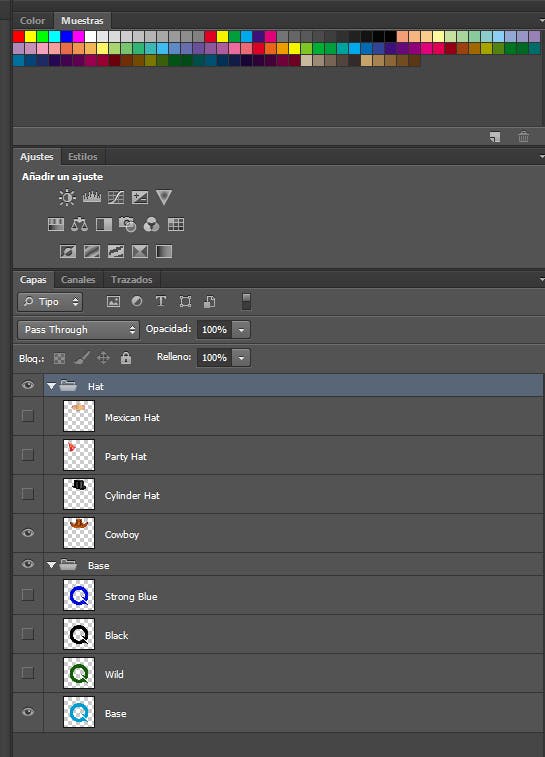
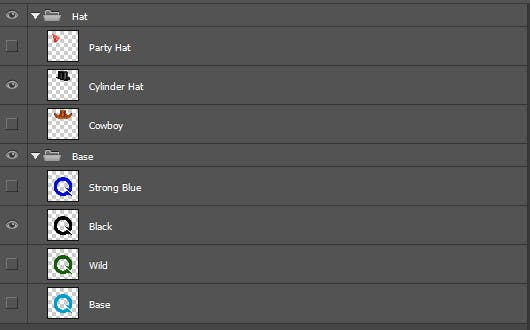
Your project should look like this:
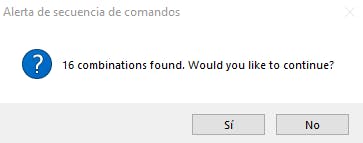
You will see the next notification, please click on "Yes" :
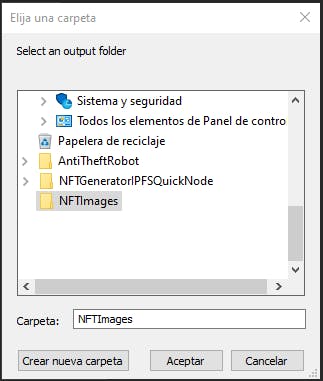
Chose where to store our nft images and metadata:
You can also store the .psd file for each composition generated from the layers.
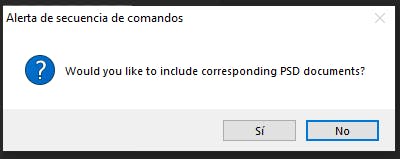
But you can ignore to generate the .psd documents.
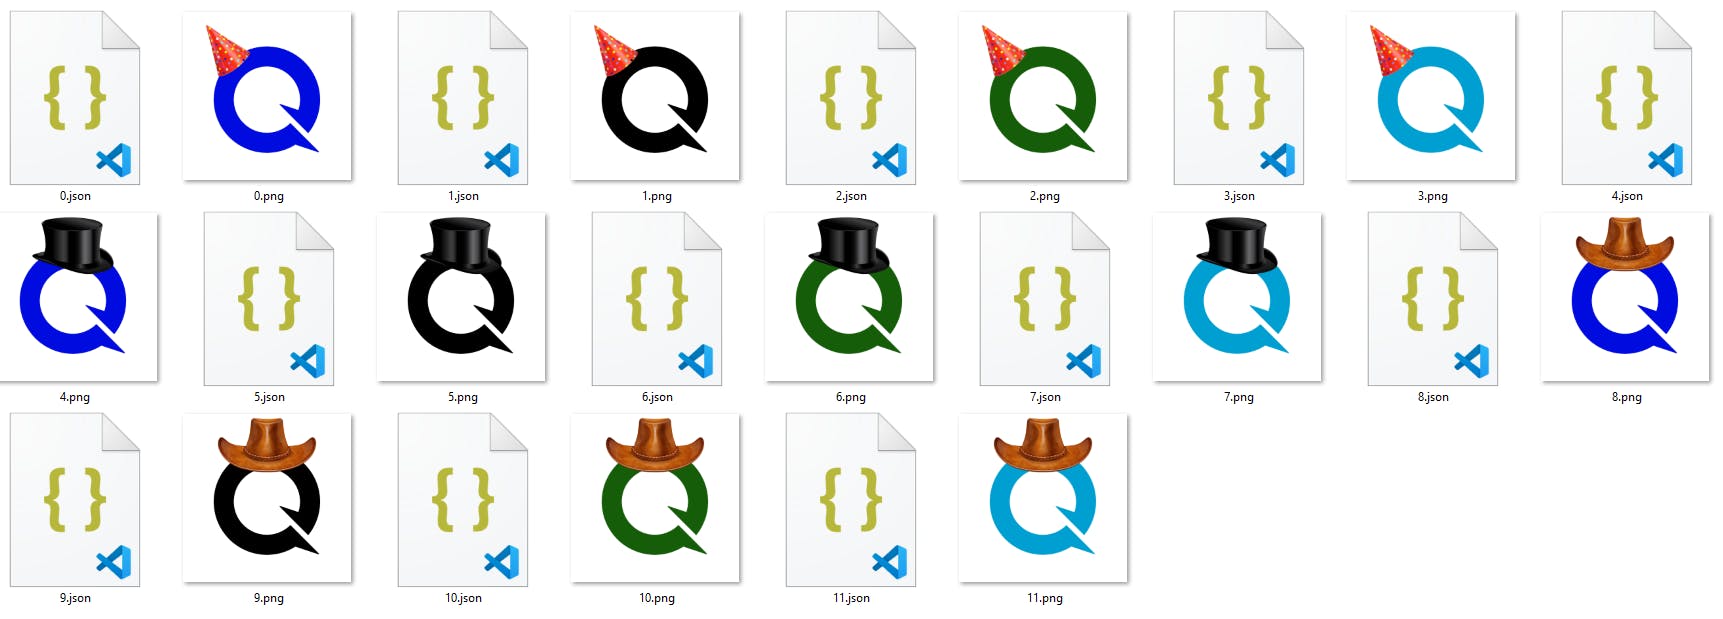
After that, you will notice the eyes changing in Photoshop. This is because the scripts are generating the .png and .json files
This how looks the metadata inside each .json file.
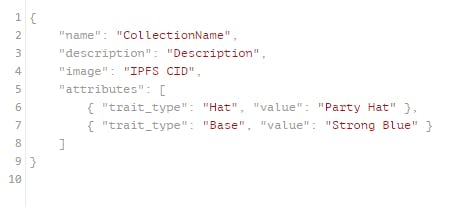
- To change the "name" and "description", you need to go to the ".jsx" and edit with Notepad++.

On the line 121, you can change the CollectioName.
On the line 122, you can change the Description.
Remember to put the text inside the double quotation marks.

Before to upload our metadata to IPFS via QuickNode, we need to upload the images to obtain this field "image".
What is IPFS?
IPFS is like a toolbox of rules for arranging and sending information. It's made to work smoothly by focusing on finding content and connecting directly between users.
After knowing what is IPFS in simple terms, we need to upload these images via QuickNode.
What is QuickNode?
QuickNode makes it easy for everyone to set up and manage all the web3 stuff, without having to worry about the complexity of maintaining the infrastructure.
Uploading files to QuickNode
To upload your images to QuickNode, you need to go to Storage:
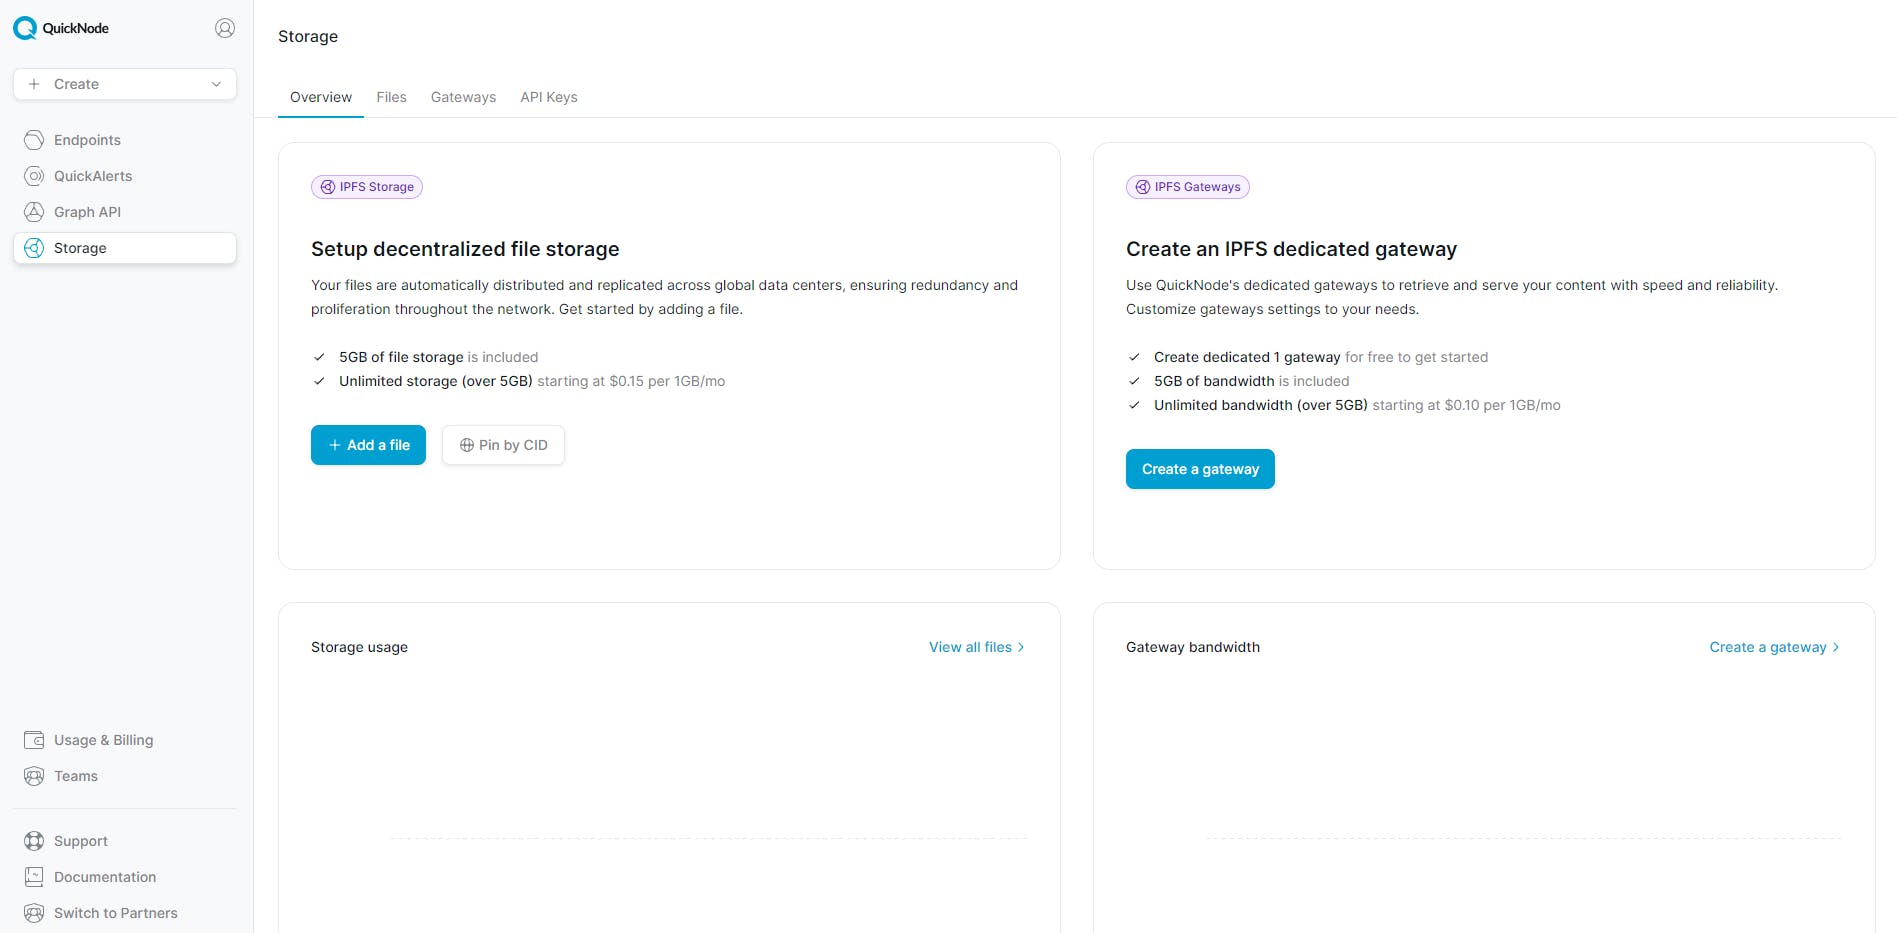
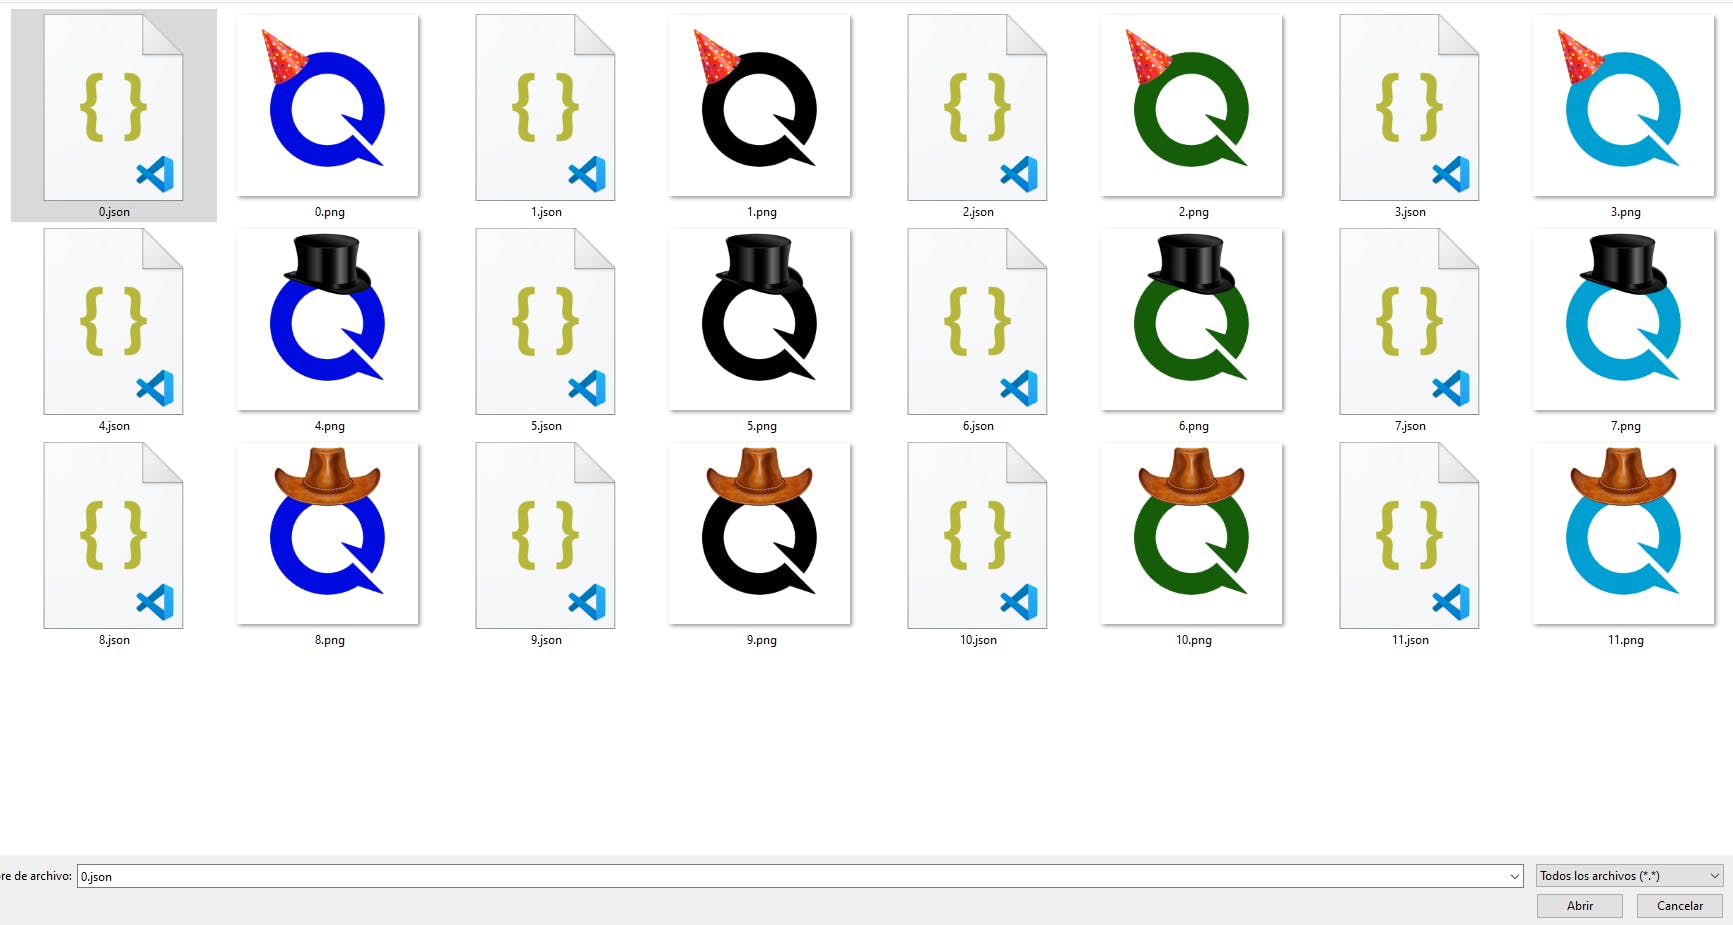
Click on the "Add a file" button, after that, you need to select all the images in folder where we previously generated the nft images.
Pro tip: You can group the files by type of file to select in seconds the images.
- Once all the images are uploaded to IPFS, the quicknode's site will direct to the Files section.
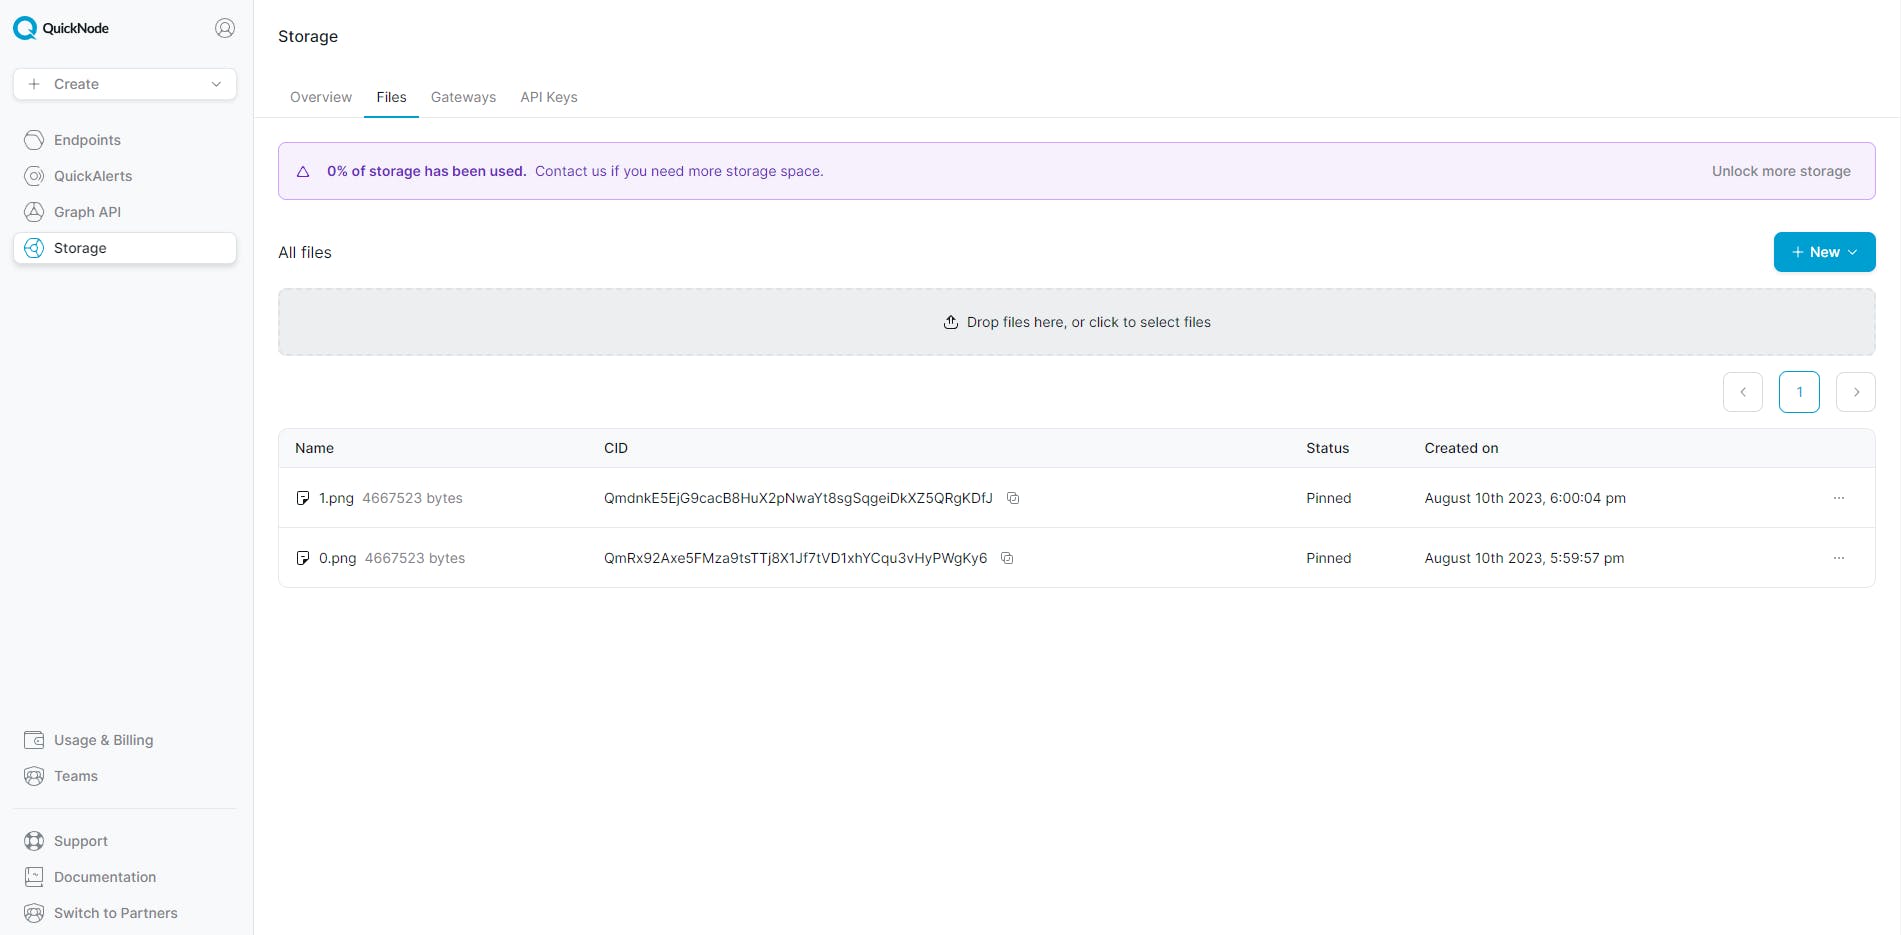
We need to copy each CID field.
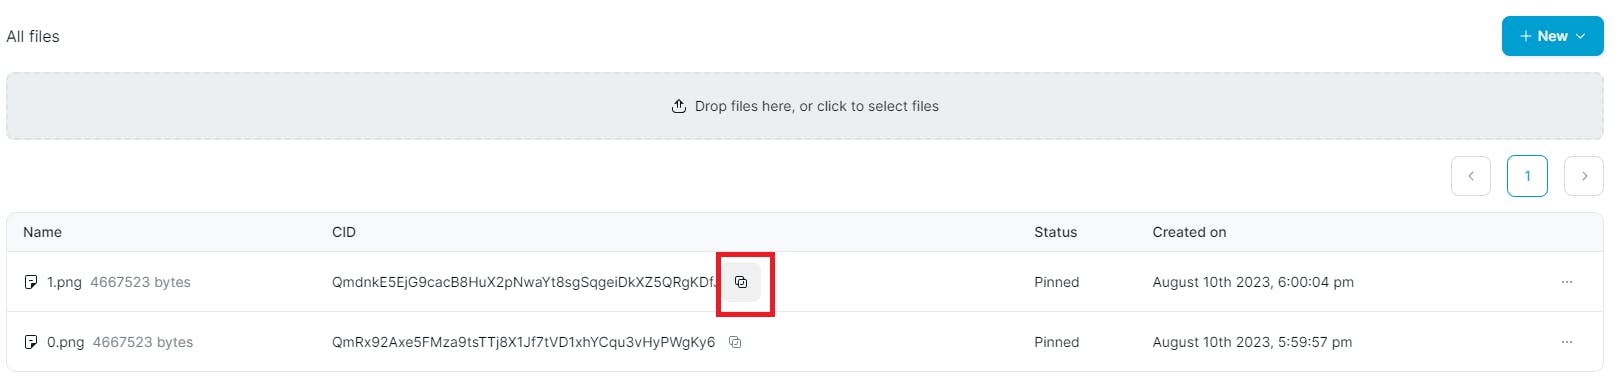
After that, for example in the item 1, we need to go to our metadata:

And change the text IPFS CID to each CID, example:
ipfs://QmdnkE5EjG9cacB8HuX2pNwaYt8sgSqgeiDk..

After updated all the .json files , you need to upload again in the QuickNode storage file section.
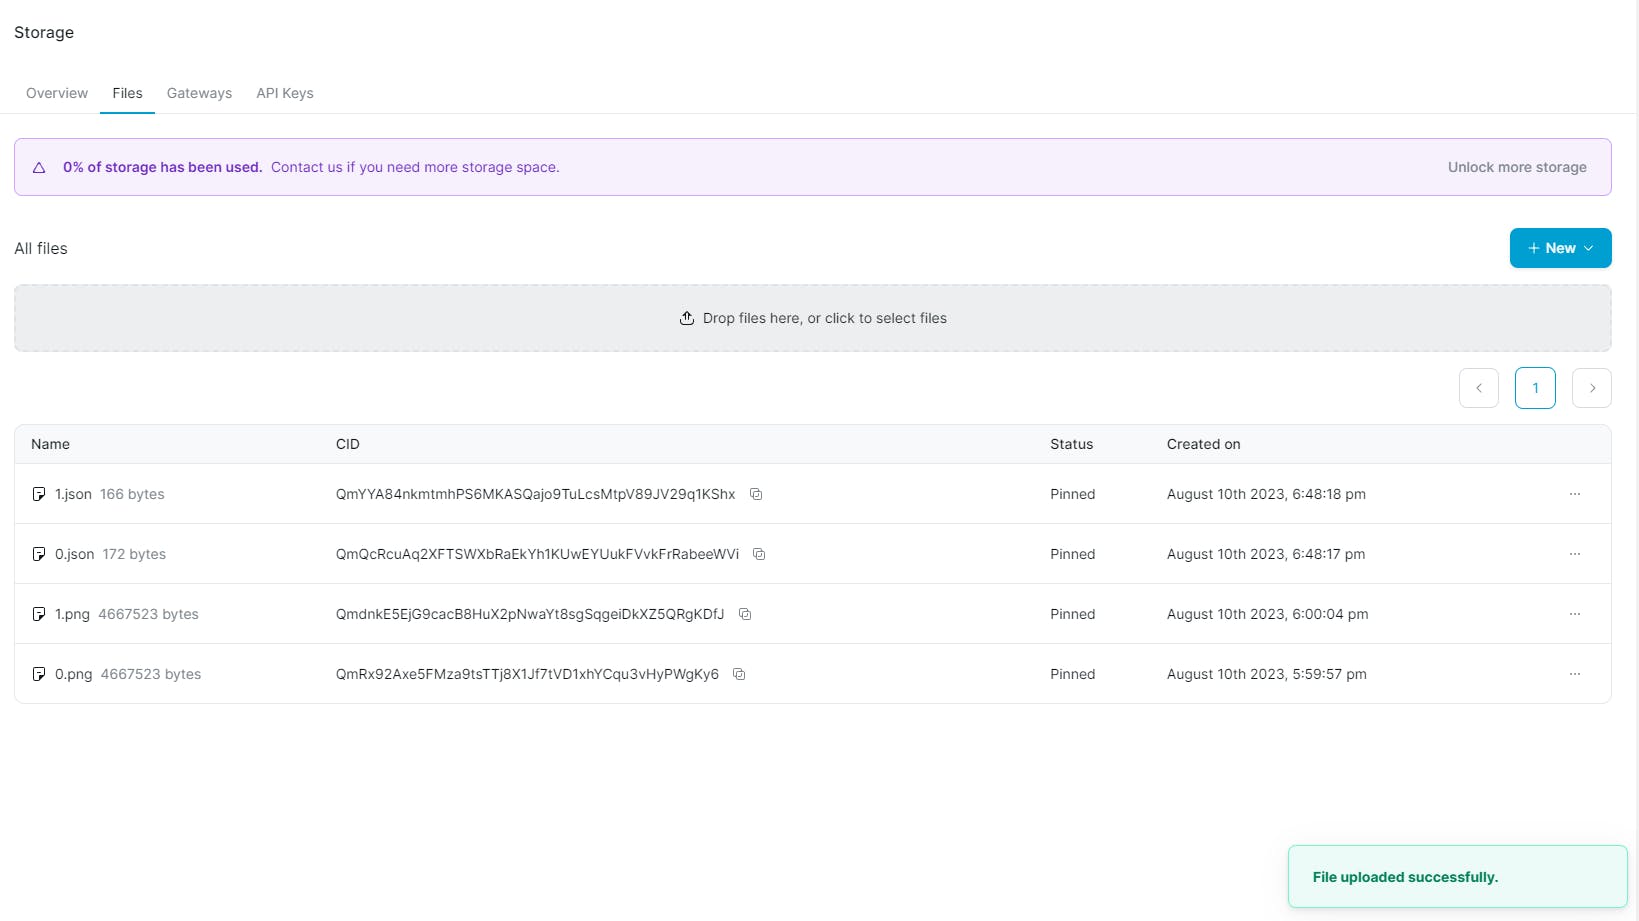
Finally you can copy the cid from your metadata.json and paste in your collection ⚡
Conclusion:
Congratulations on making it to the end of this tutorial!
This article has shown you how to generate NFT assets and metadata using Photoshop, and then upload them to IPFS via QuickNode.
By following the steps outlined in this article, anyone can easily generate a large number of NFT assets and metadata with minimal effort.
Finally, to automate this script even further, you can explore the endpoints described in the quick node documentation:
https://www.quicknode.com/docs/storage/getting-started.
If you are not a developer, I can help you, just comment on this article or contact me at : irwing@dfhcommunity.com :)
We ❤️ Feedback!
If you have any feedback or questions on this guide, let us know. Or, feel free to reach out to us via Twitter or our Discord community server.
We’d love to hear from you!
Author: Irwing Tello
Discord: discord.com/invite/ADjtsHVreT
Twitter: twitter.com/irwingtello
LinkedIn: linkedin.com/in/irwingtello
Email: irwing@dfhcommunity.comWebsite: dfhcommunity.comYoutube: youtube.com/@irwingtellomx
You can support my work here:
buymeacoffee.com/irwingtello
BTC: 34kXK9CpTJP1PyHKw2kUD2bt6rtGcG5CHY
EVM Address: 0x8B98F8Ff69d2A720120eD6C71A9Bc5072b8Eb46D
Solana: Ey9oVFHW79giacRZaKxigYjeihMsY7ox8jxc7Hp1sJmS