Table of contents
- What We Will Do
- What You Will Need
- Obtaining information from QuickNode
- Creating a service to retrieve information for our ChatGPT action.
- Creating our first ChatGPT action
- Searching NFTS from your wallet on ChatGPT with QuickNode.
- Searching NFTS from specific collection on ChatGPT with QuickNode.
- Conclusion
- We ❤️ Feedback!
In the era of AI, ChatGPT has become a game-changer for individuals and enterprises by harnessing a combination of various services. That's why QuickNode aims to alleviate the hassle of searching for NFTs within your personal wallet and collection.
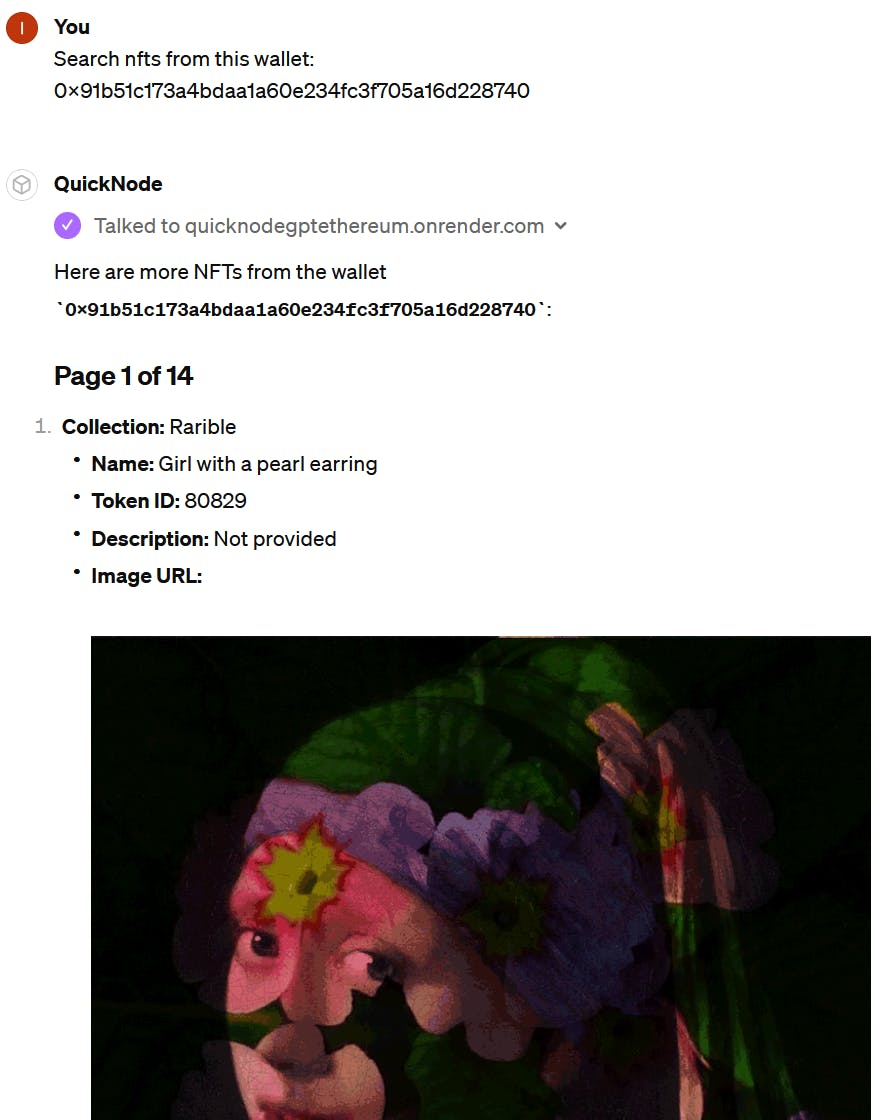
Here is the result of what you will achieve at the end of this tutorial:
What We Will Do
- Creating a GPT on ChatGPT
What You Will Need
Obtaining information from QuickNode
Obtaining QUICKNODE_RPC_URL value:
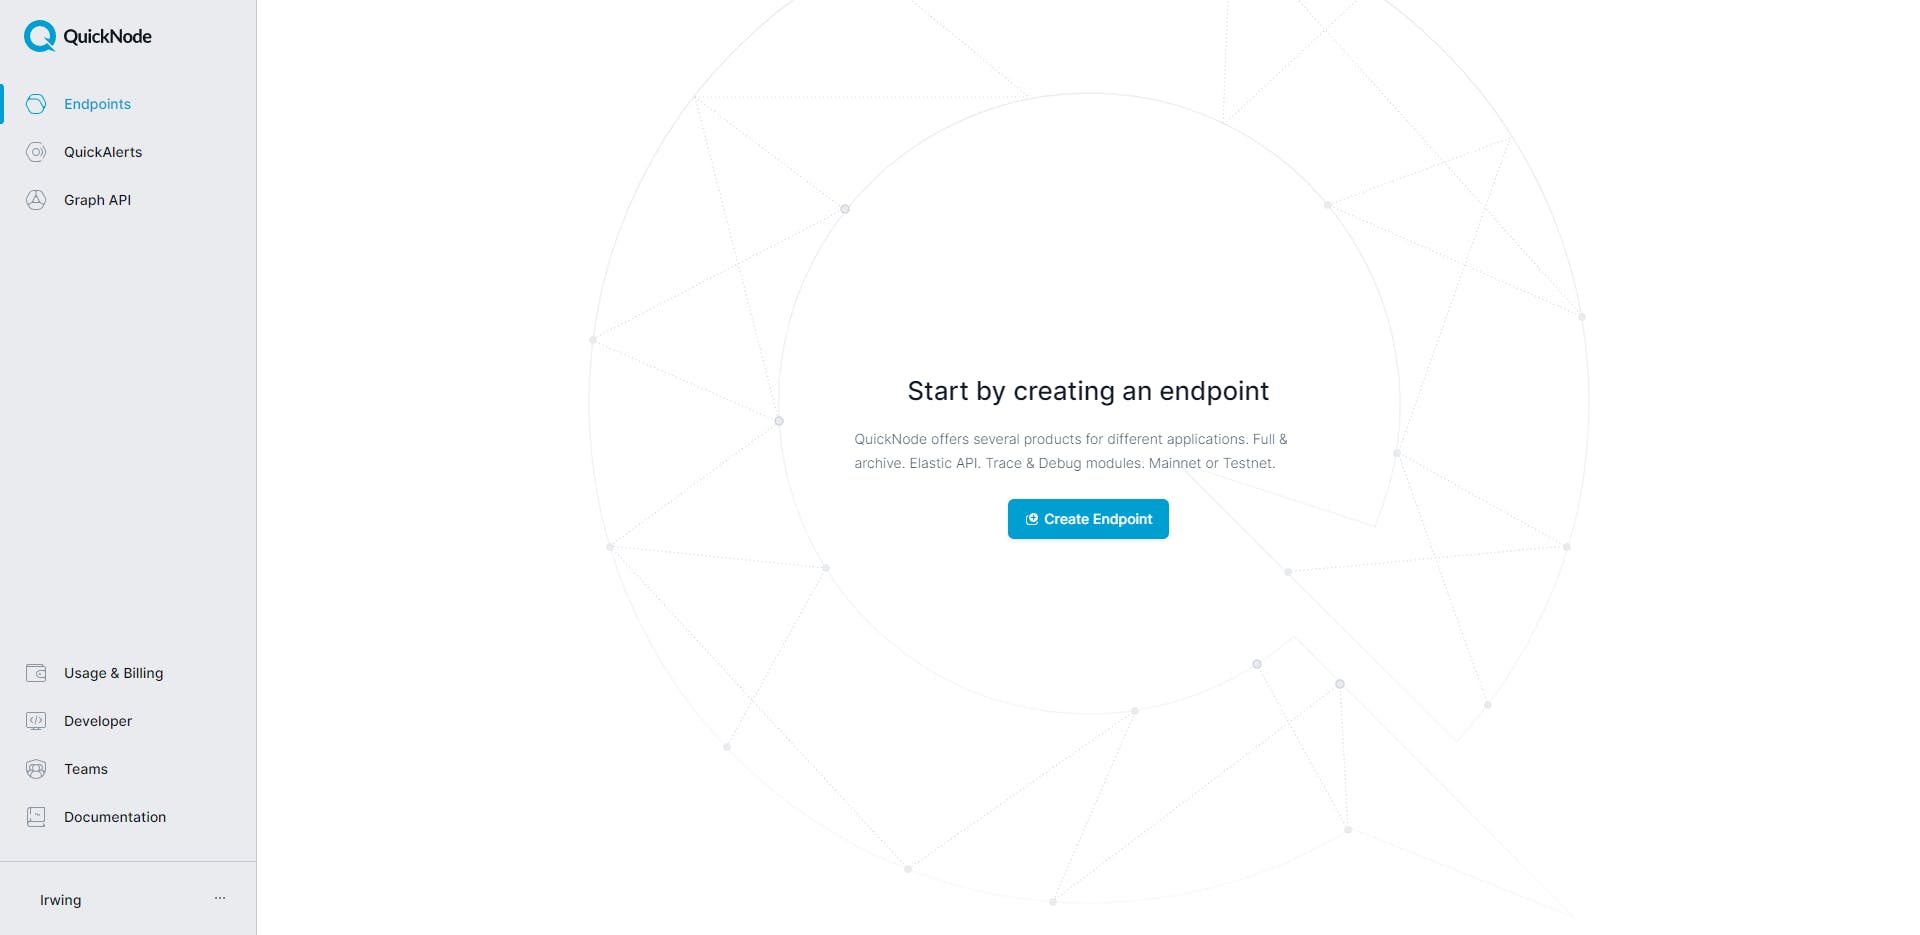
Click on the "Create Endpoint" button.
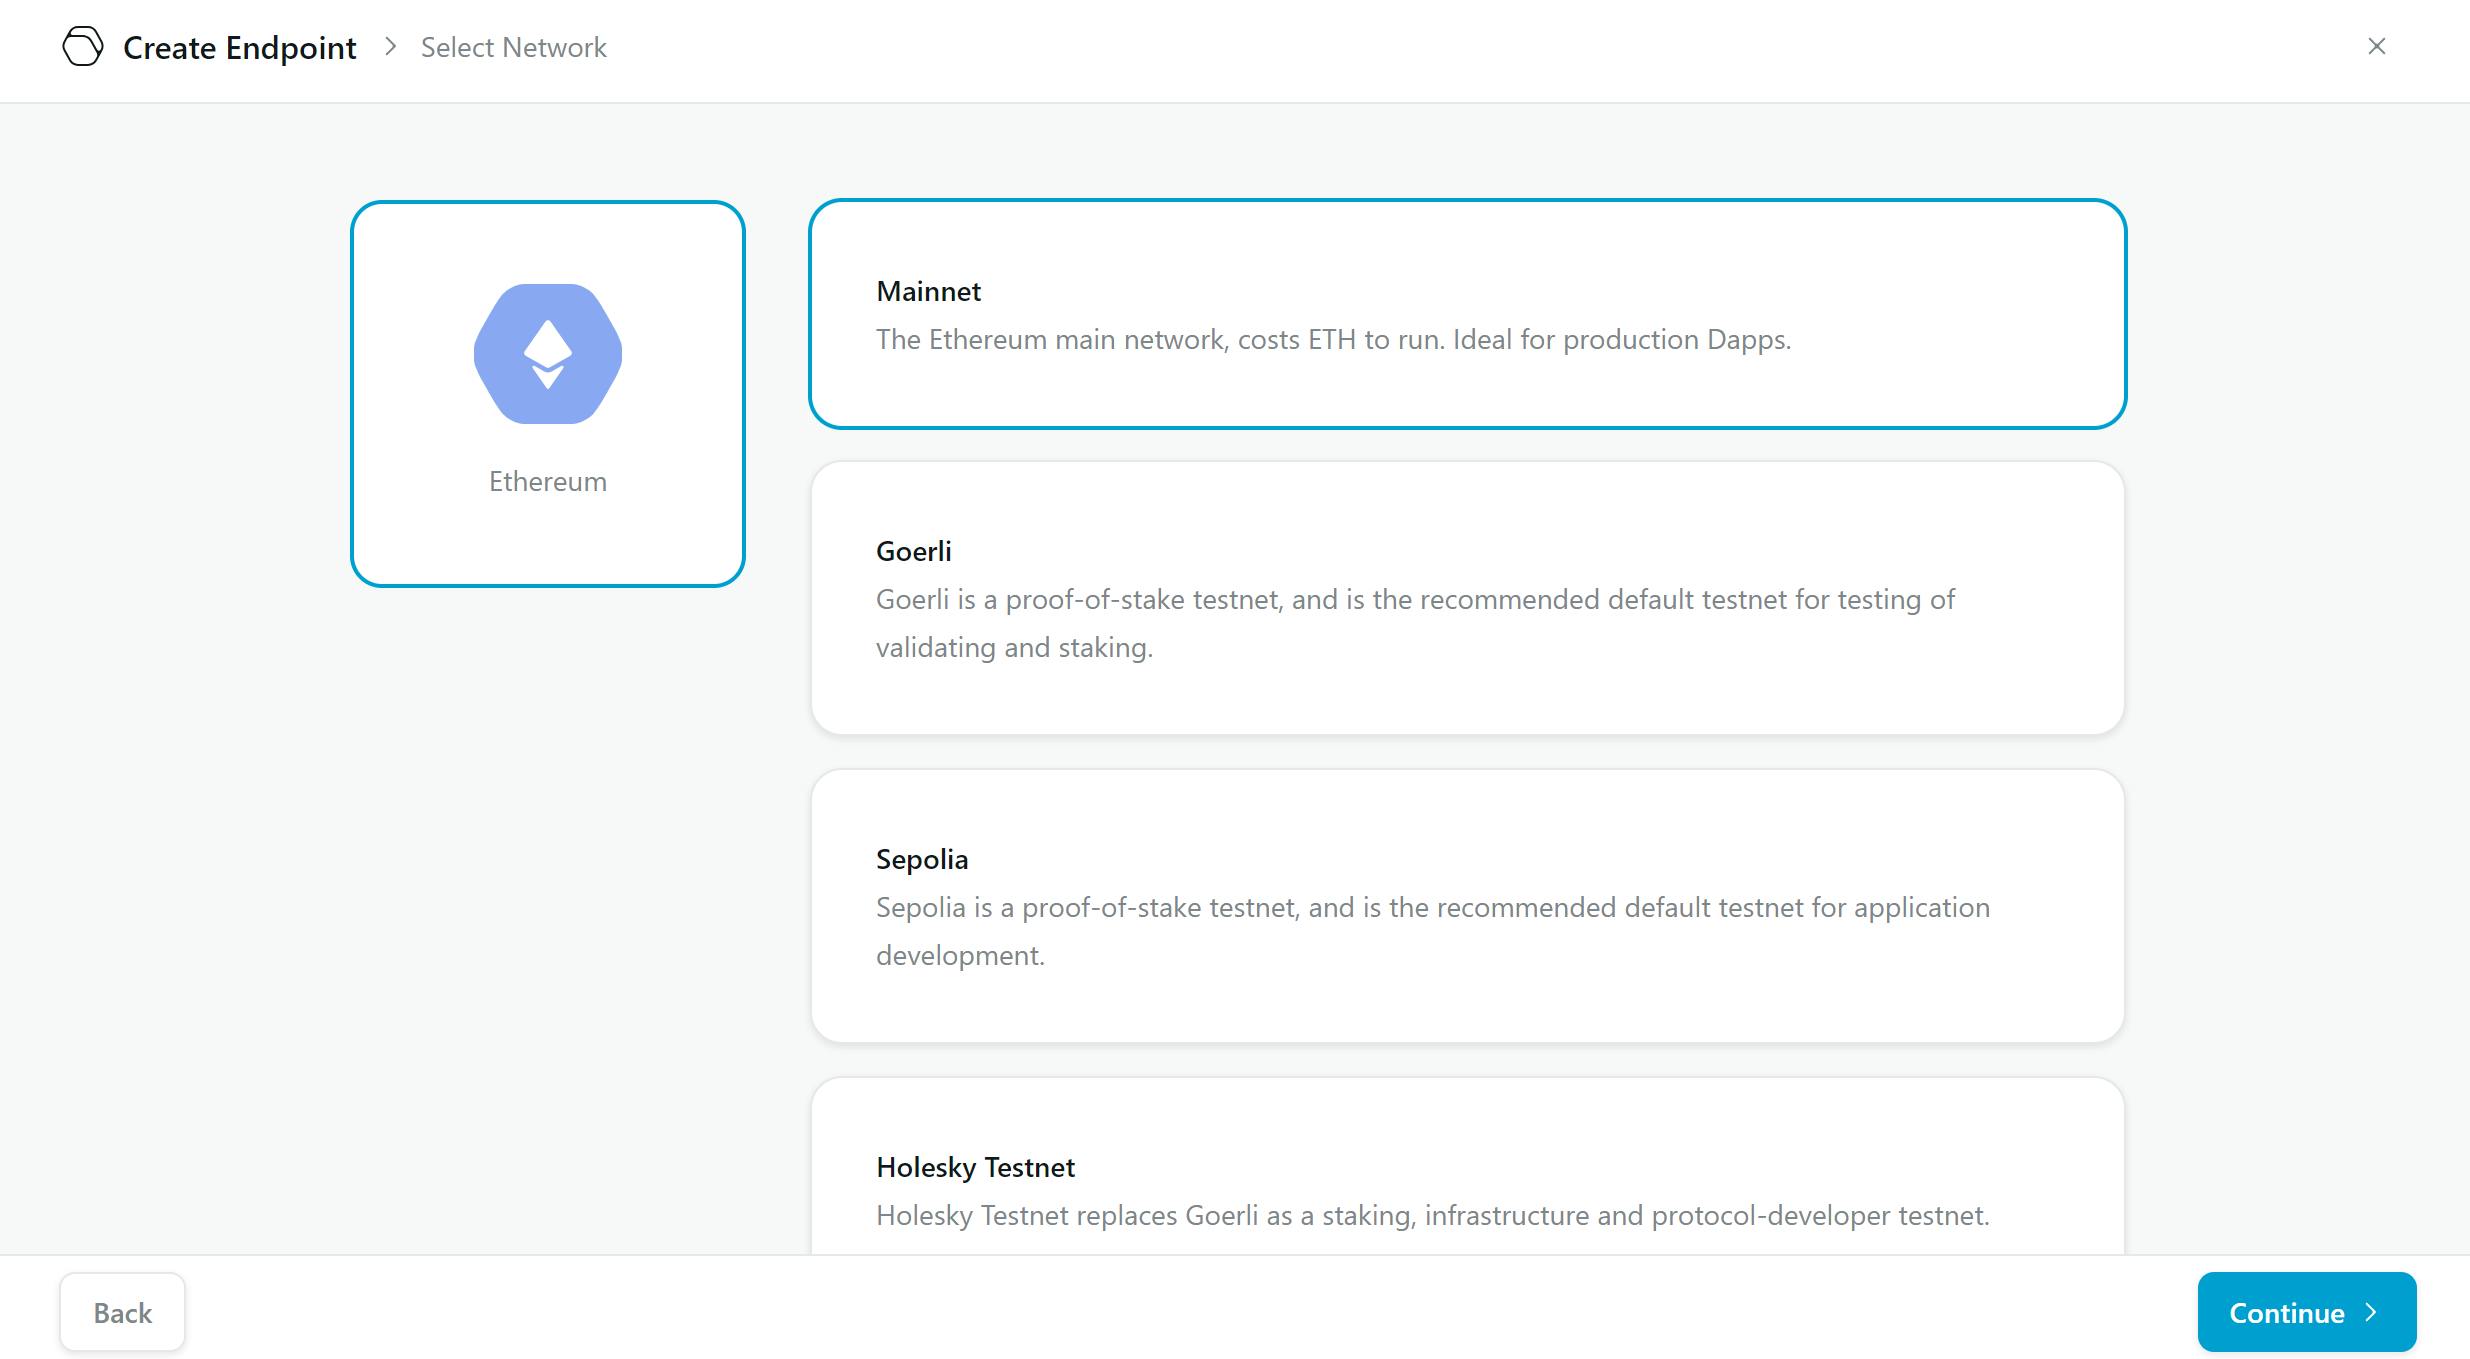
We need to select the Ethereum blockchain.
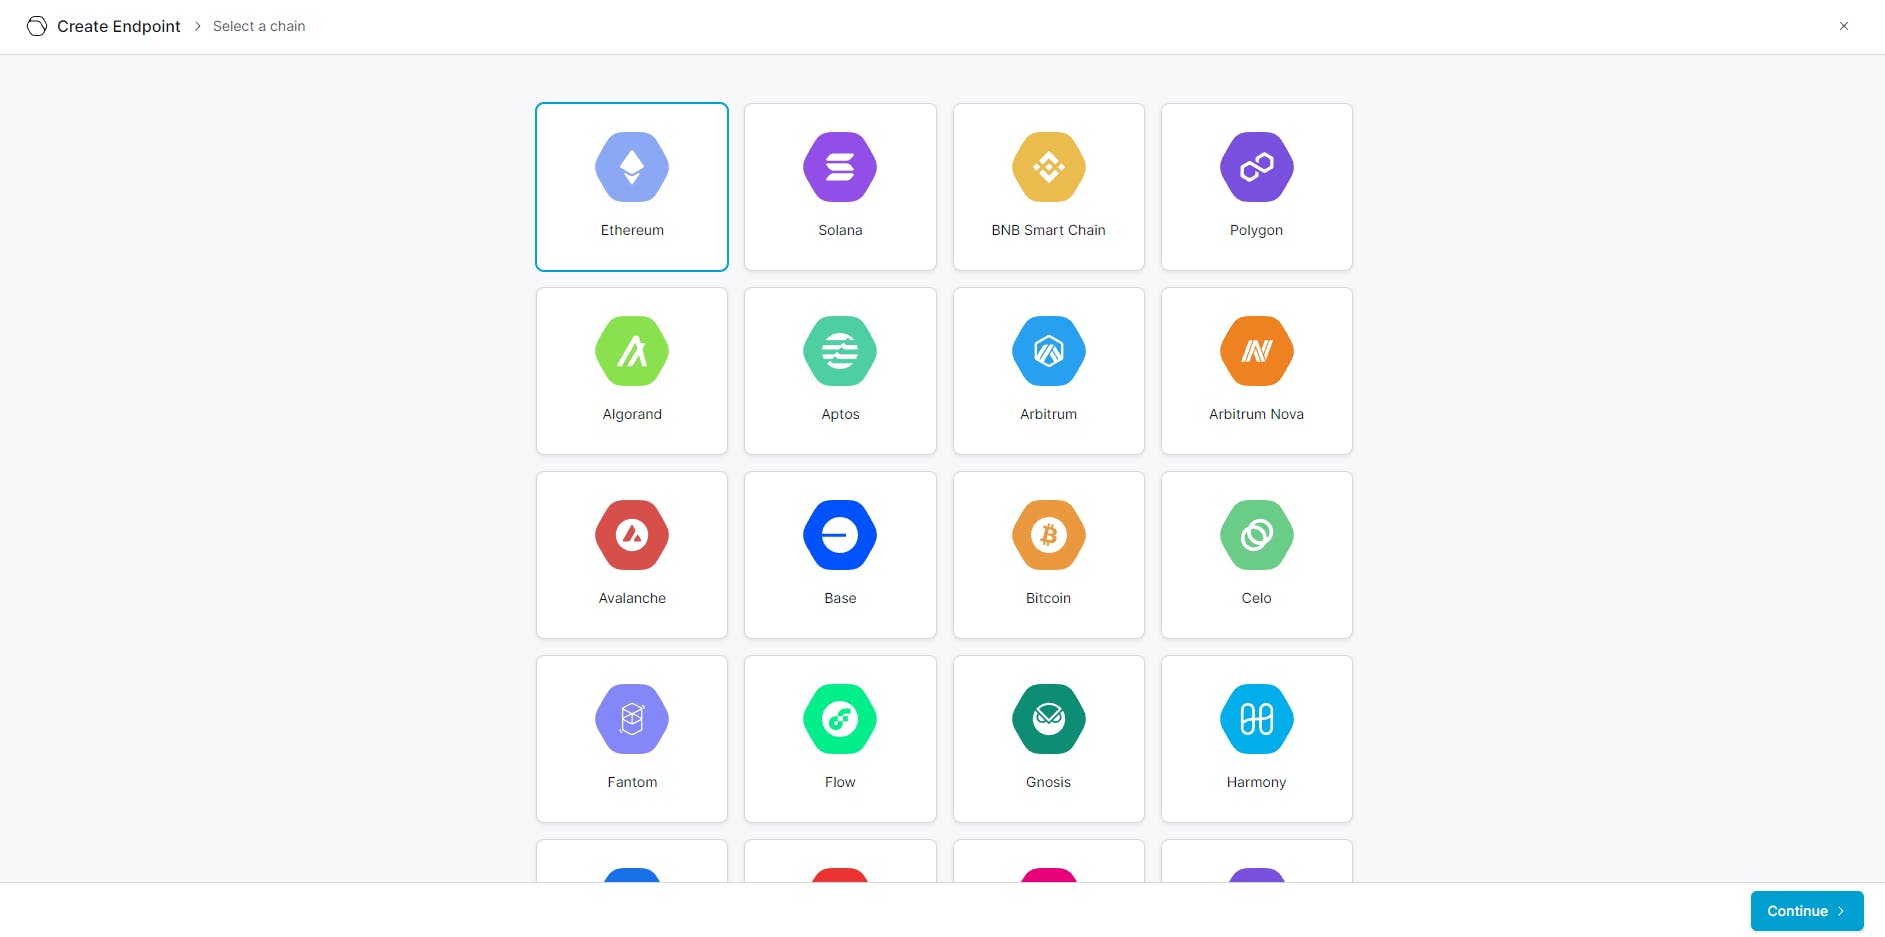
In my case I selected Ethereum Mainnet.
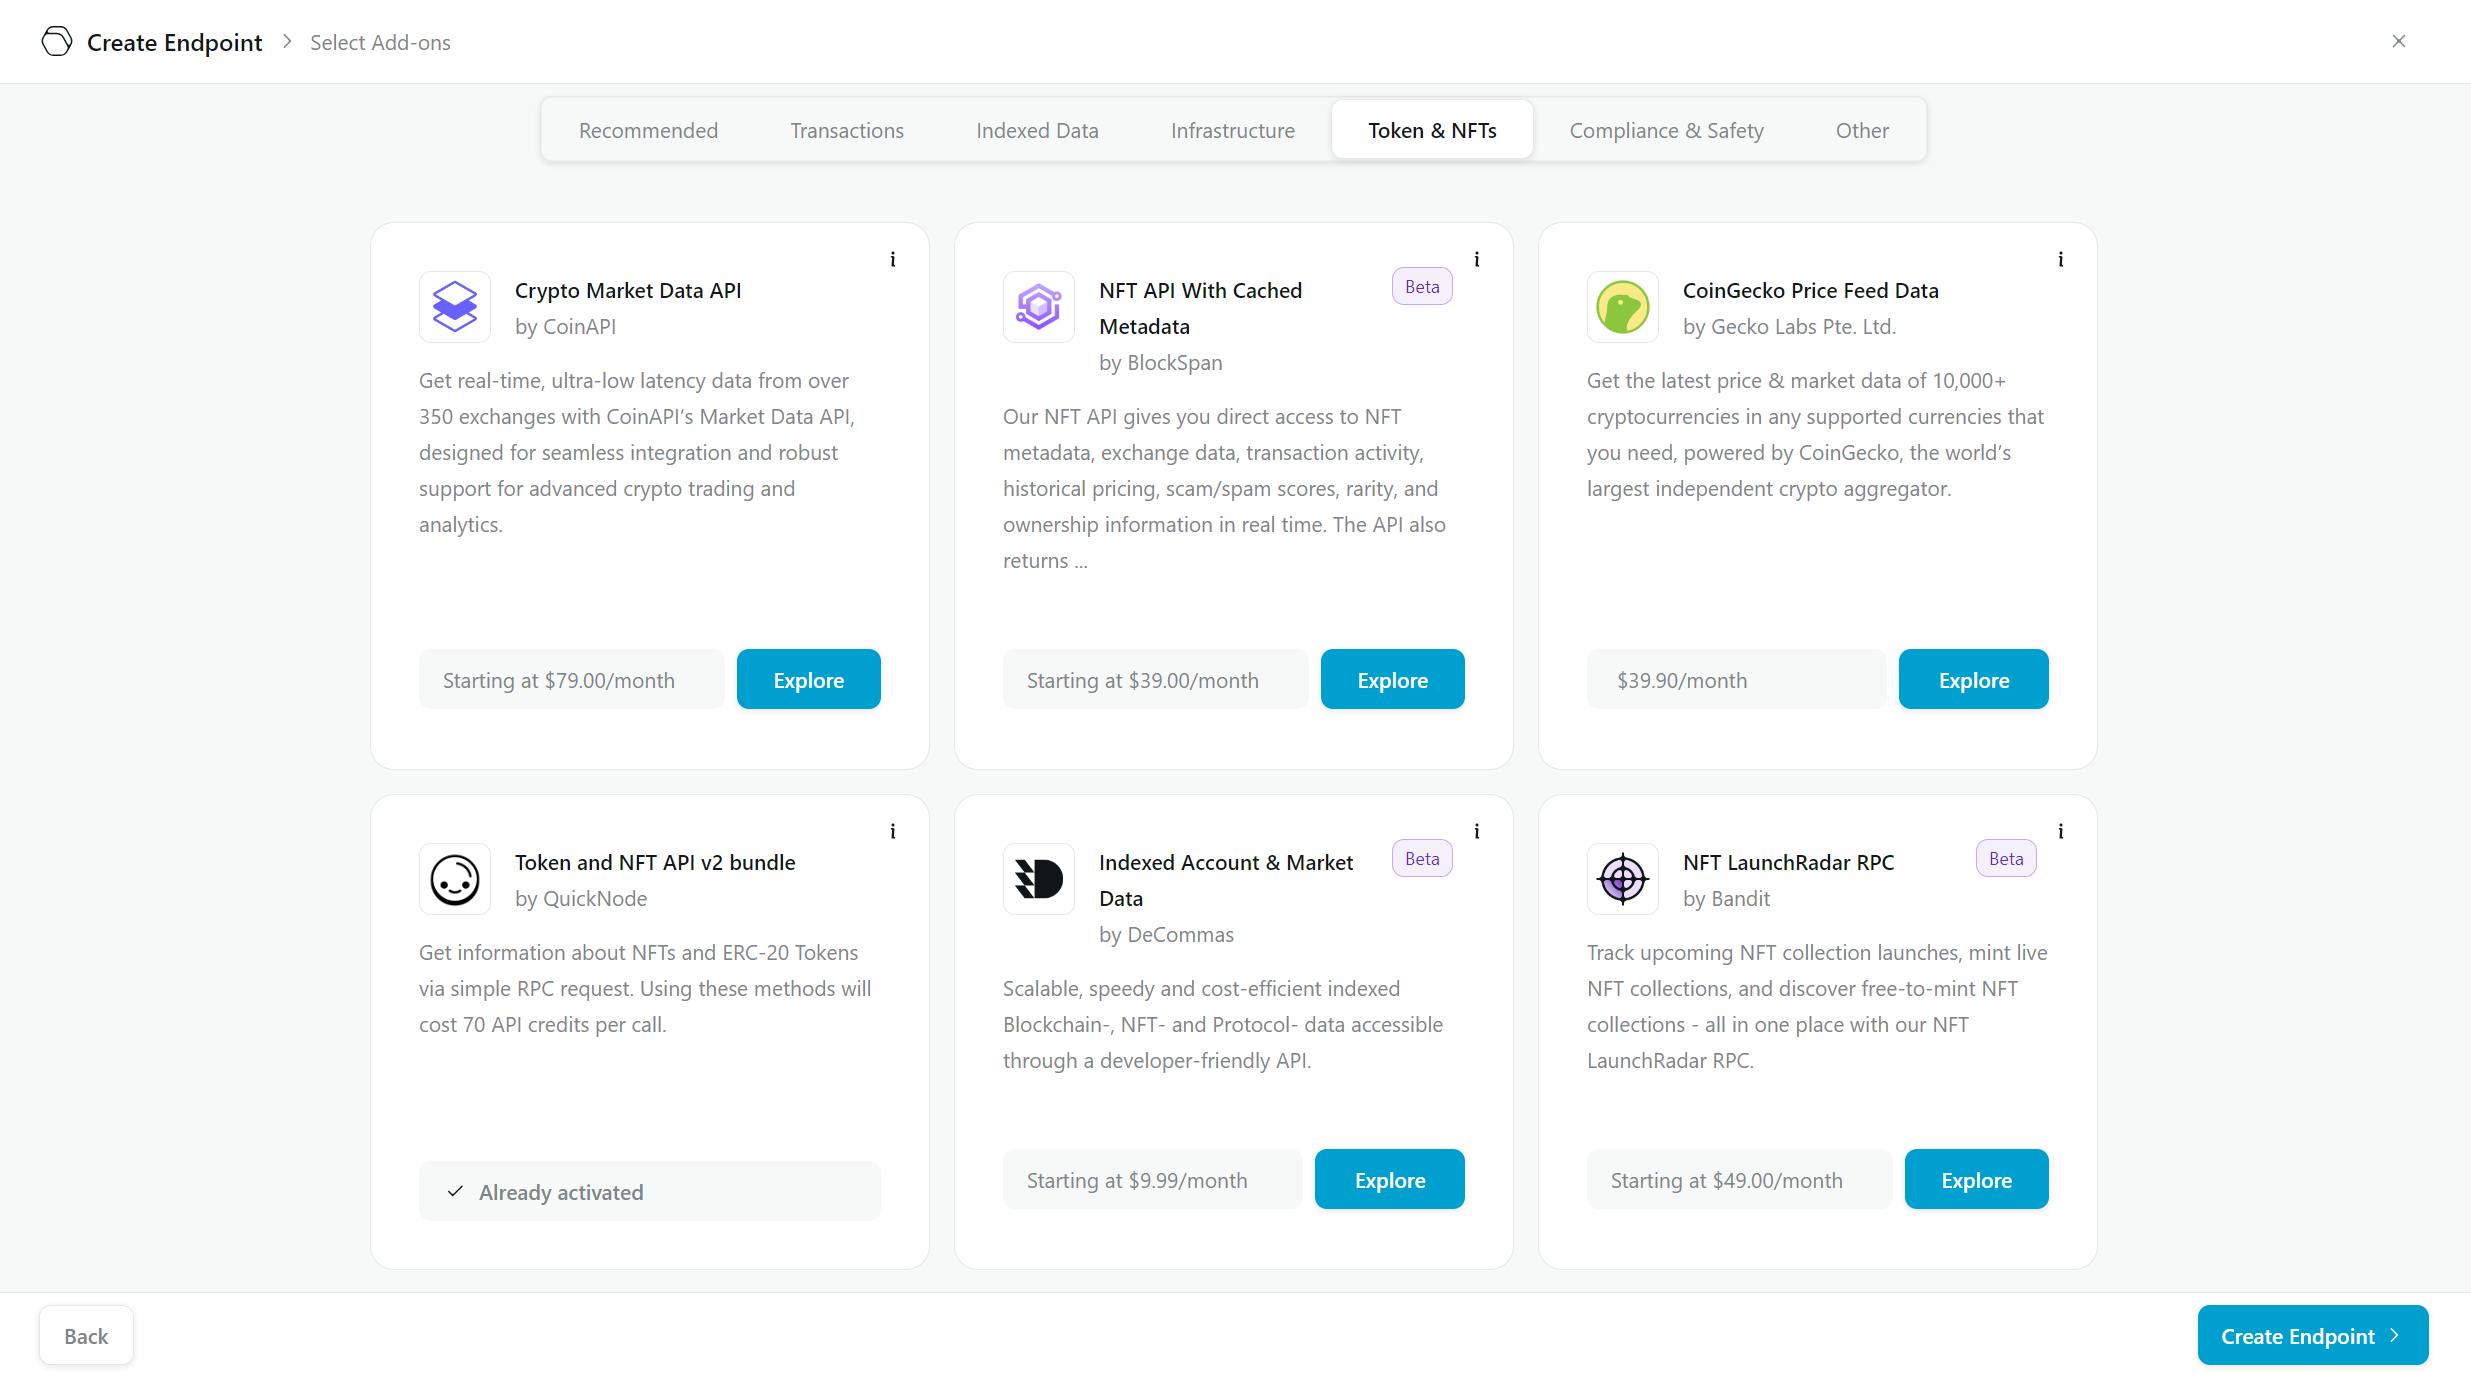
After that, activate the Token and NFT API v2 bundle add-on and click on the button "Create endpoint".
Finally we get the QUICKNODE_RPC_URL.

After that ,we need to go to Render.
Creating a service to retrieve information for our ChatGPT action.
You need to go to Render:

Afterward, you need to click on "New". In the subsequent steps, you will need to click on the "Web Service" option.
You will see this dashboard:
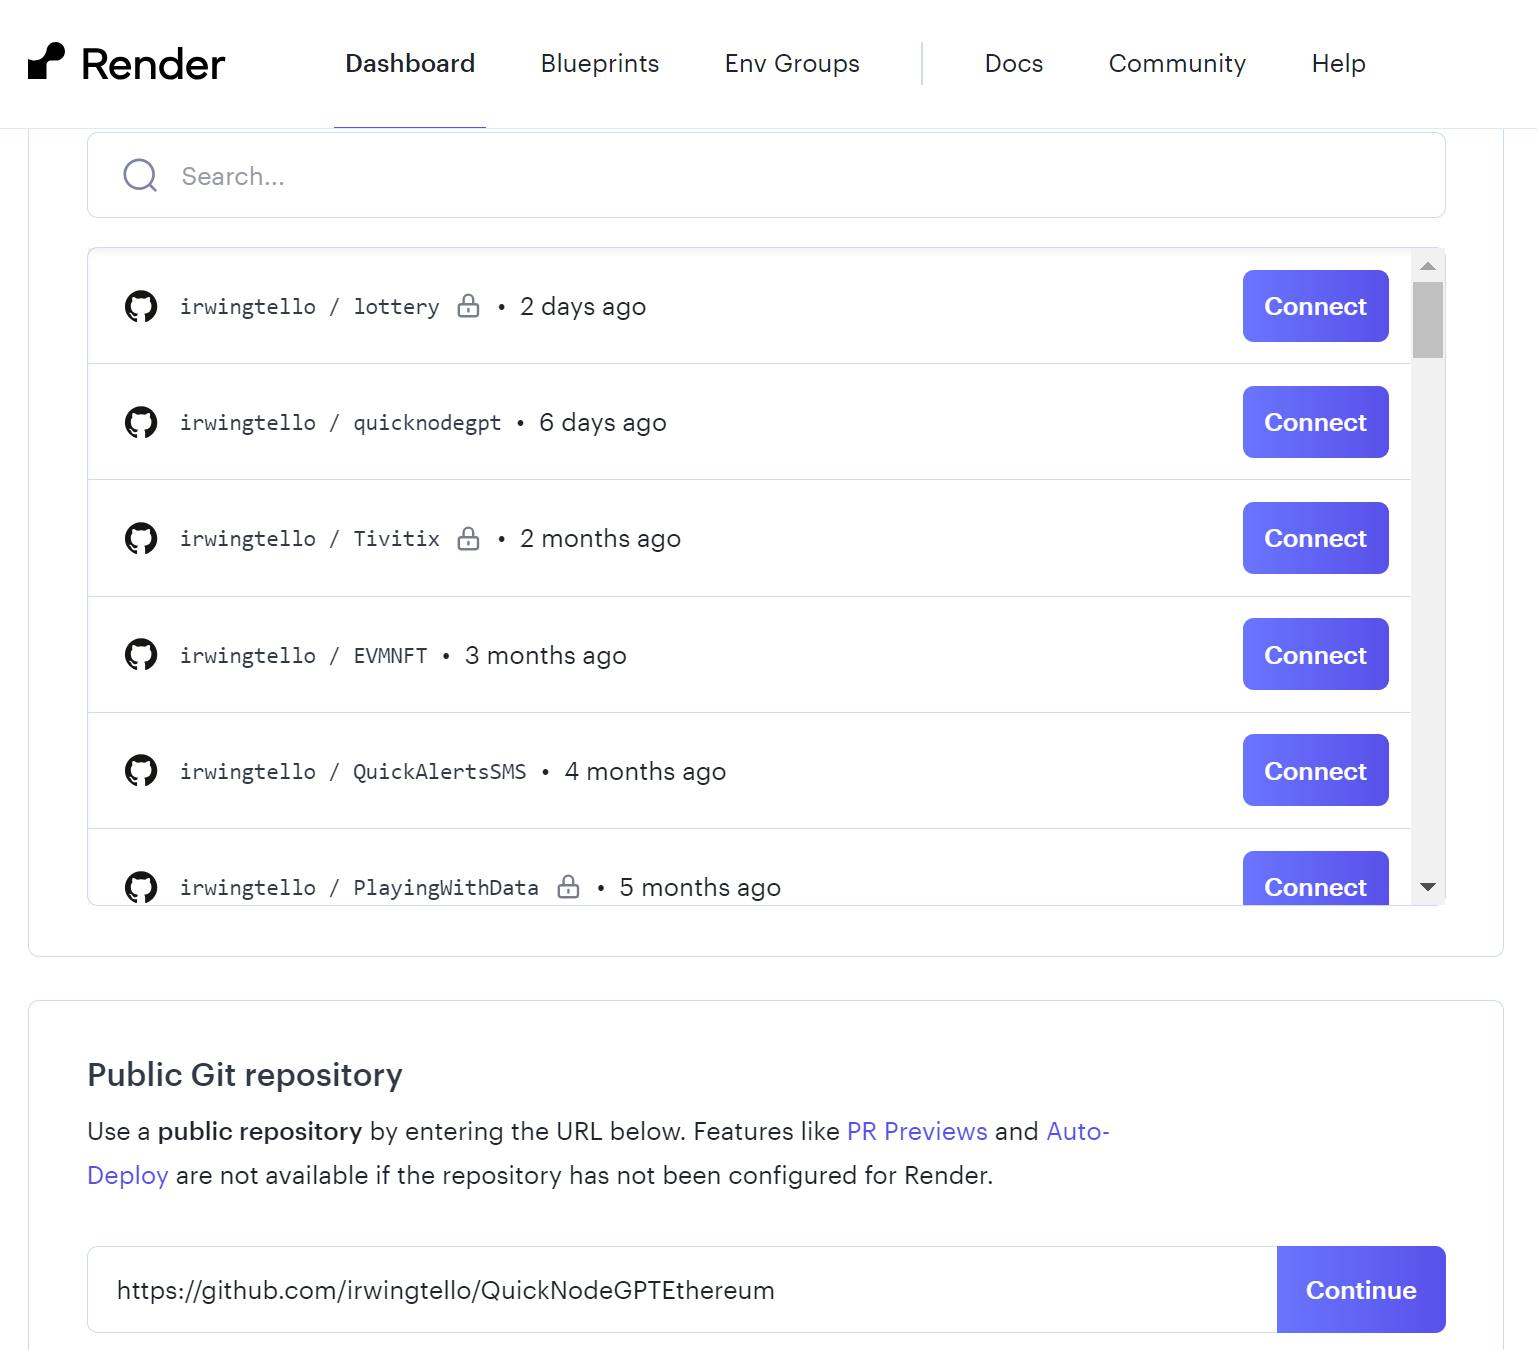
In the Public Git Repository section, you can find a white box where you need to paste this code and click on the "Continue" button:
https://github.com/irwingtello/QuickNodeGPTEthereum
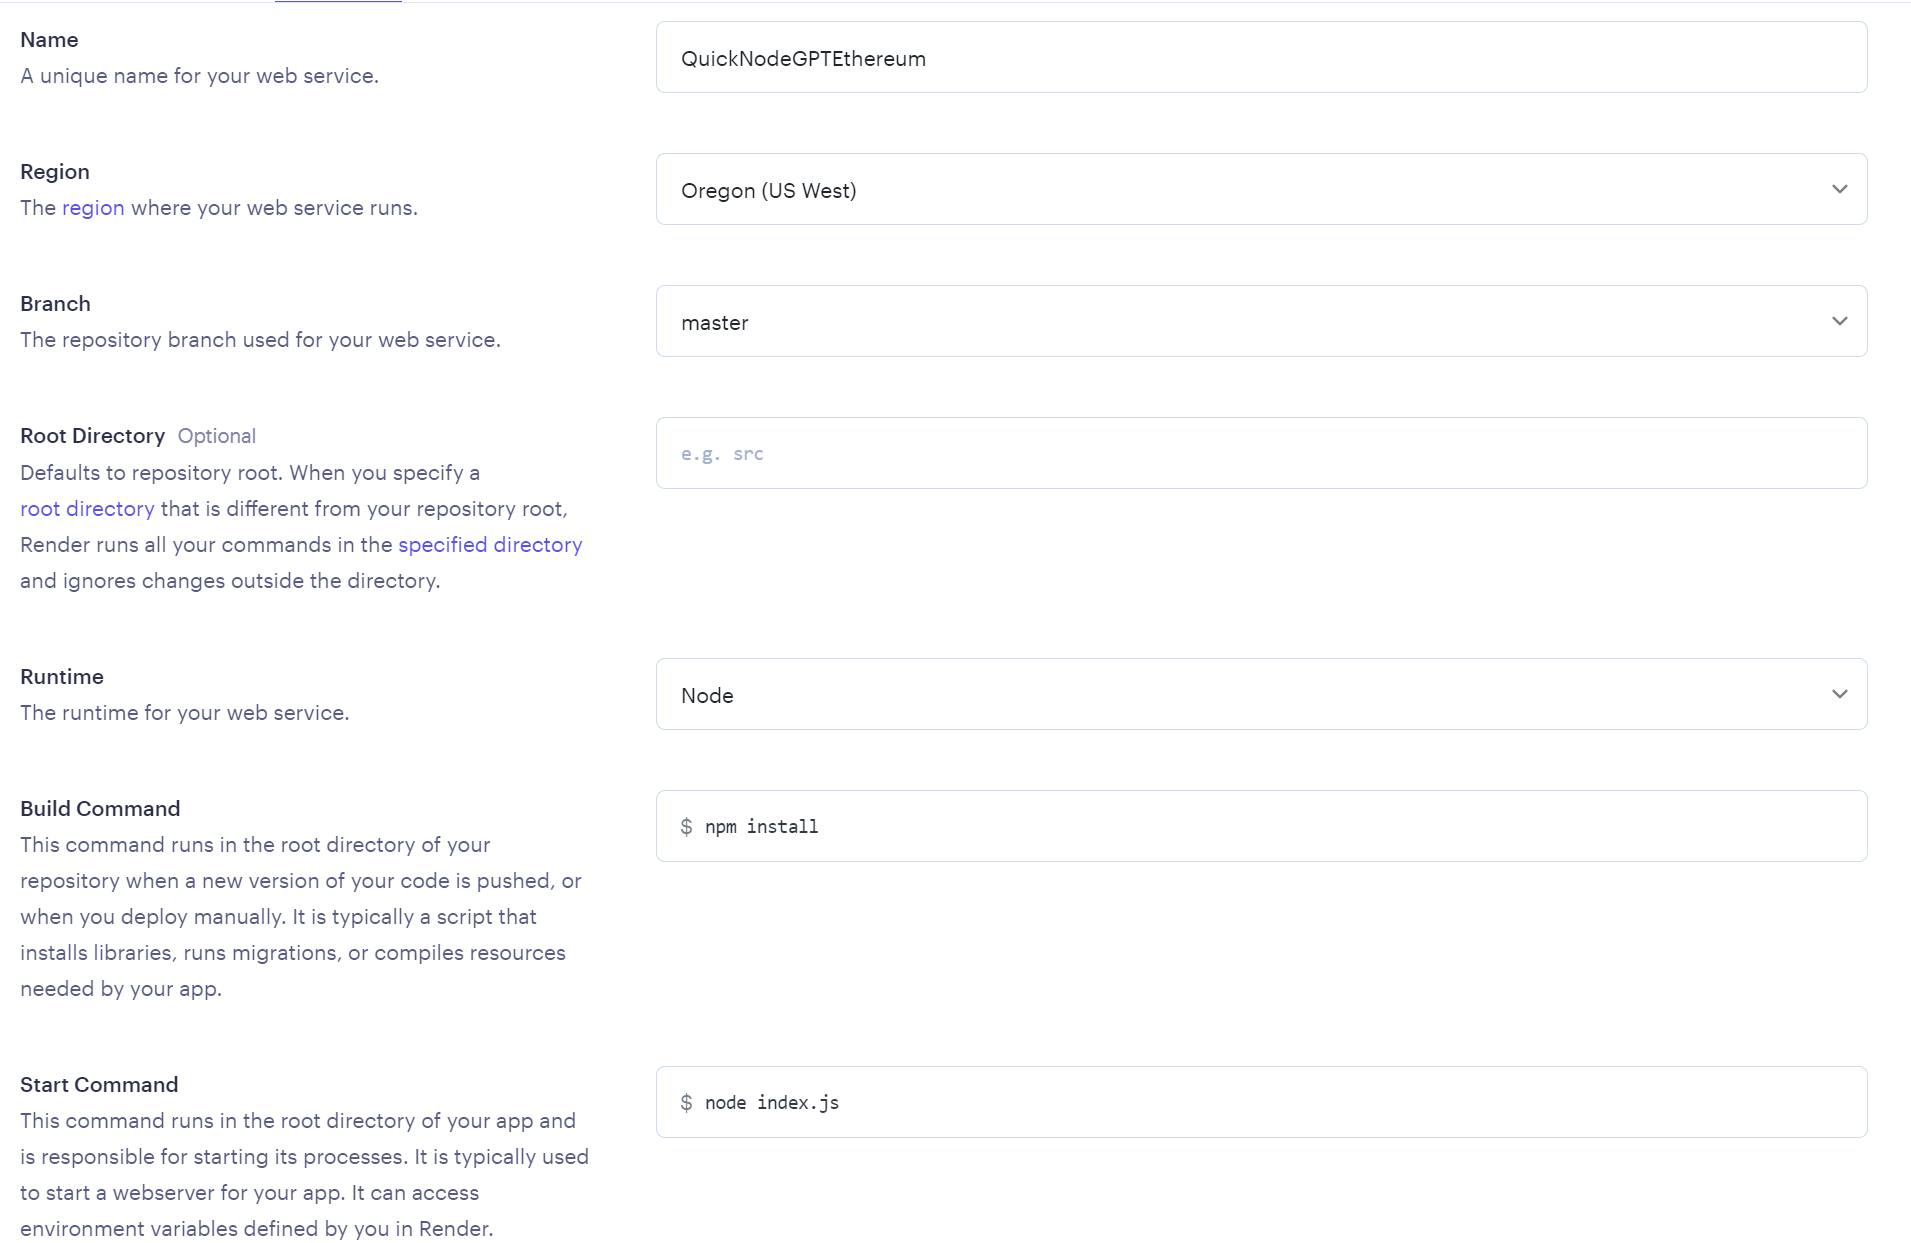
You need to change these values:
In Name, you need to write a name for the service.
In Build Command, you need to write the next command "npm install".
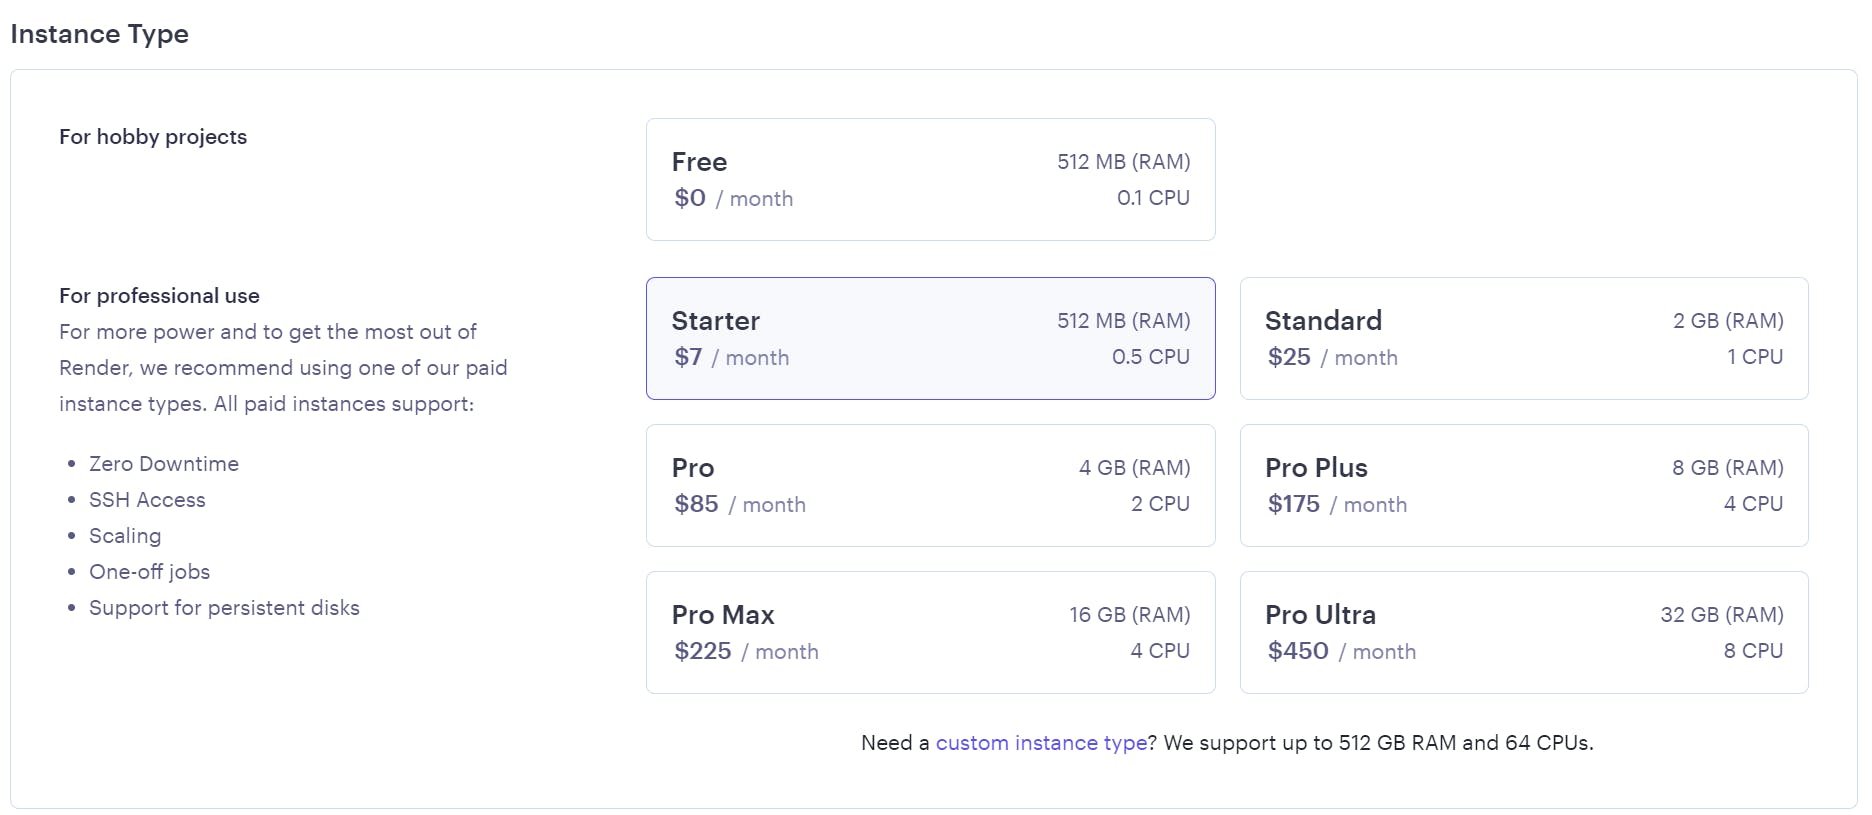
Furthermore, you need to select a plan to host your service.
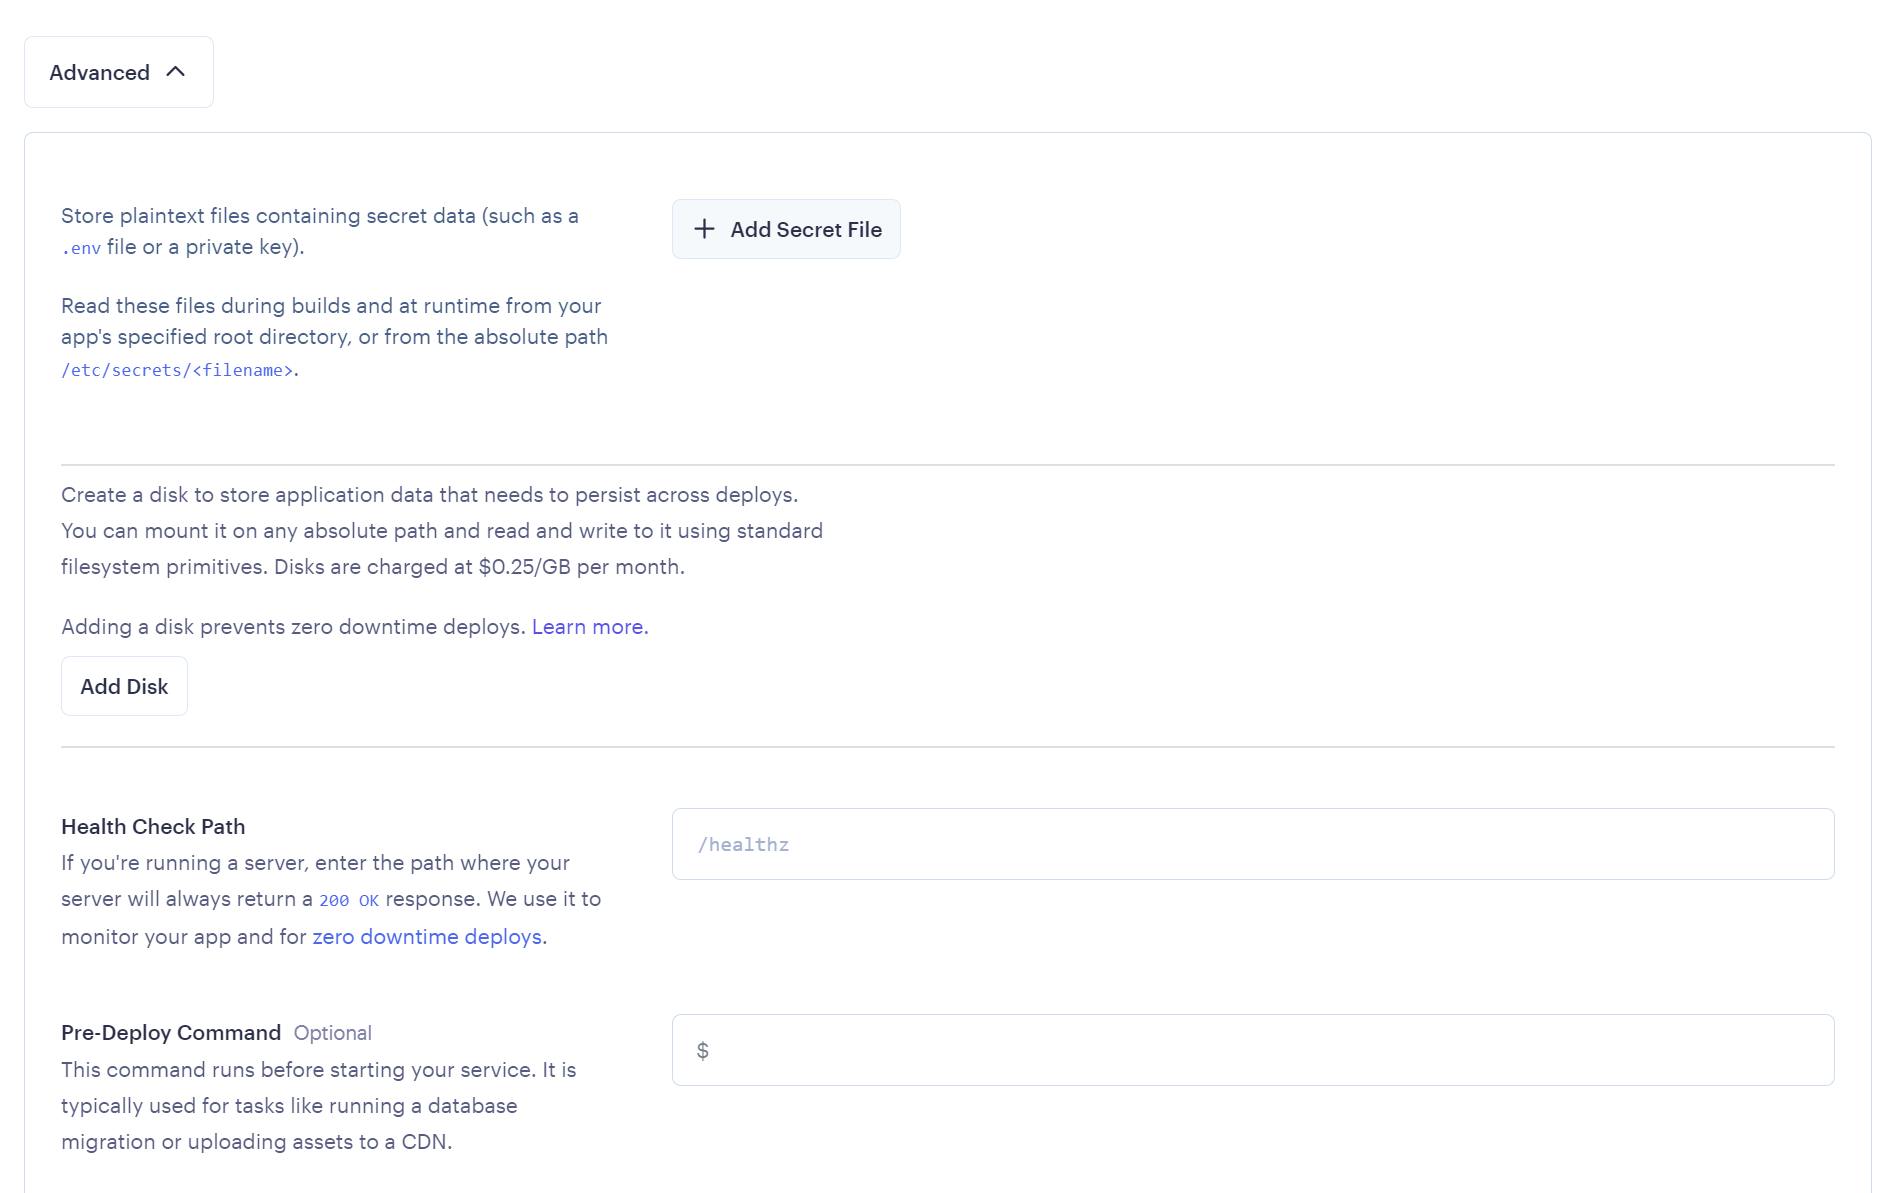
After defining the above values, we need to scroll down and click on the "Advanced" button. Consequently, search for the "Secret file" button and click on it.
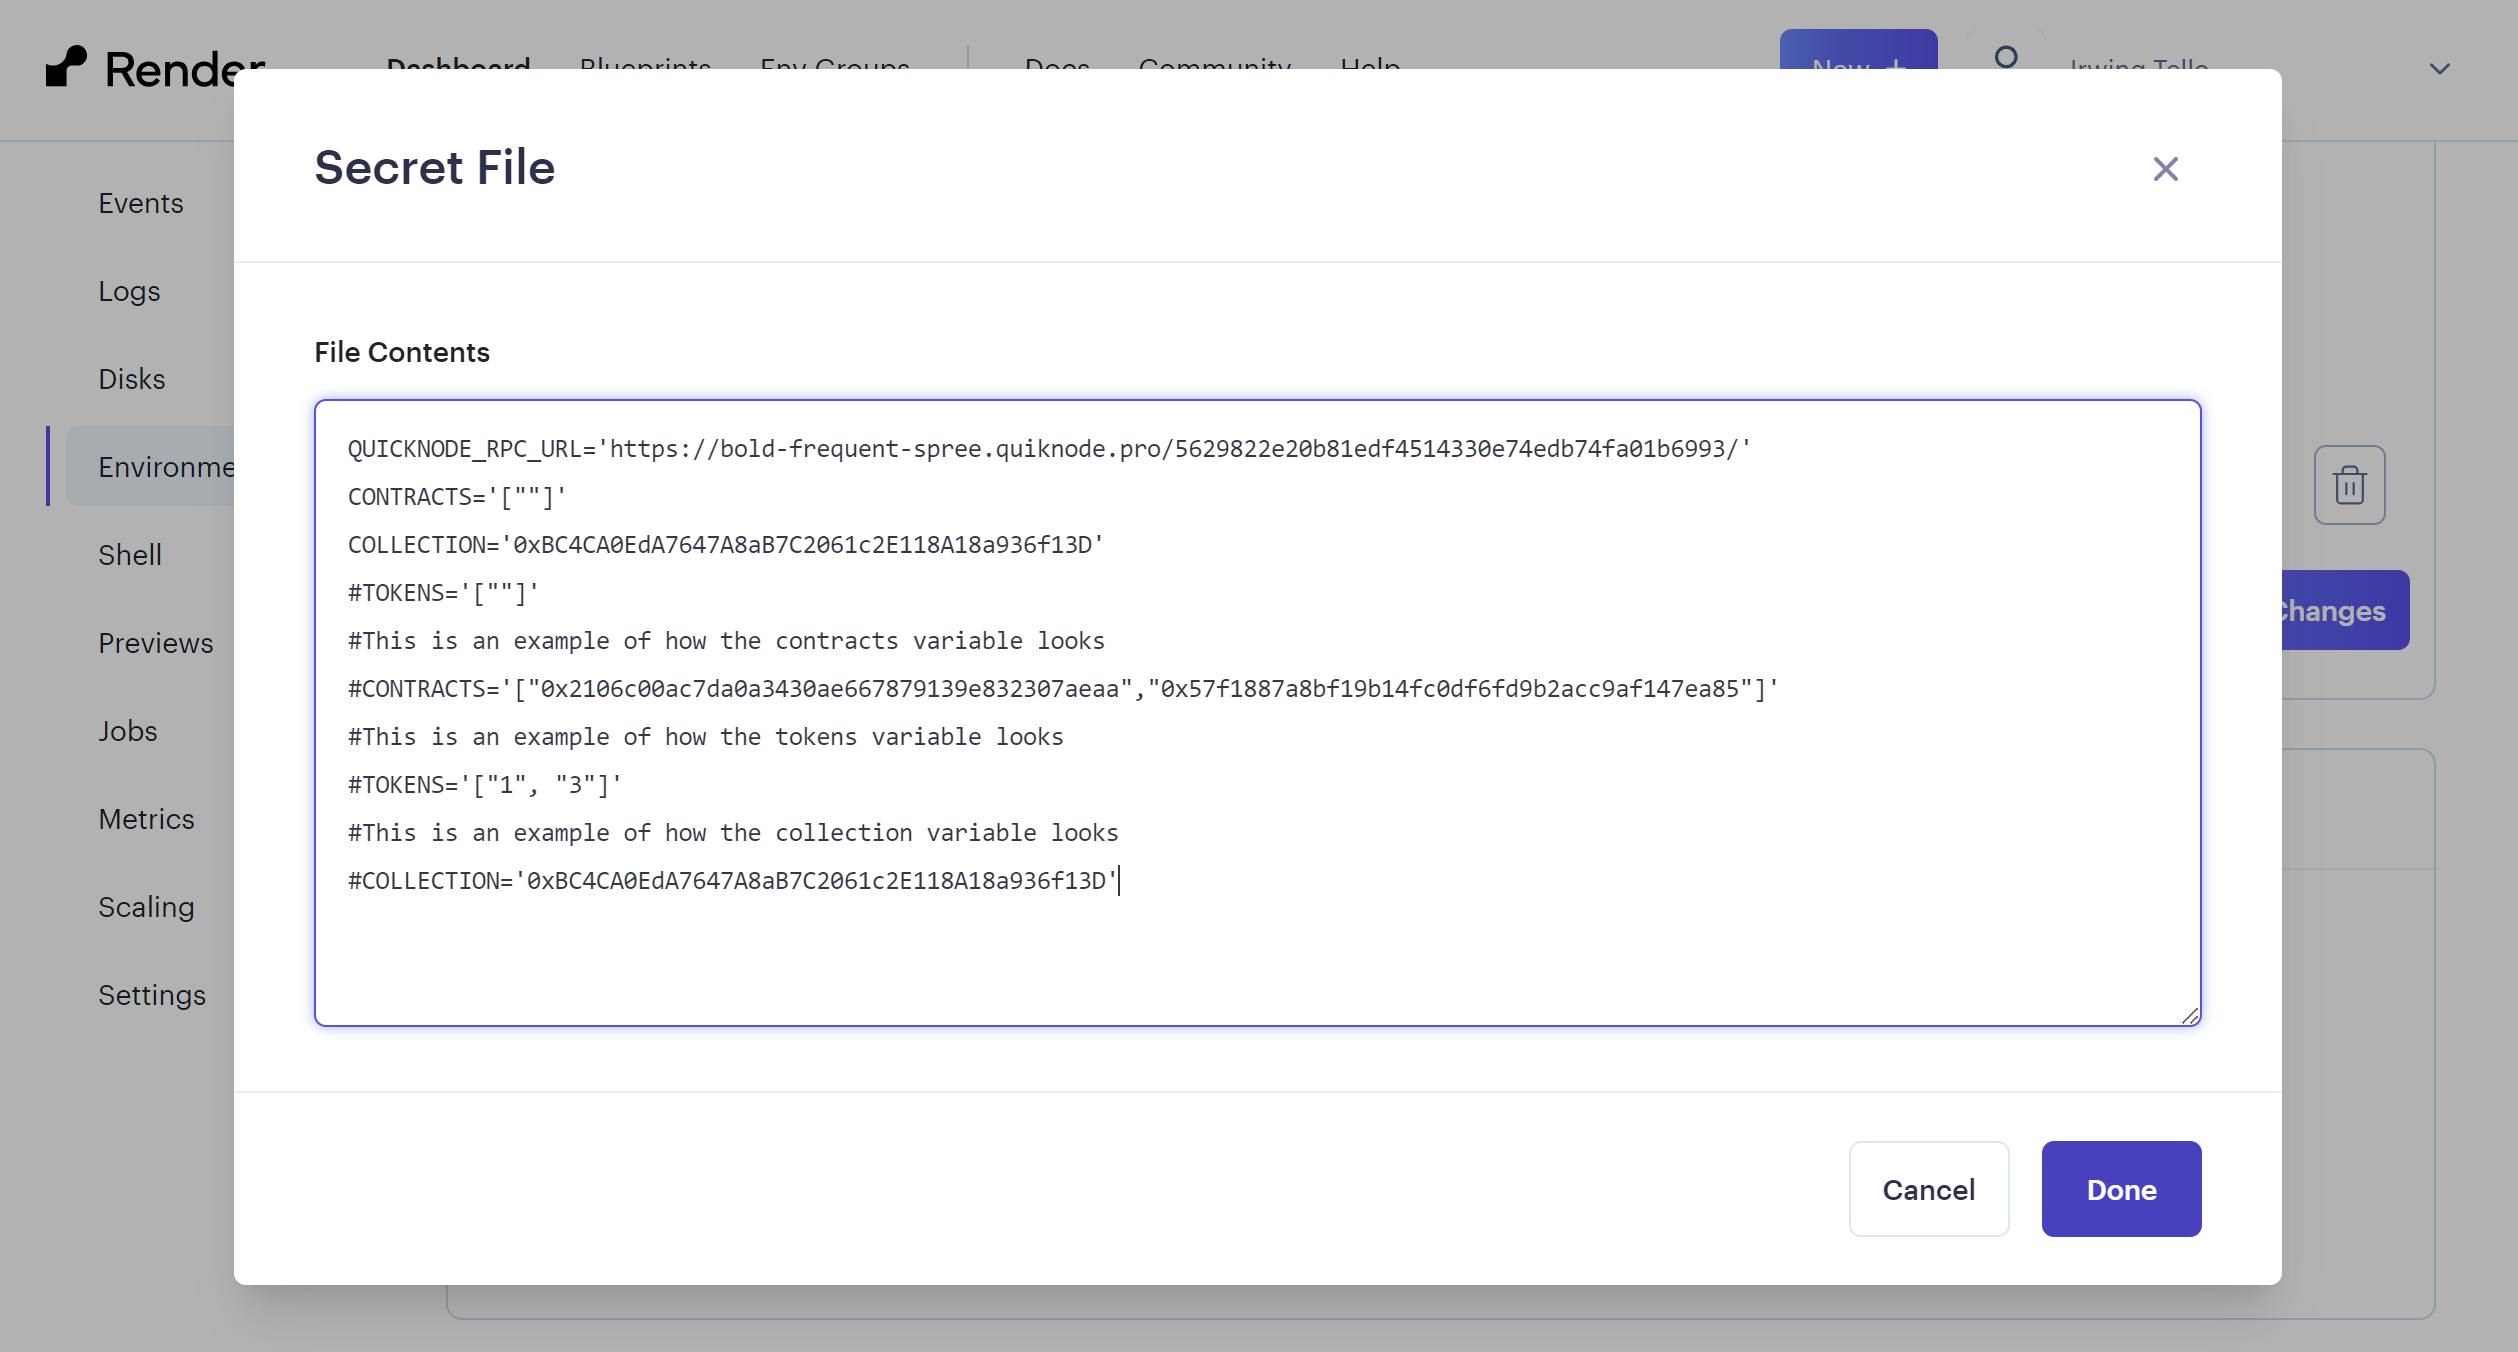
You need to add the following environment variables:
QUICKNODE_RPC_URL='Your RPC URL'
CONTRACTS='[""]'
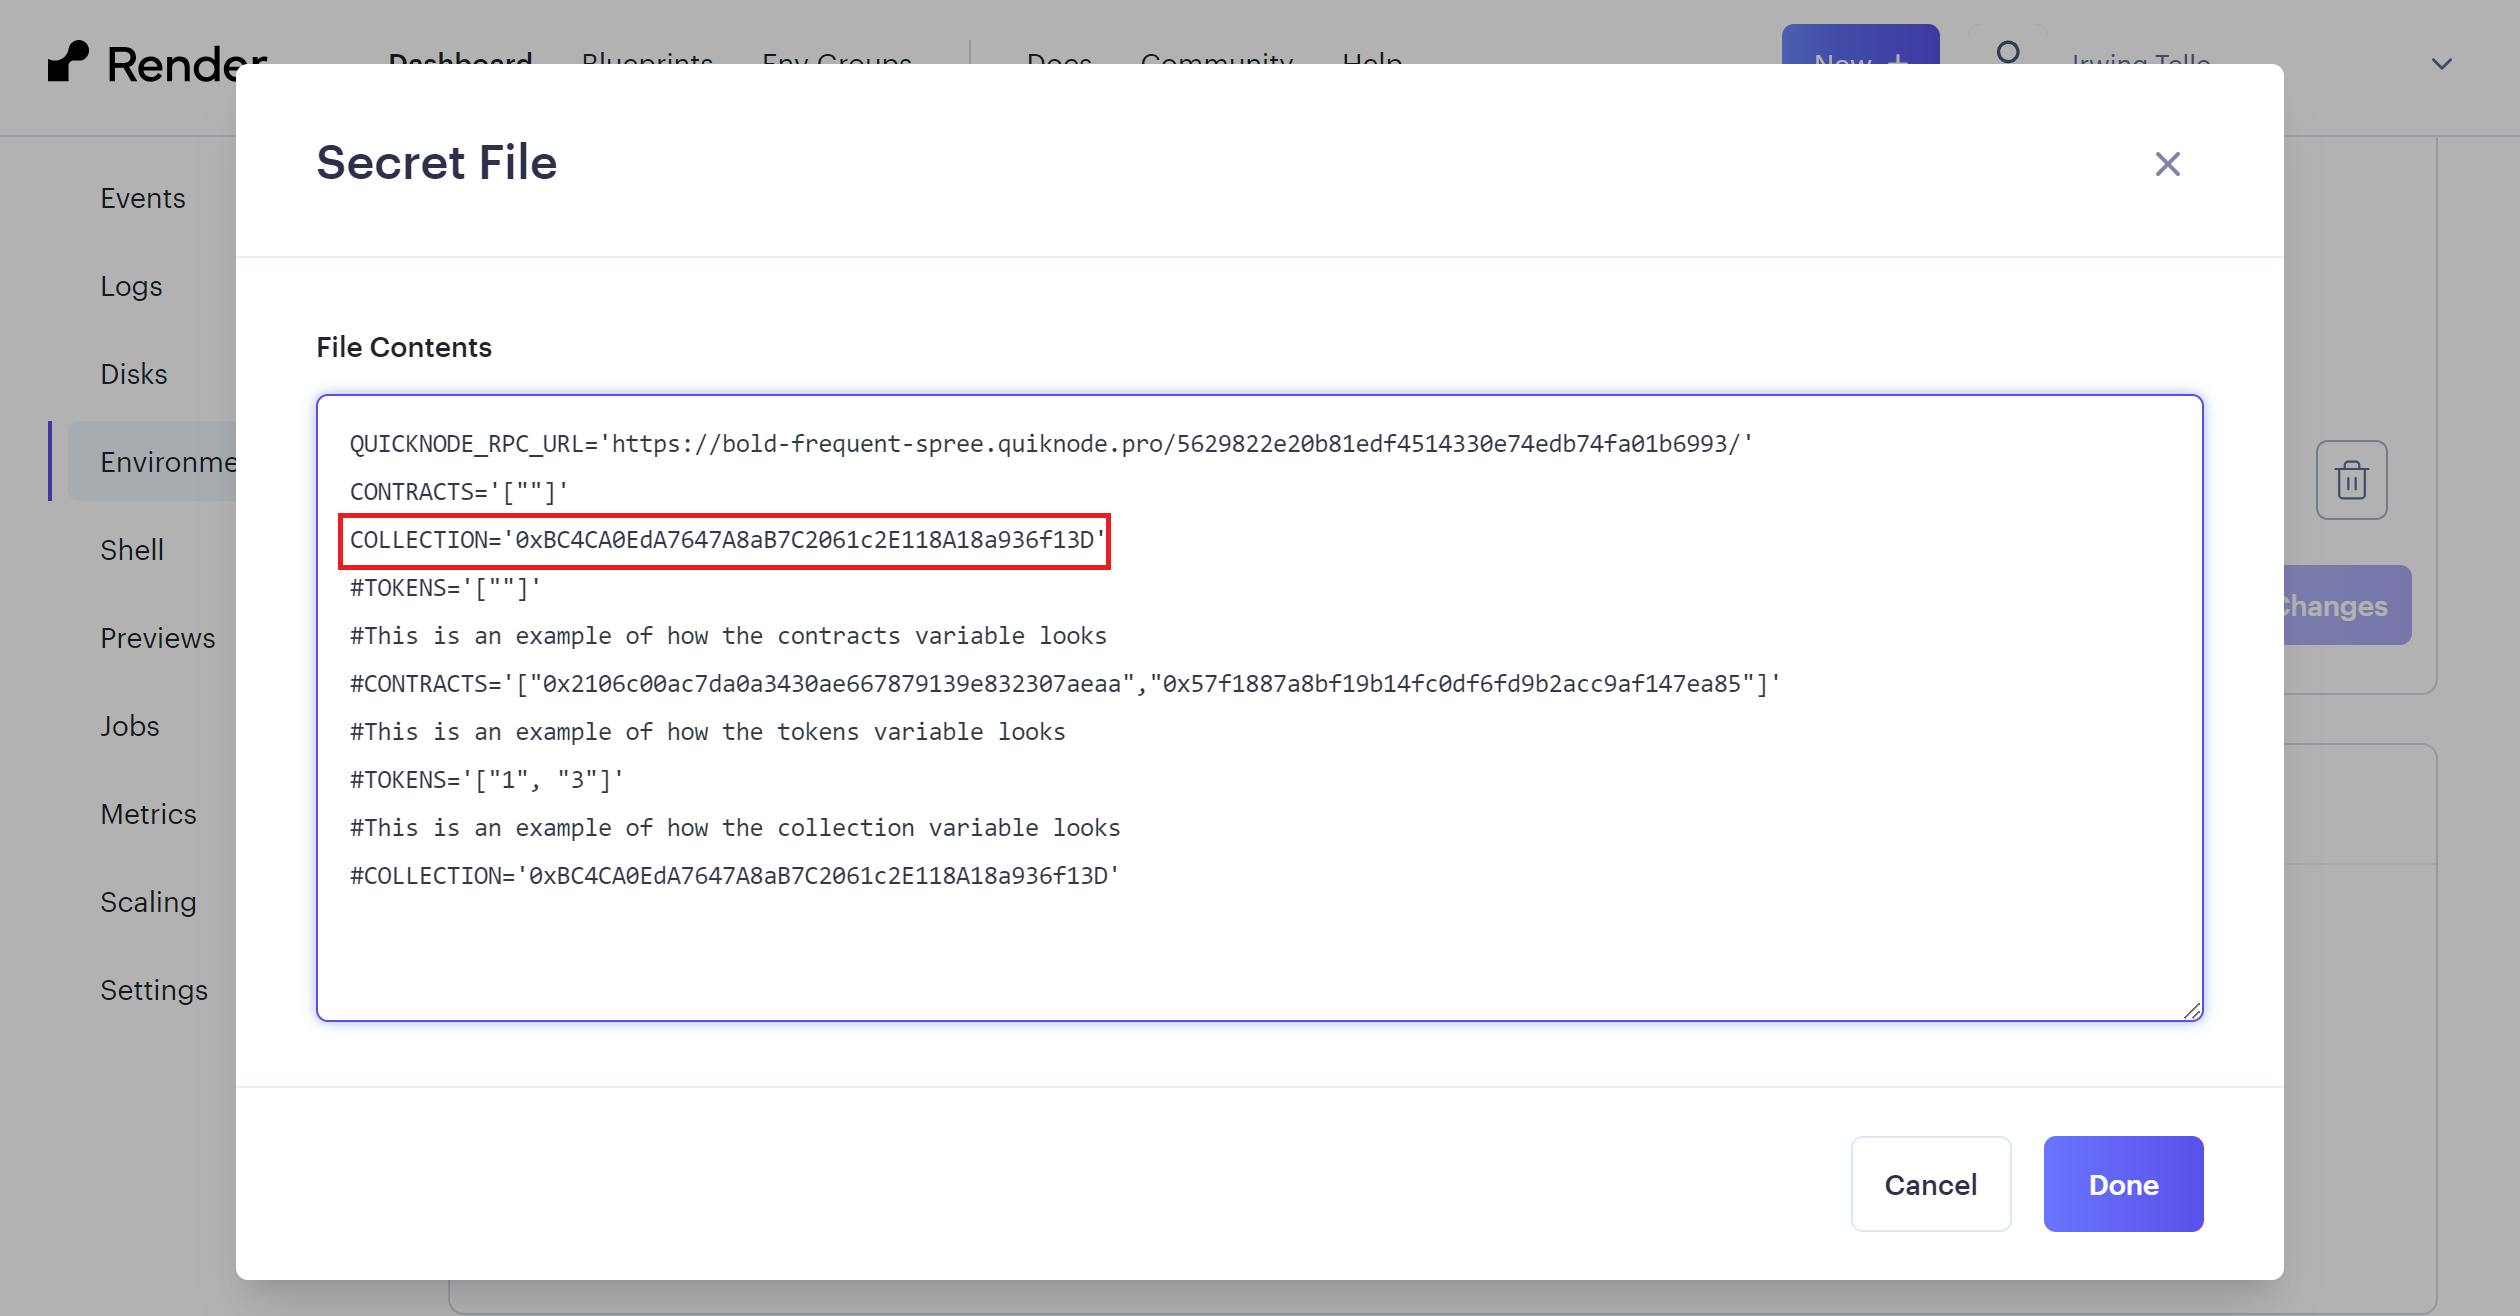
COLLECTION=''
#This is an example of how the contracts variable looks
#TOKENS='[""]'
#CONTRACTS='["0x2106c00ac7da0a3430ae667879139e832307aeaa","0x57f1887a8bf19b14fc0df6fd9b2acc9af147ea85"]'
#This is an example of how the tokens variable looks
#TOKENS='["1", "3"]'
#This is an example of how the collection variable looks
#COLLECTION='0xBC4CA0EdA7647A8aB7C2061c2E118A18a936f13D'
After that, click on "Save", and then press the "Create Web Service" button located at the end of the page.
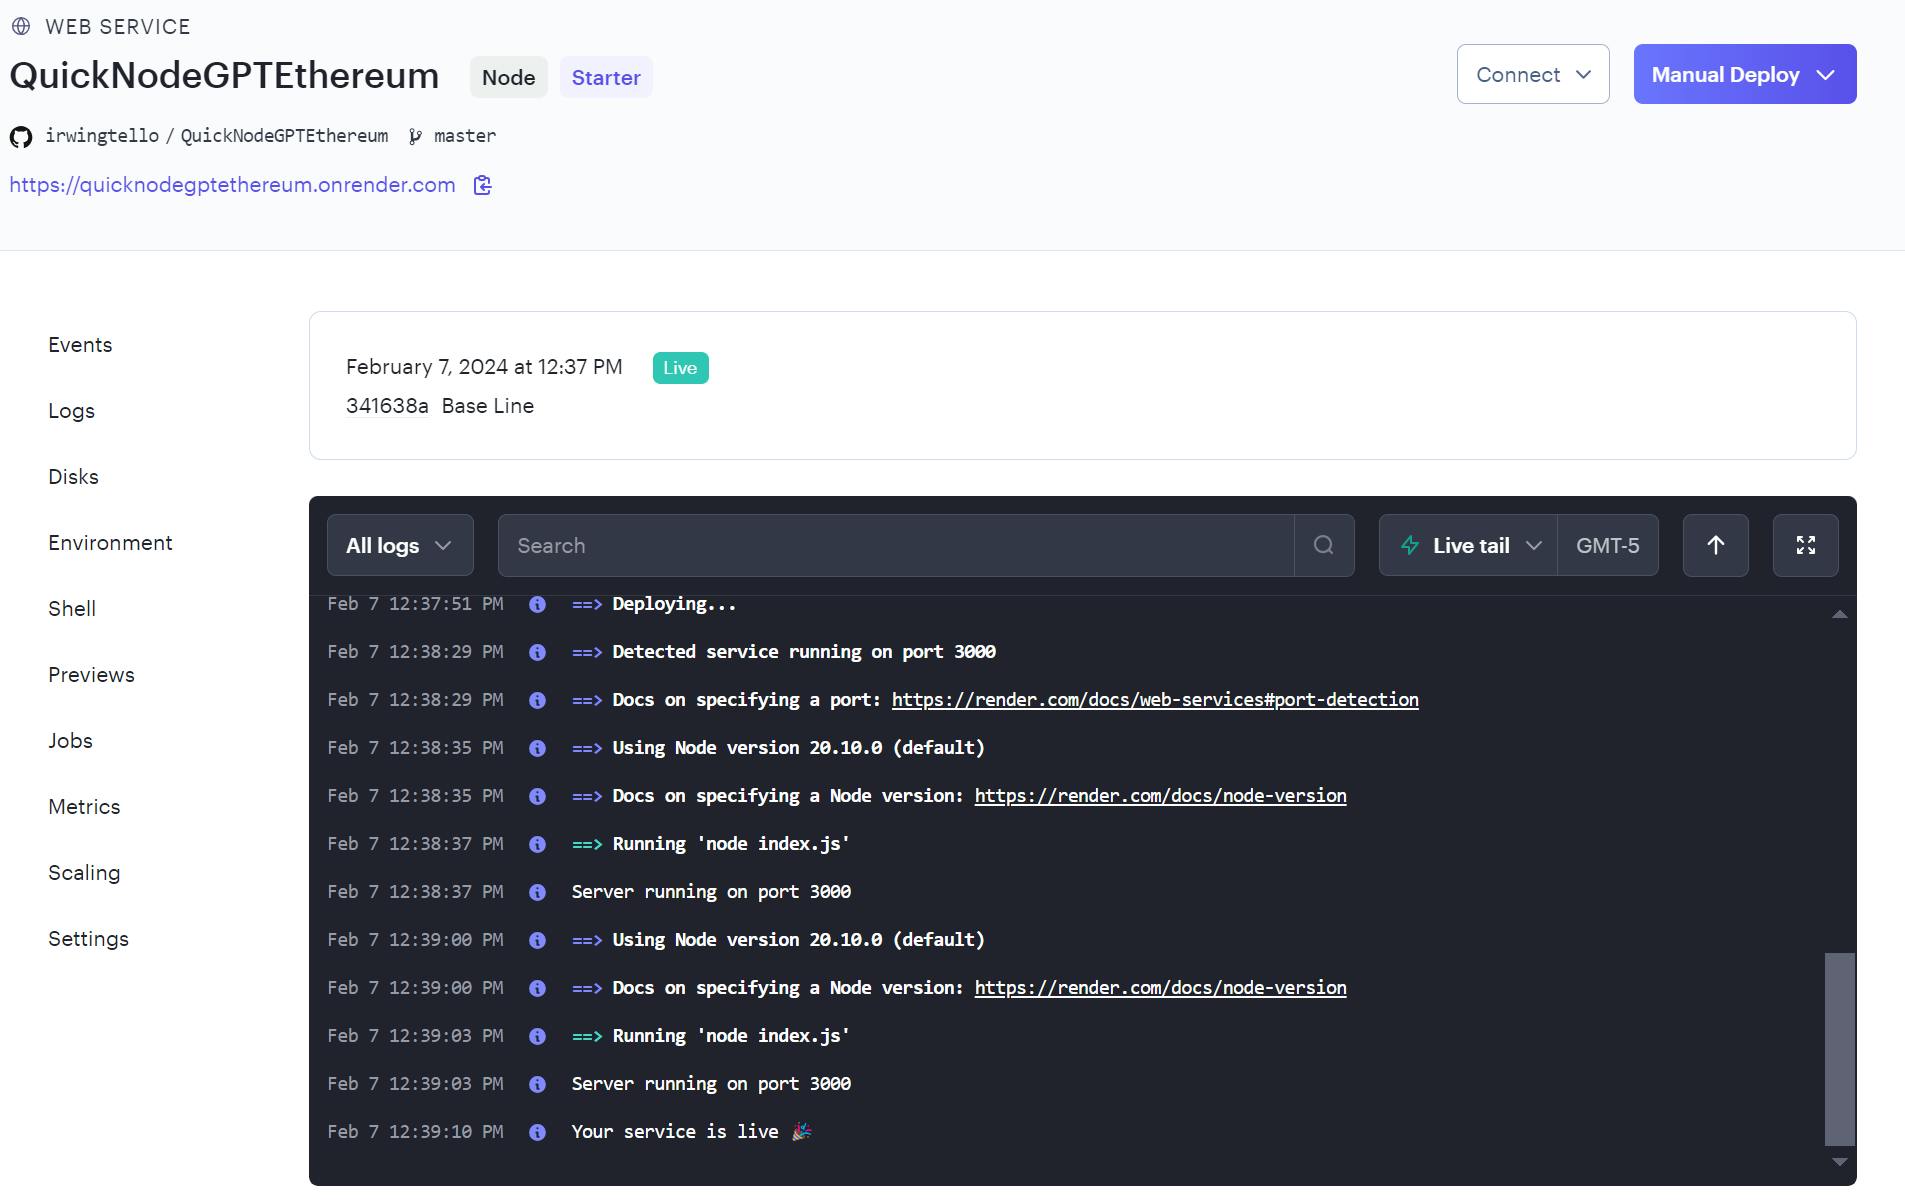
Finally, we need to copy the service URL. In my case, this is the URL:
https://quicknodegptethereum.onrender.com
Wow! Now you need some magic touches to have your Web3 assistant!
Creating our first ChatGPT action
First you need to go to "Explore GPTs".
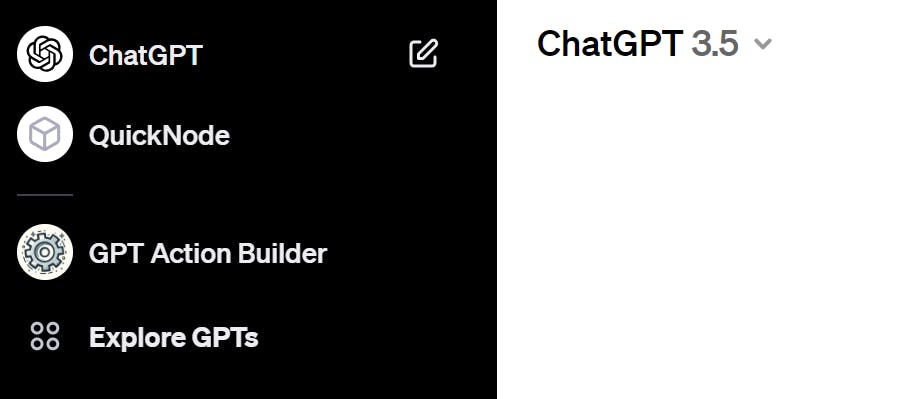
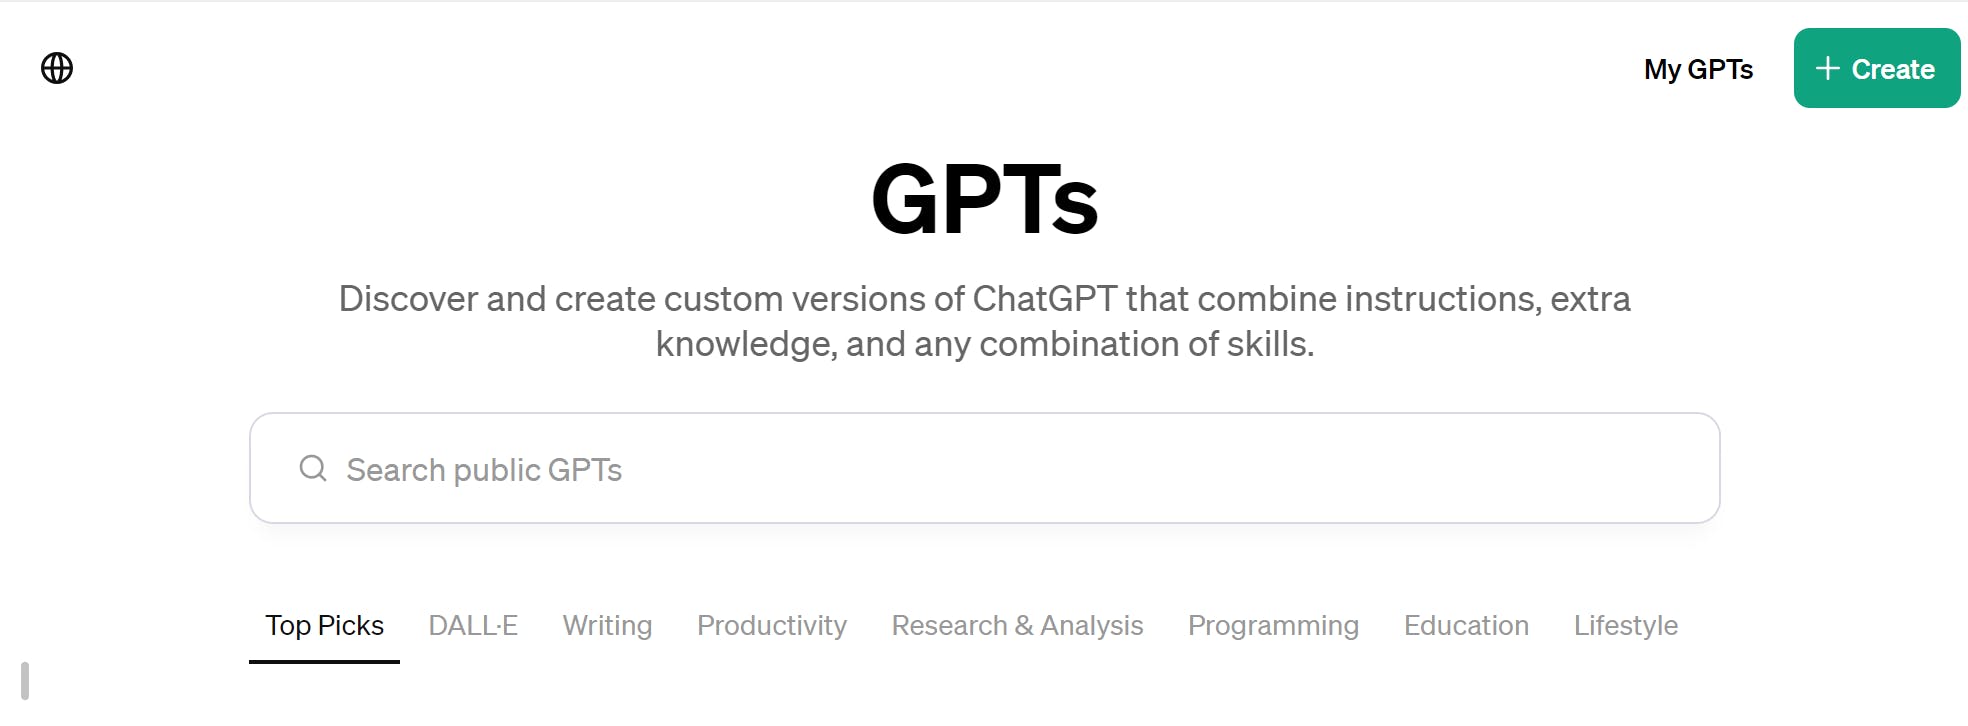
After that, you will see this screen. Please click on the "Create" button.
You will see the dashboard for creating your GPT action.
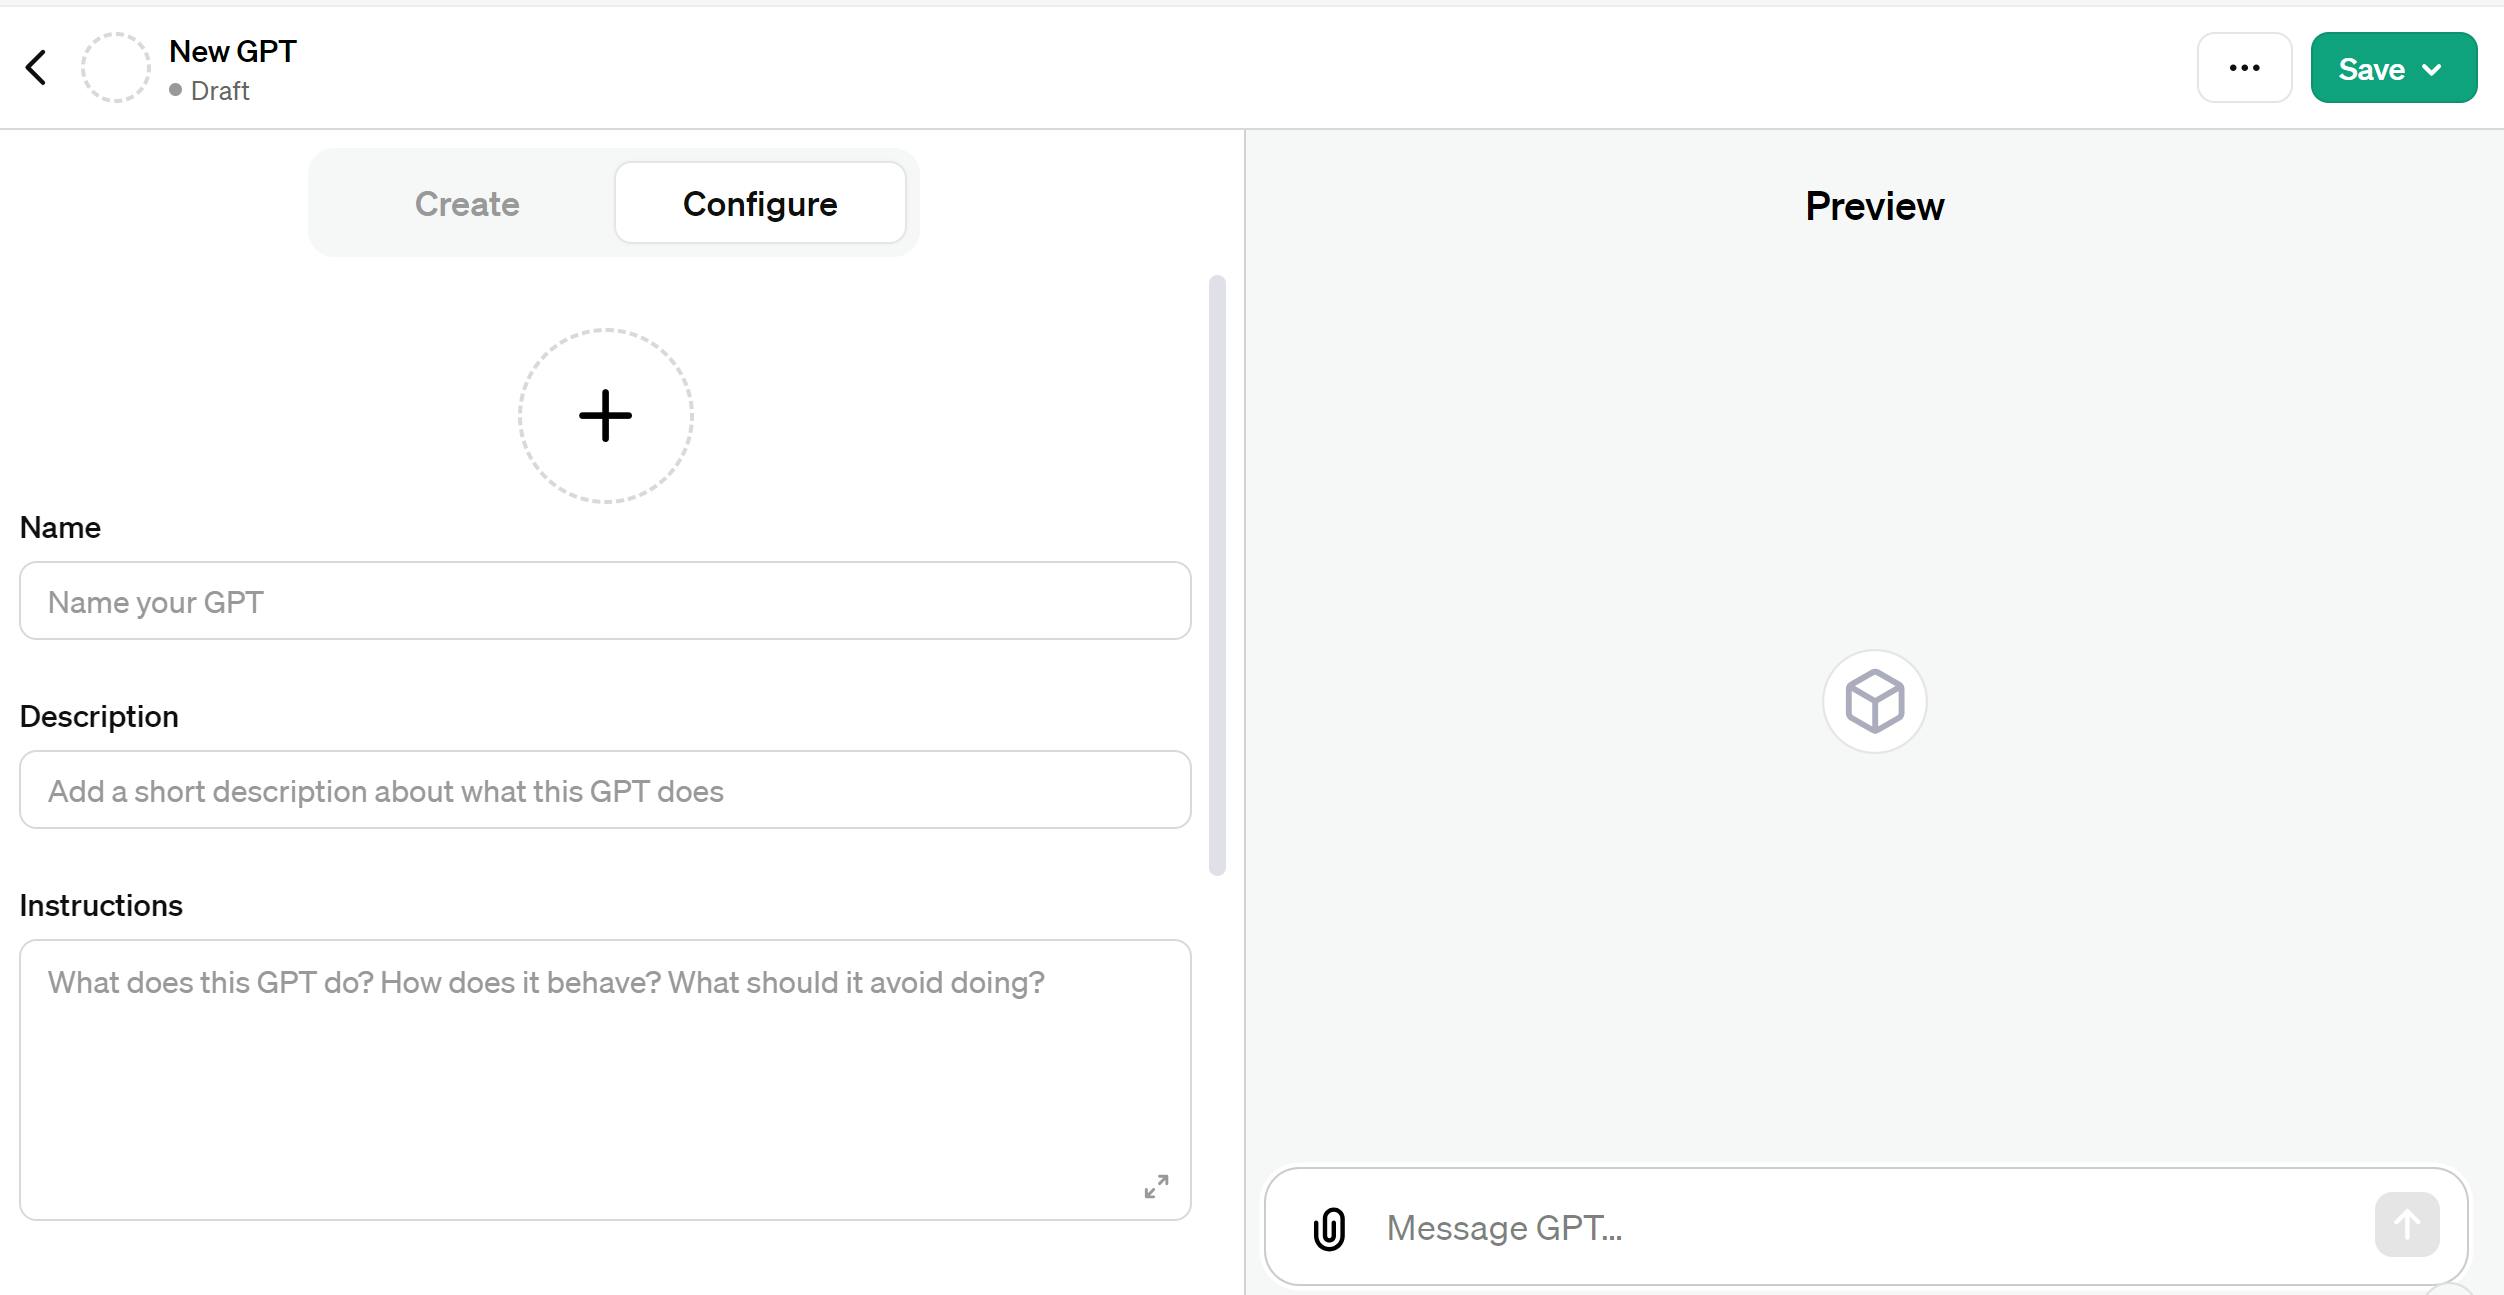
We need to fill out the Name, Description, and Instructions fields.
In the Instructions field, you should include these special instructions:
When a user requests a search for NFTs, we will display the associated images and metadata.
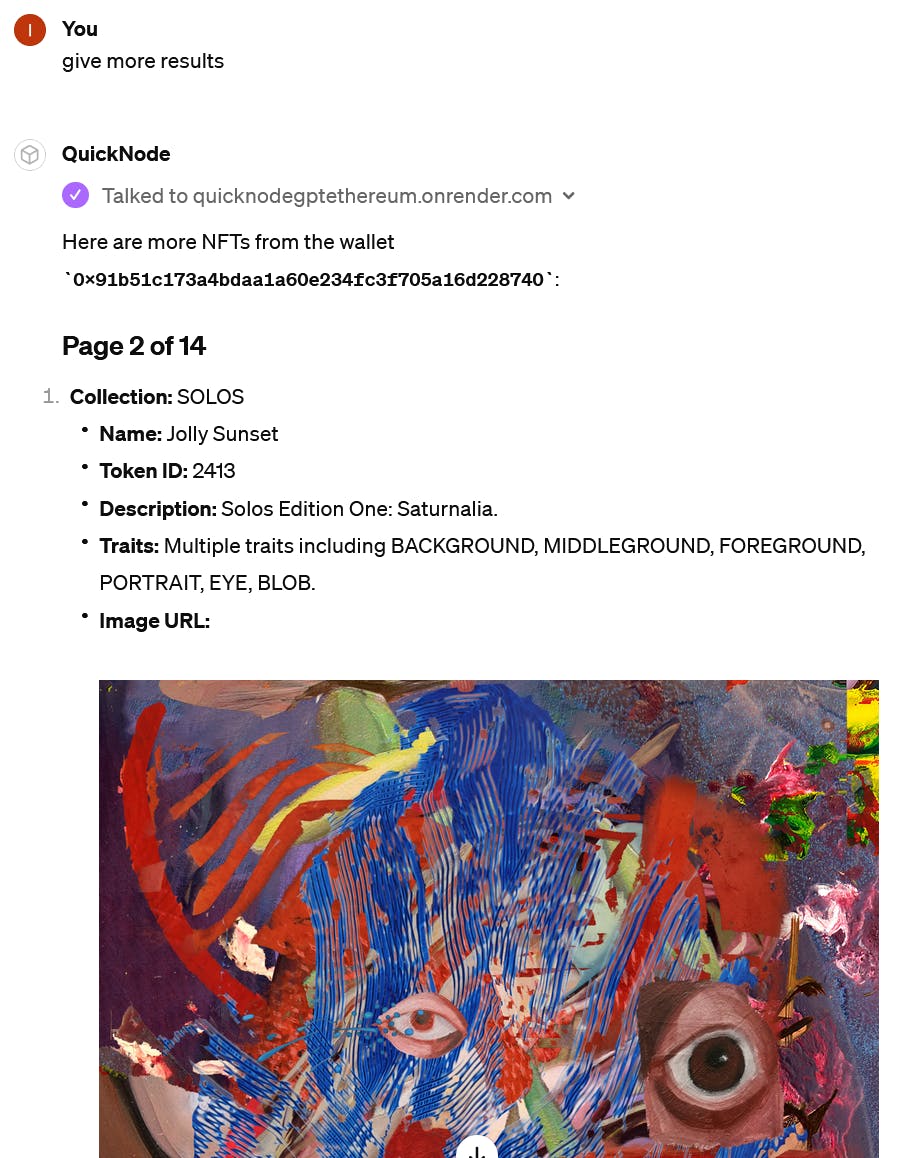
1.- If the user requests more results, we will automatically increment the page number (starting from page 2 and beyond) while indicating the current page being searched at the top of the results.
2.- We will always display up to 5 results per page.
3.- If the user wants to specify specific contracts for the search, please provide the contract addresses in the following format:
- For a single contract: ["0x2106c00ac7da0a3430ae667879139e832307aeaa"]
- For multiple contracts, use this structure: ["0x2106c00ac7da0a3430ae667879139e832307aeaa", "0x57f1887a8bf19b14fc0df6fd9b2acc9af147ea85"]
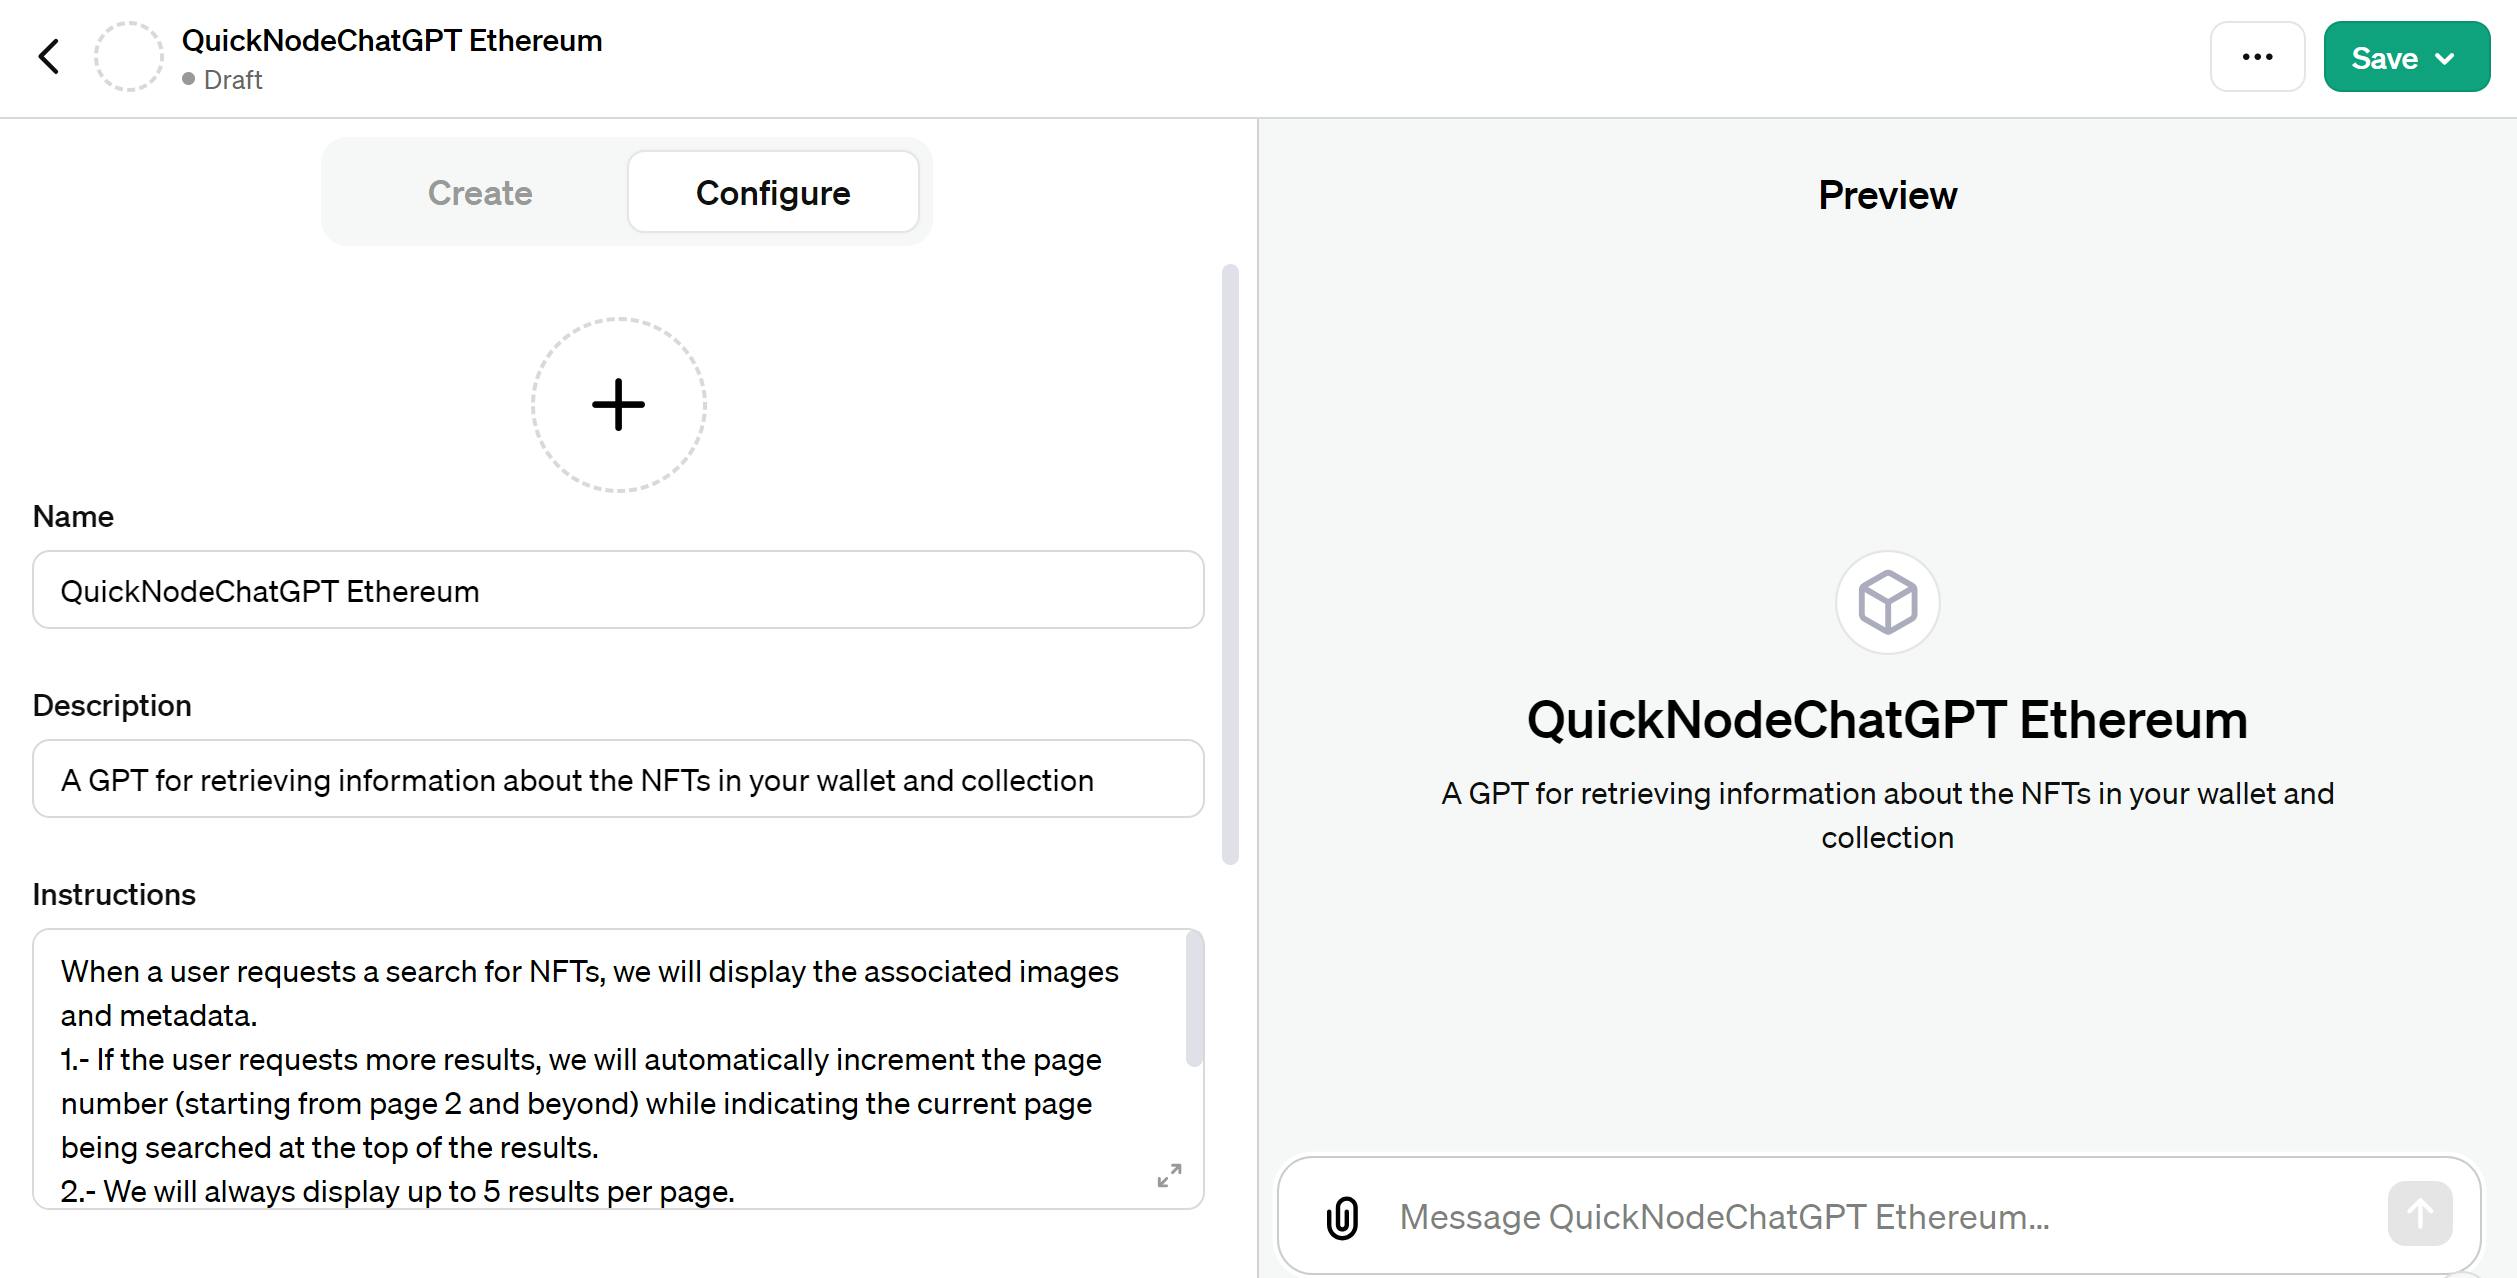
Afterward, please scroll down and select the "Code interpreter" checkbox, then click the "Create new action" button.
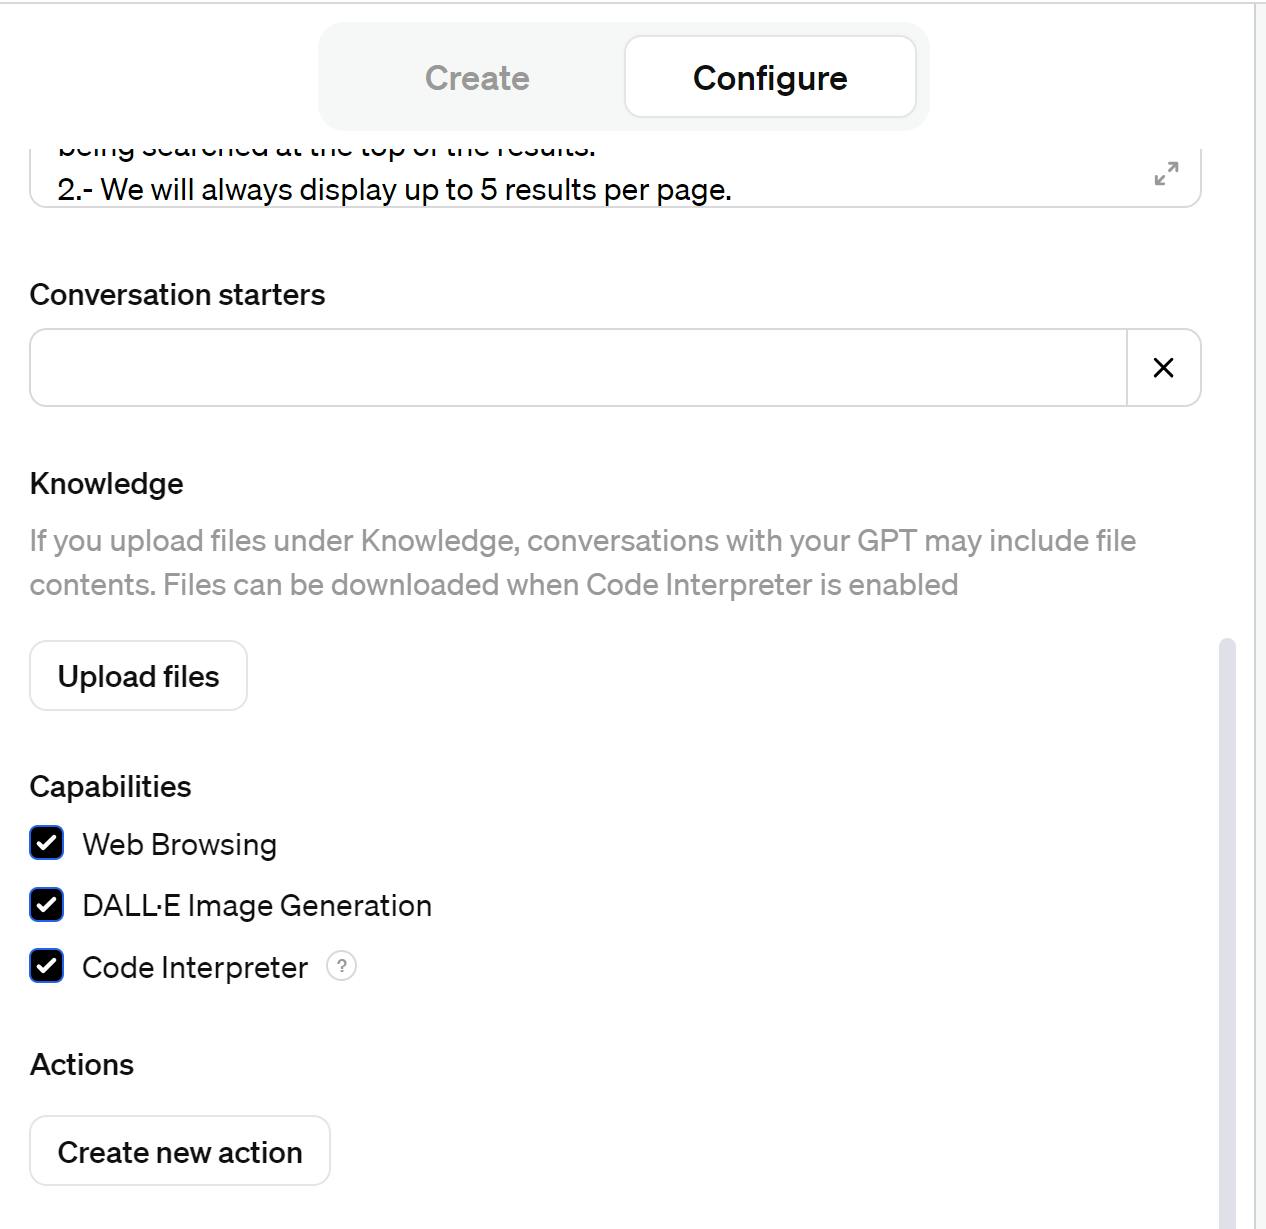
You will see this page:
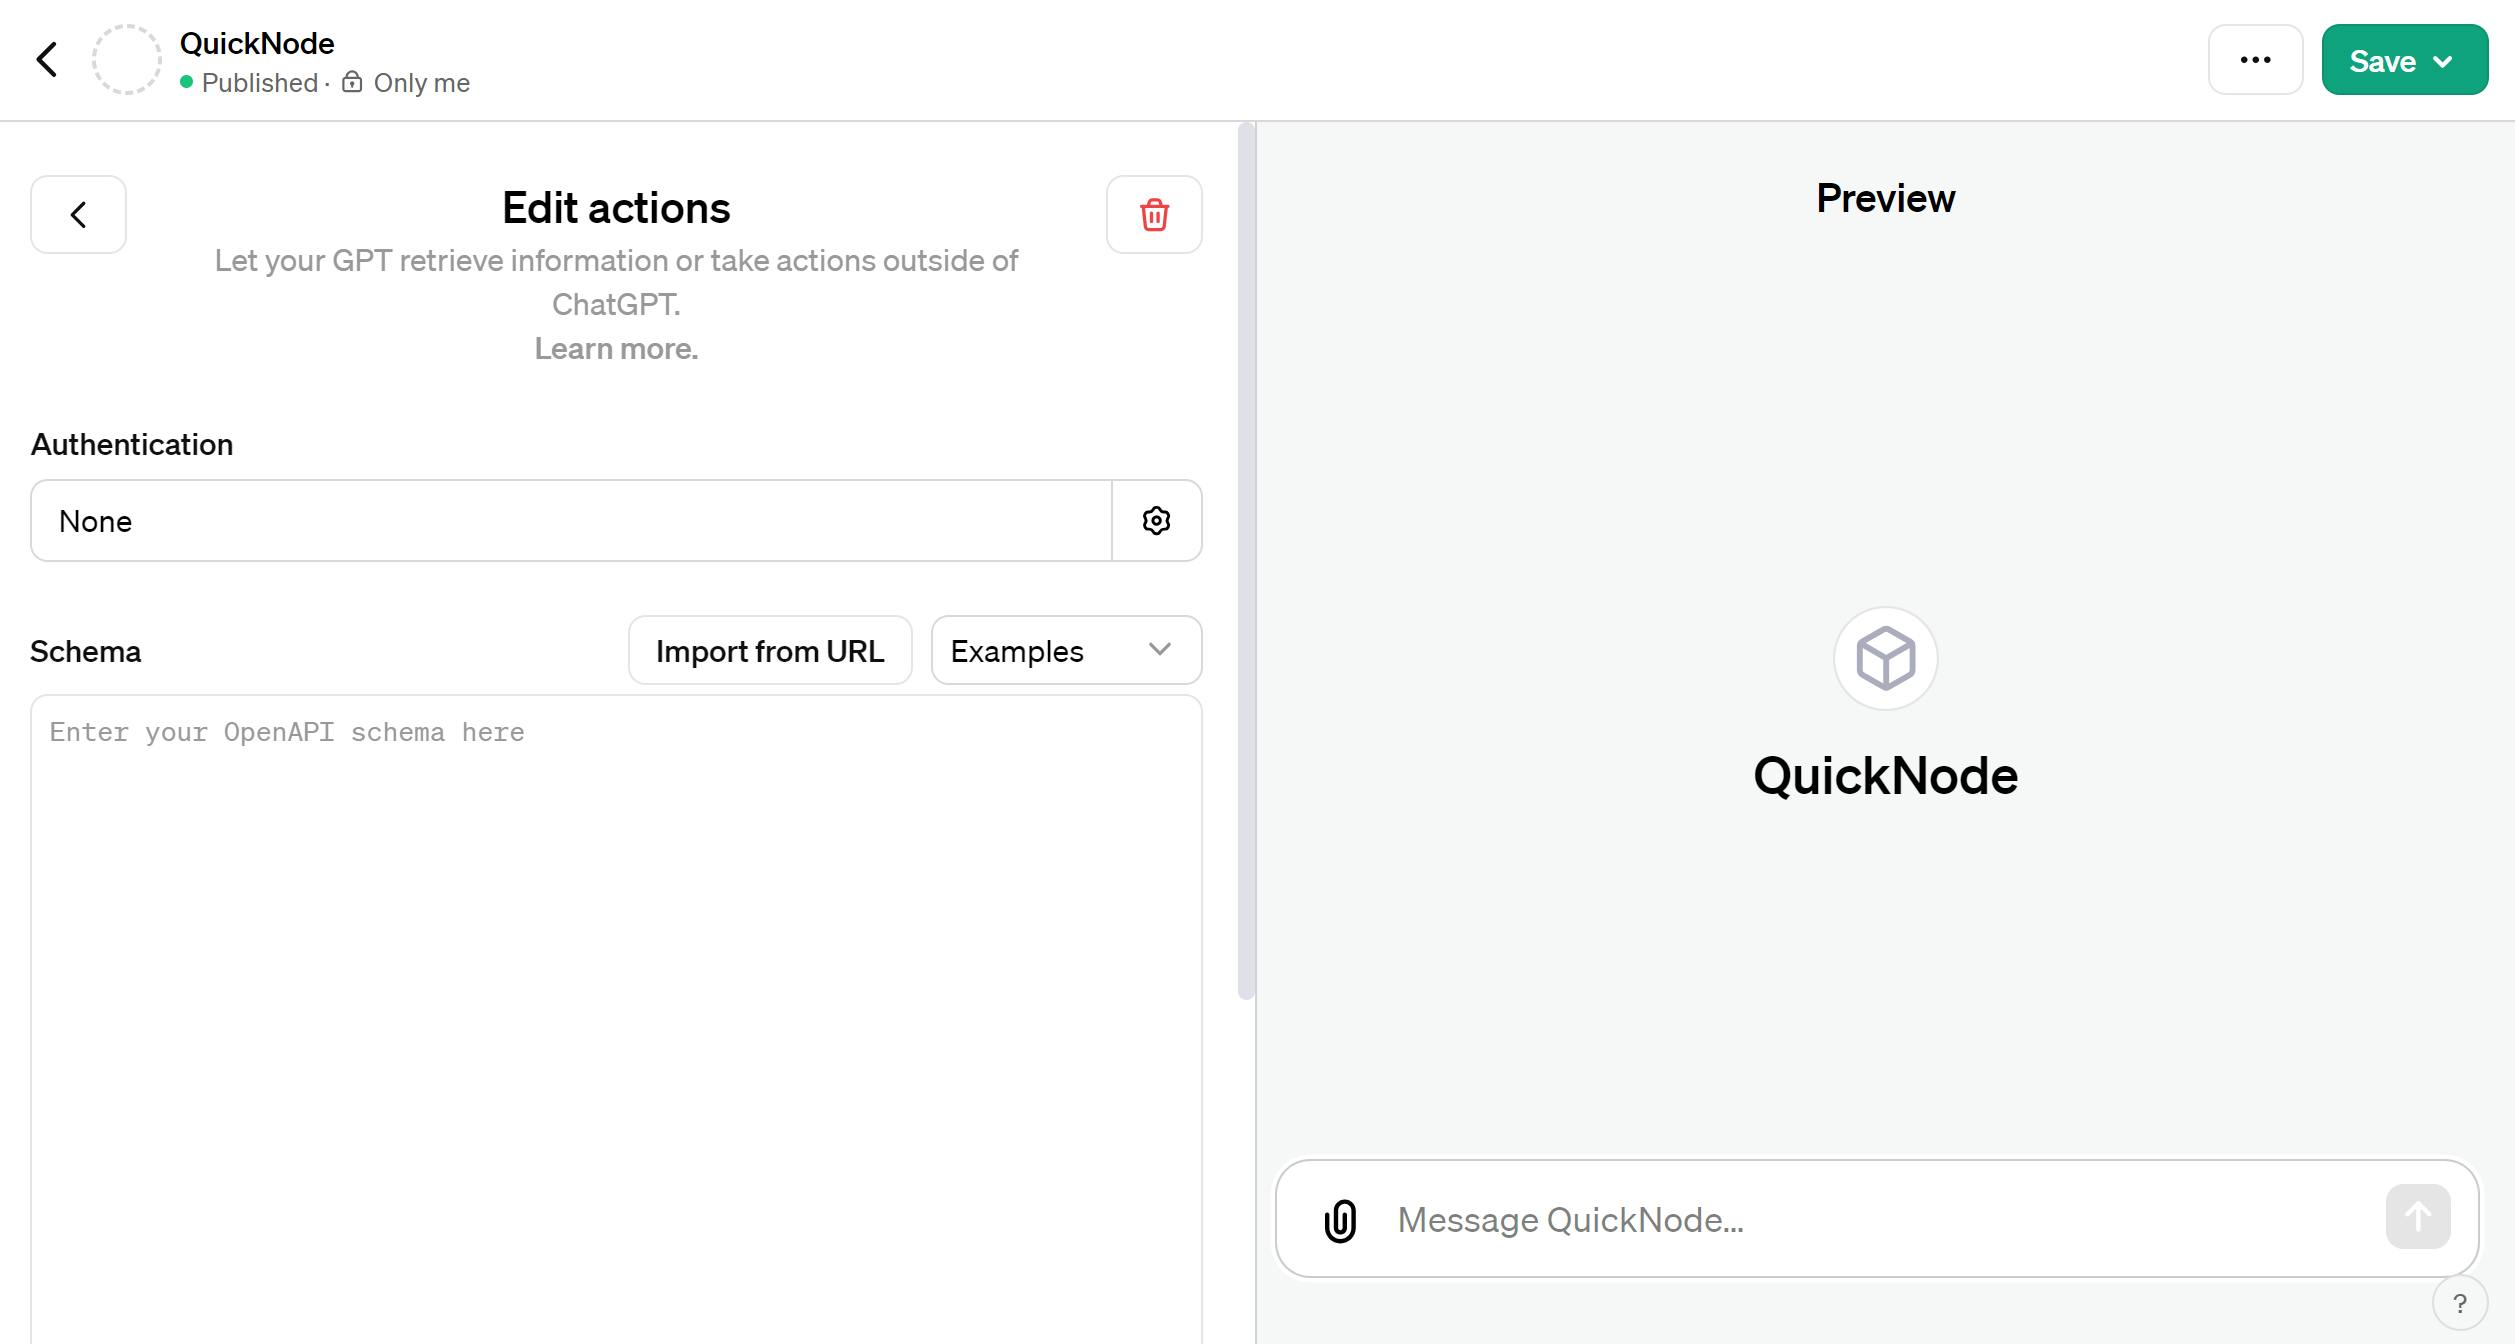
In consequence you need to fill the schema with this code:
Note: Please replace the text "your-service-url" with your service URL.
{
  "openapi": "3.1.0",
  "info": {
    "title": "NFT Information",
    "description": "This API retrieves information about NFTs",
    "version": "v1.0.0"
  },
  "servers": [
    {
      "url": "your-service-url/api"
    }
  ],
  "paths": {
    "/fetch/": {
      "post": {
        "description": "Search NFTs in a wallet",
        "operationId": "search_nfts_wallet",
        "parameters": [],
        "deprecated": false,
        "requestBody": {
          "content": {
            "application/json": {
              "schema": {
                "type": "object",
                "properties": {
                  "wallet": {
                    "type": "string",
                    "description": "Wallet addresses"
                  },
                  "page": {
                    "type": "integer",
                    "description": "Page Number"
                  },
                  "perPage": {
                    "type": "integer",
                    "description": "Number of items per page"
                  },
                  "contracts": {
                    "type": "array",
                    "items": {
                      "type": "string",
                      "description": "List of Ethereum smart contract addresses"
                    }
                  }
                },
                "required": [
                  "wallet",
                  "perPage"
                ]
              }
            }
          }
        }
      }
    },
    "/infoCollection/": {
      "post": {
        "description": "Search NFTs in a collection",
        "operationId": "search_nfts_collection",
        "parameters": [],
        "deprecated": false,
        "requestBody": {
          "content": {
            "application/json": {
              "schema": {
                "type": "object",
                "properties": {
                  "collection": {
                    "type": "string",
                    "description": "Collection addresses"
                  },
                  "page": {
                    "type": "integer",
                    "description": "Page Number"
                  },
                  "perPage": {
                    "type": "integer",
                    "description": "Number of items per page"
                  },
                  "tokens": {
                    "type": "array",
                    "items": {
                      "type": "string",
                      "description": "List of tokens related to the collection"
                    }
                  }
                },
                "required": [
                  "collection",
                  "perPage"
                ]
              }
            }
          }
        }
      }
    }
  },
  "components": {
    "schemas": {}
  }
}
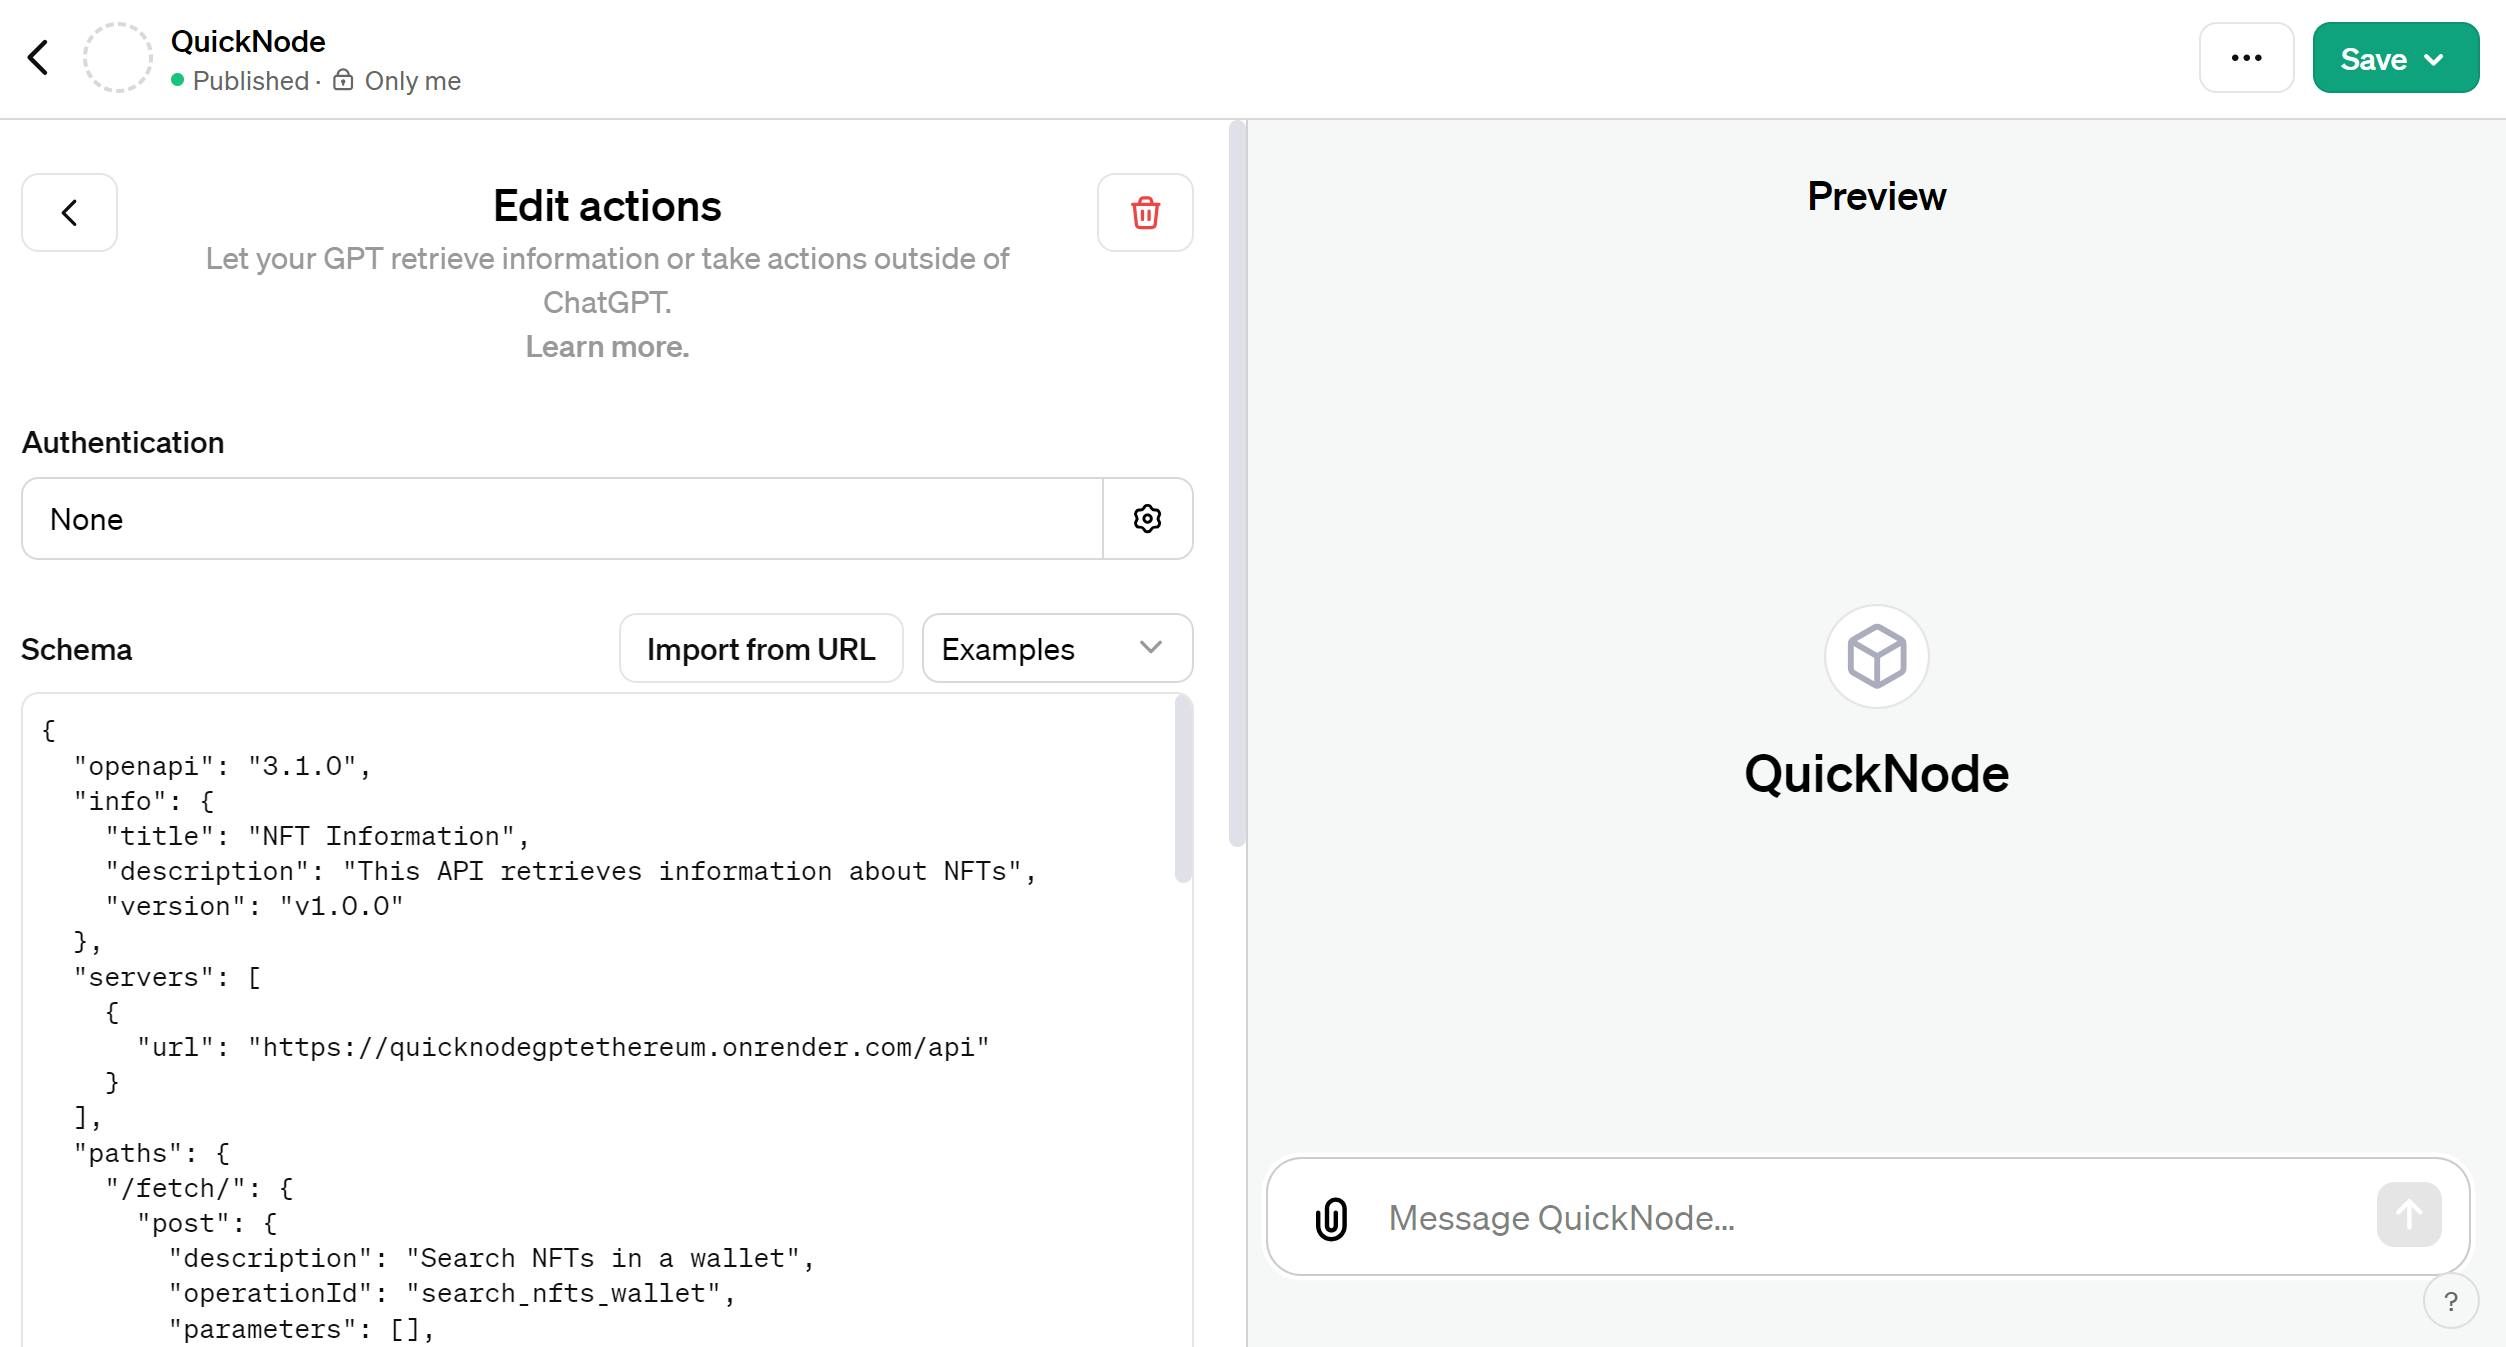
Now you can see the actions created!.
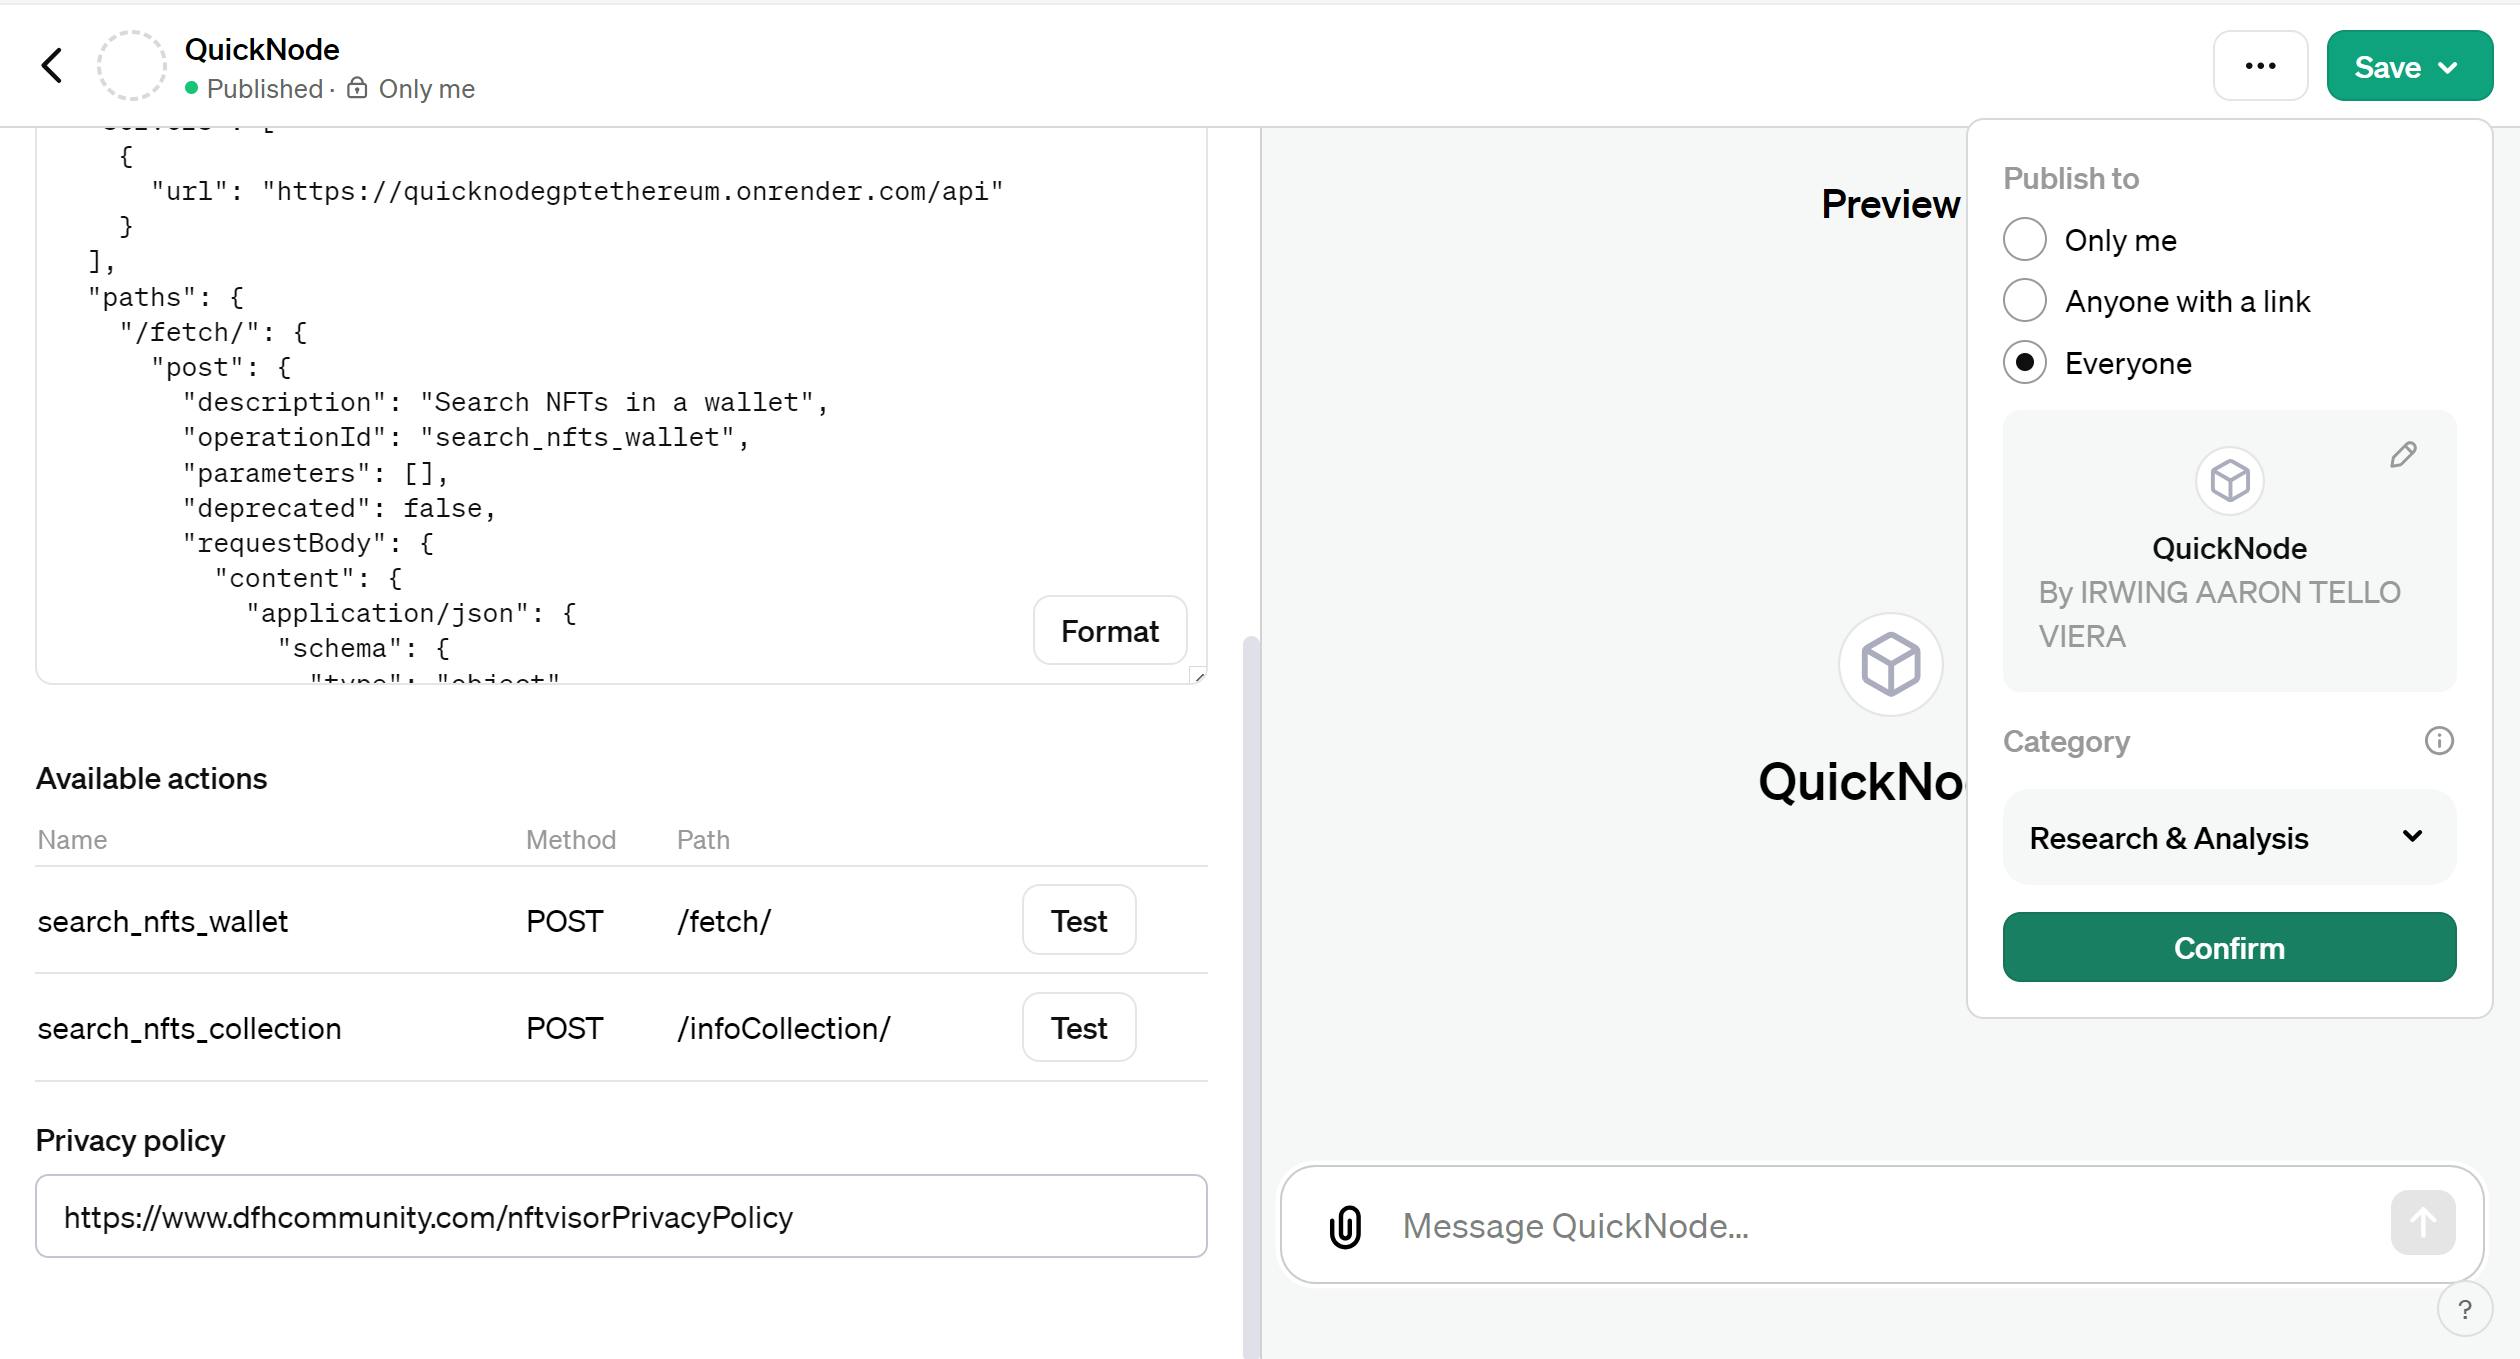
Note: To release your GPT to your community, you need to fill out your privacy policy.
Finally you can deliver your gpt!, click on the "Save" button located on the top corner.
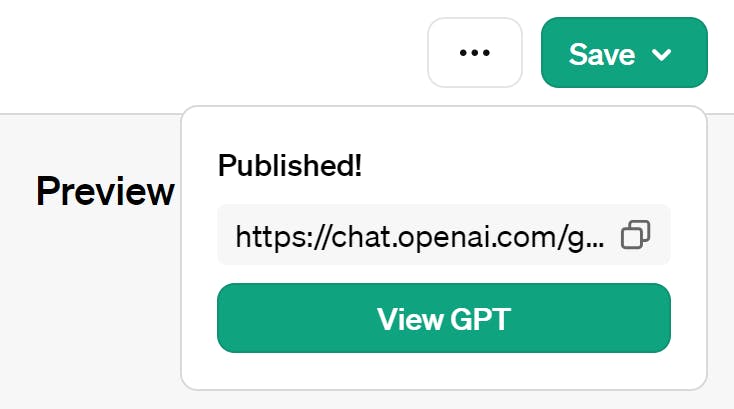
Now your community can access your action!
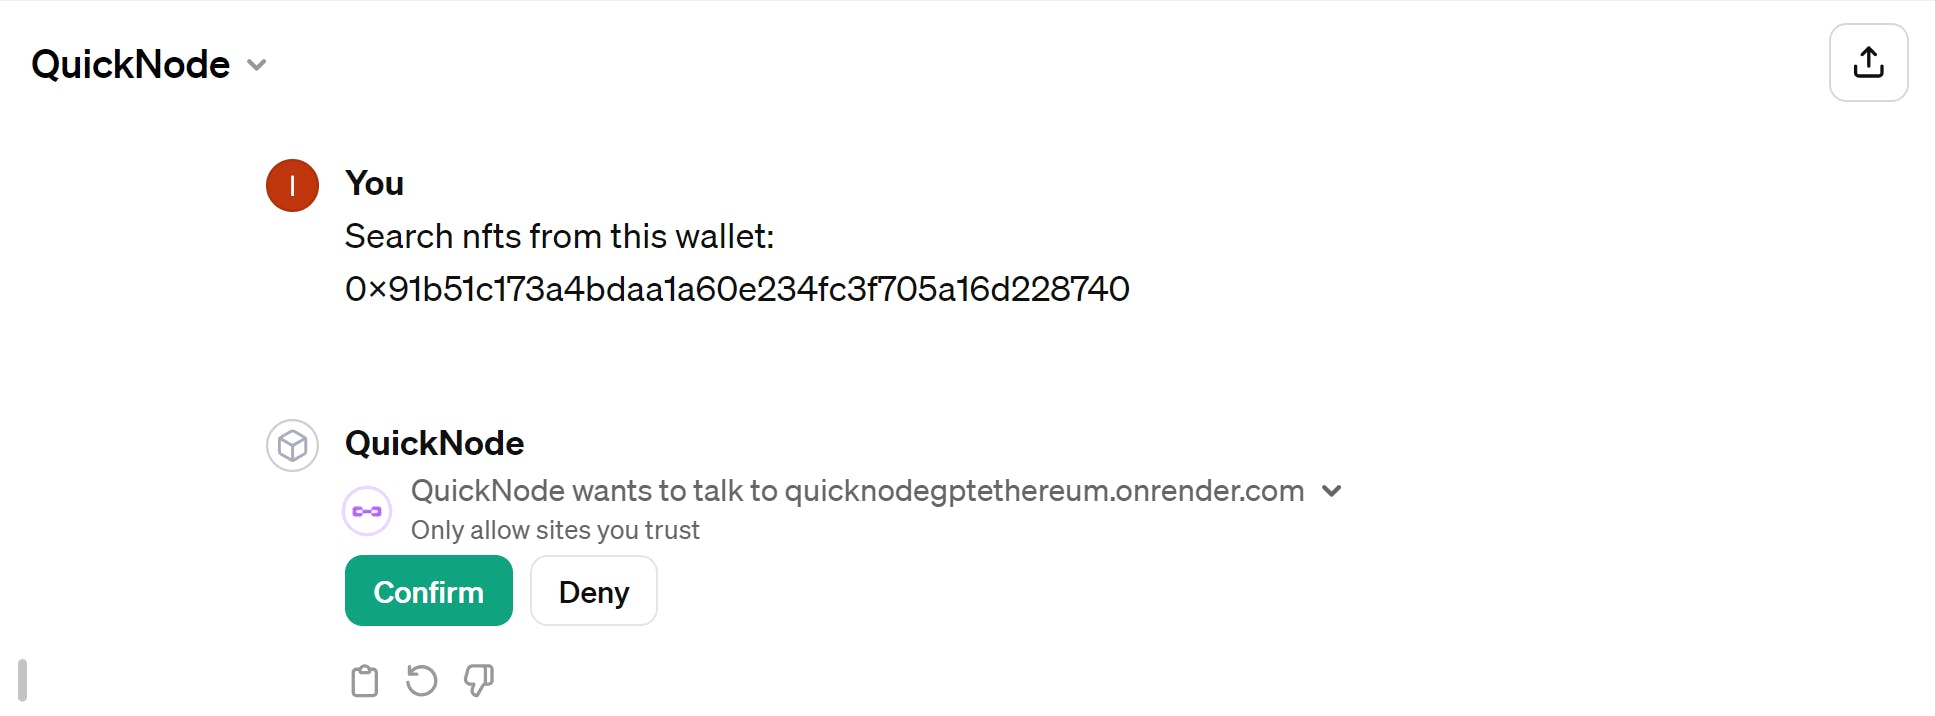
Searching NFTS from your wallet on ChatGPT with QuickNode.
Now you can search nfts with easy!,like this example:
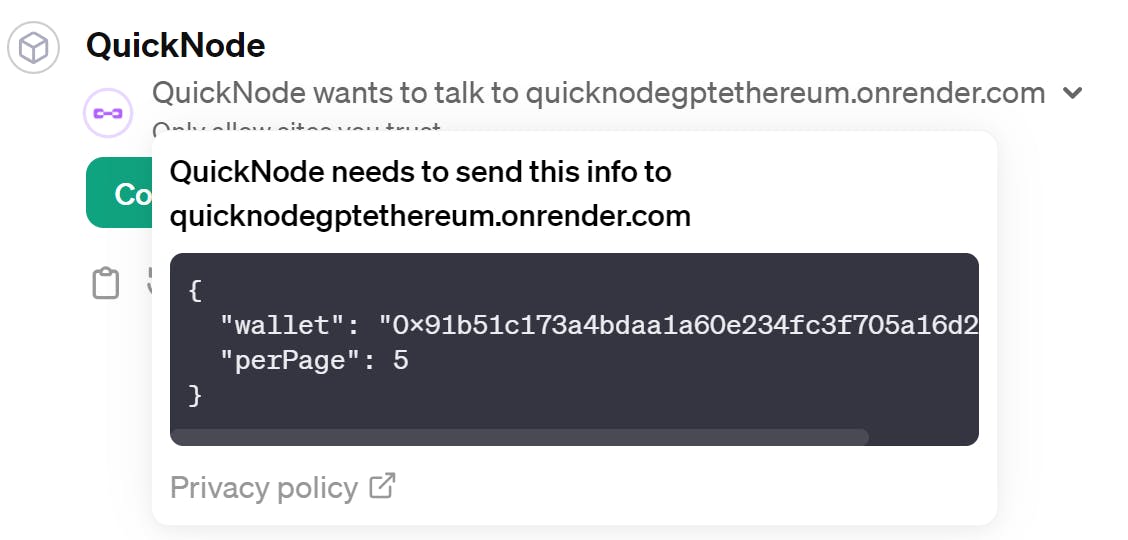
Behind the scenes, this is how the transaction is processed:
After knowing how it works, let's see the magic
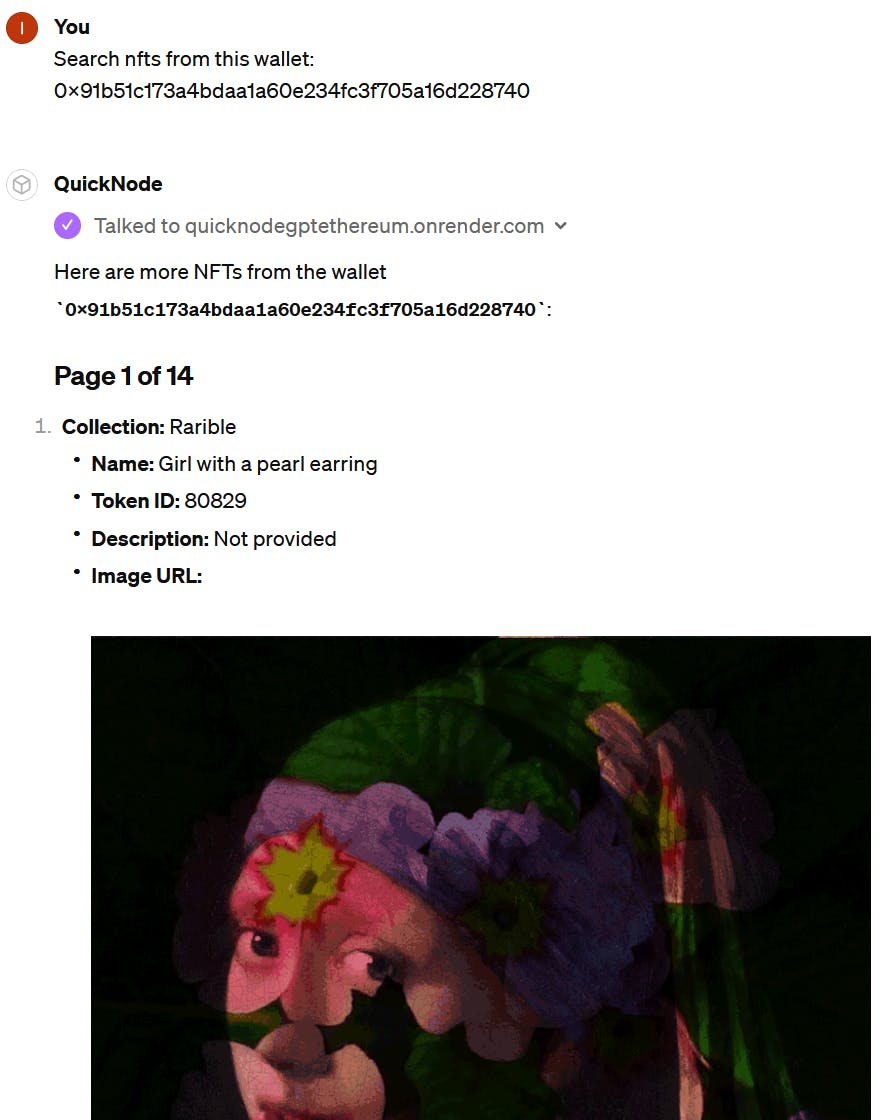
If you want more results, you can ask in the following manner:
Searching NFTS from specific collection on ChatGPT with QuickNode.
If you want to your community to search nfts from your specific collection,you can do this,first go to Render.
After that,please select your service:
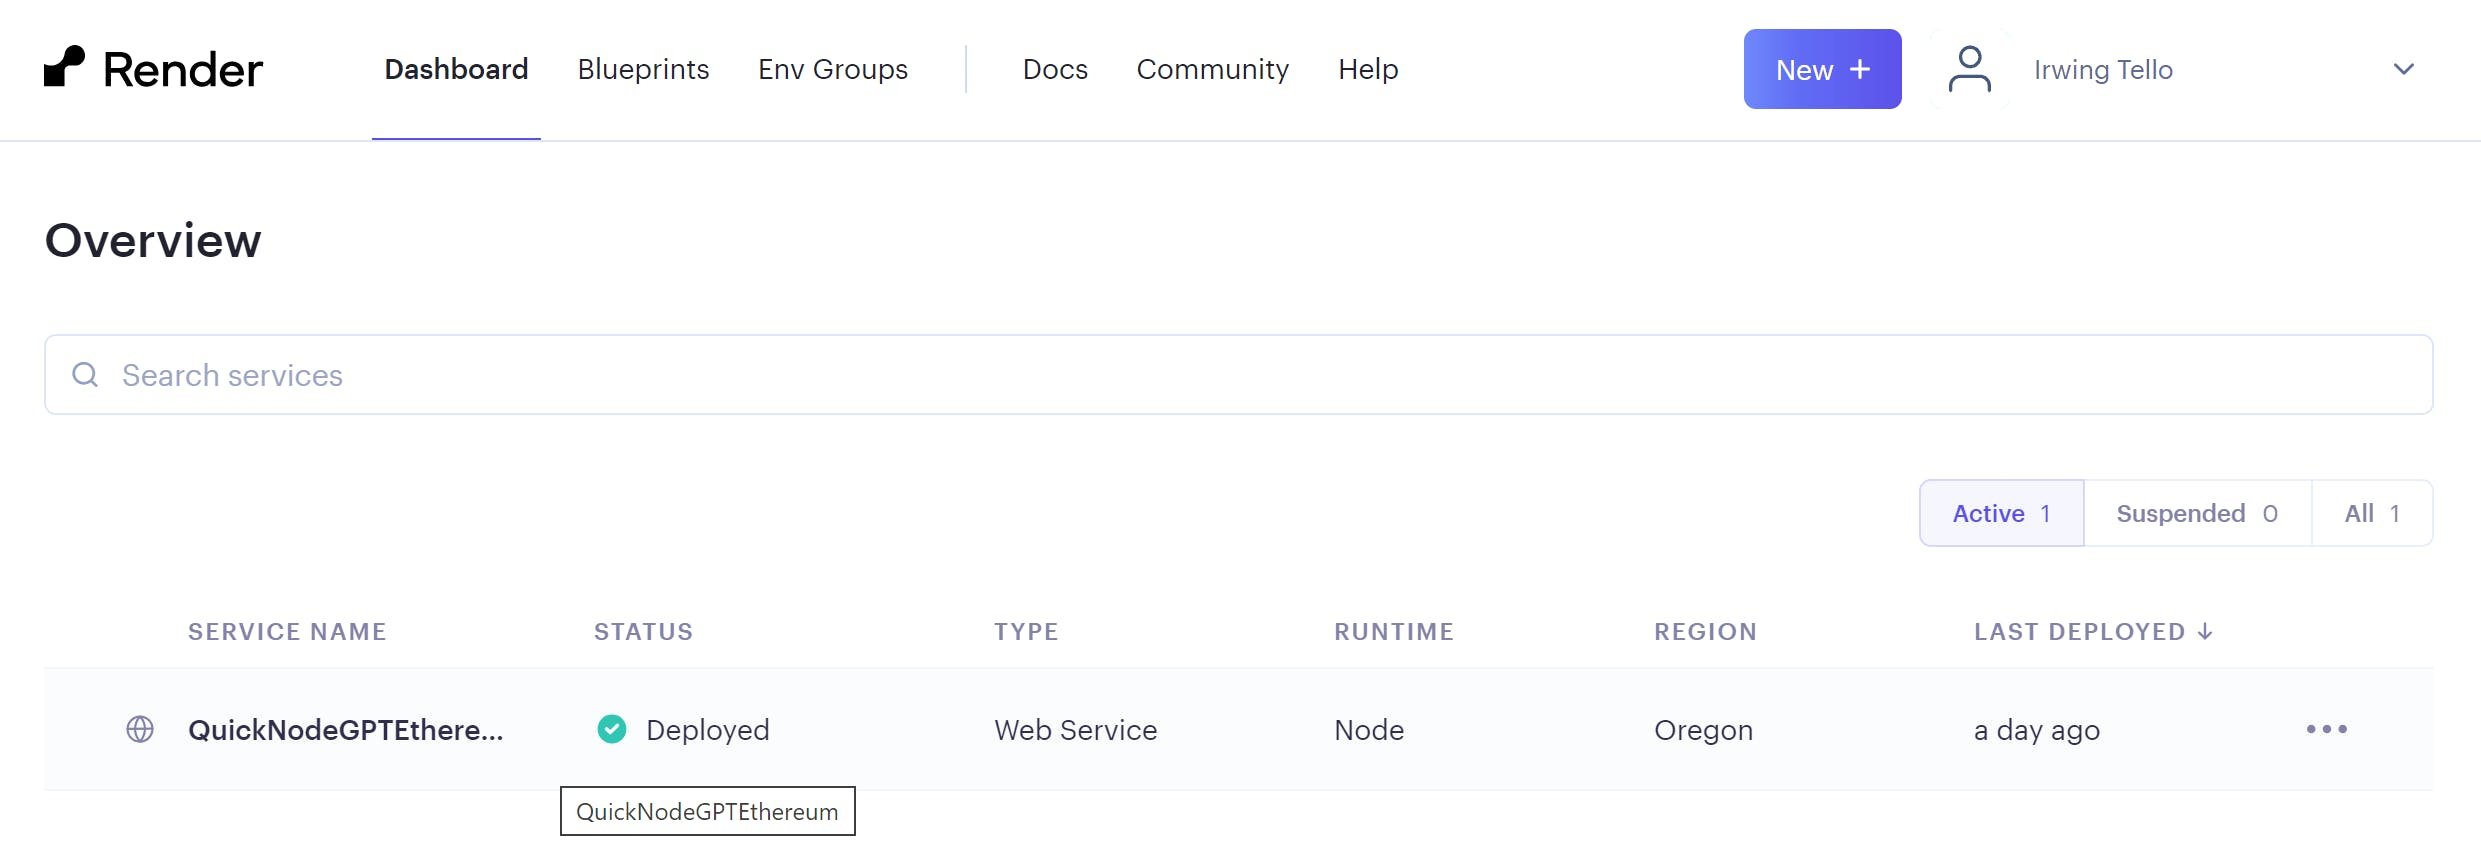
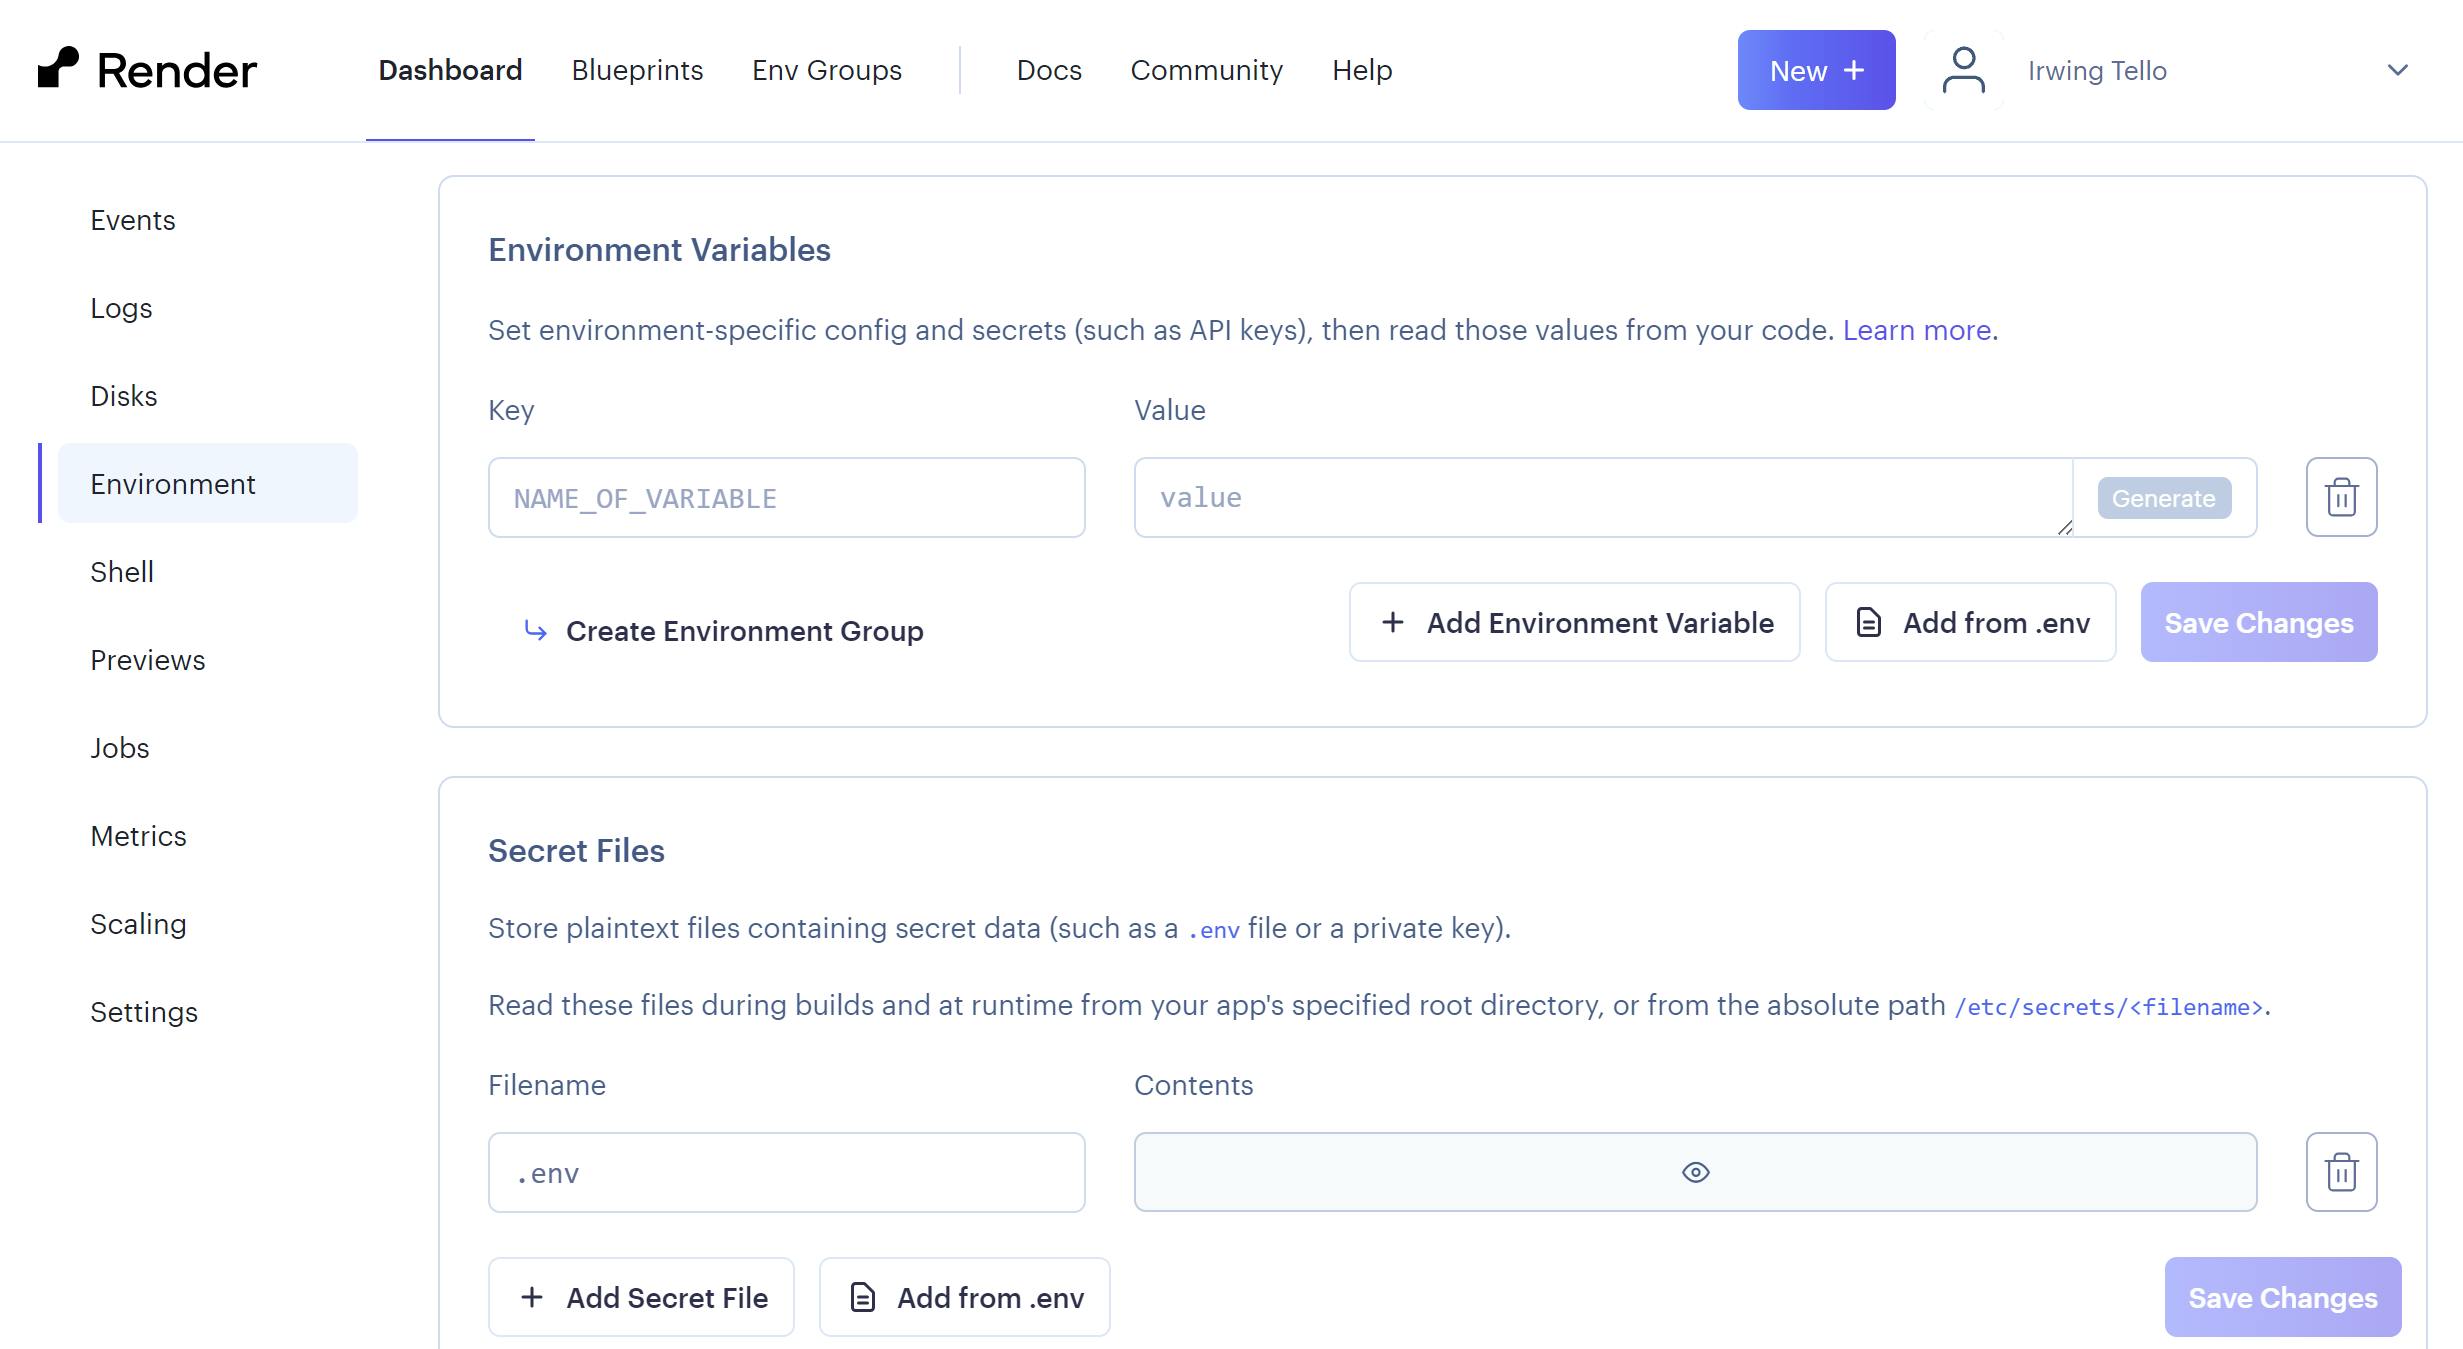
In consequence, click the environment section.
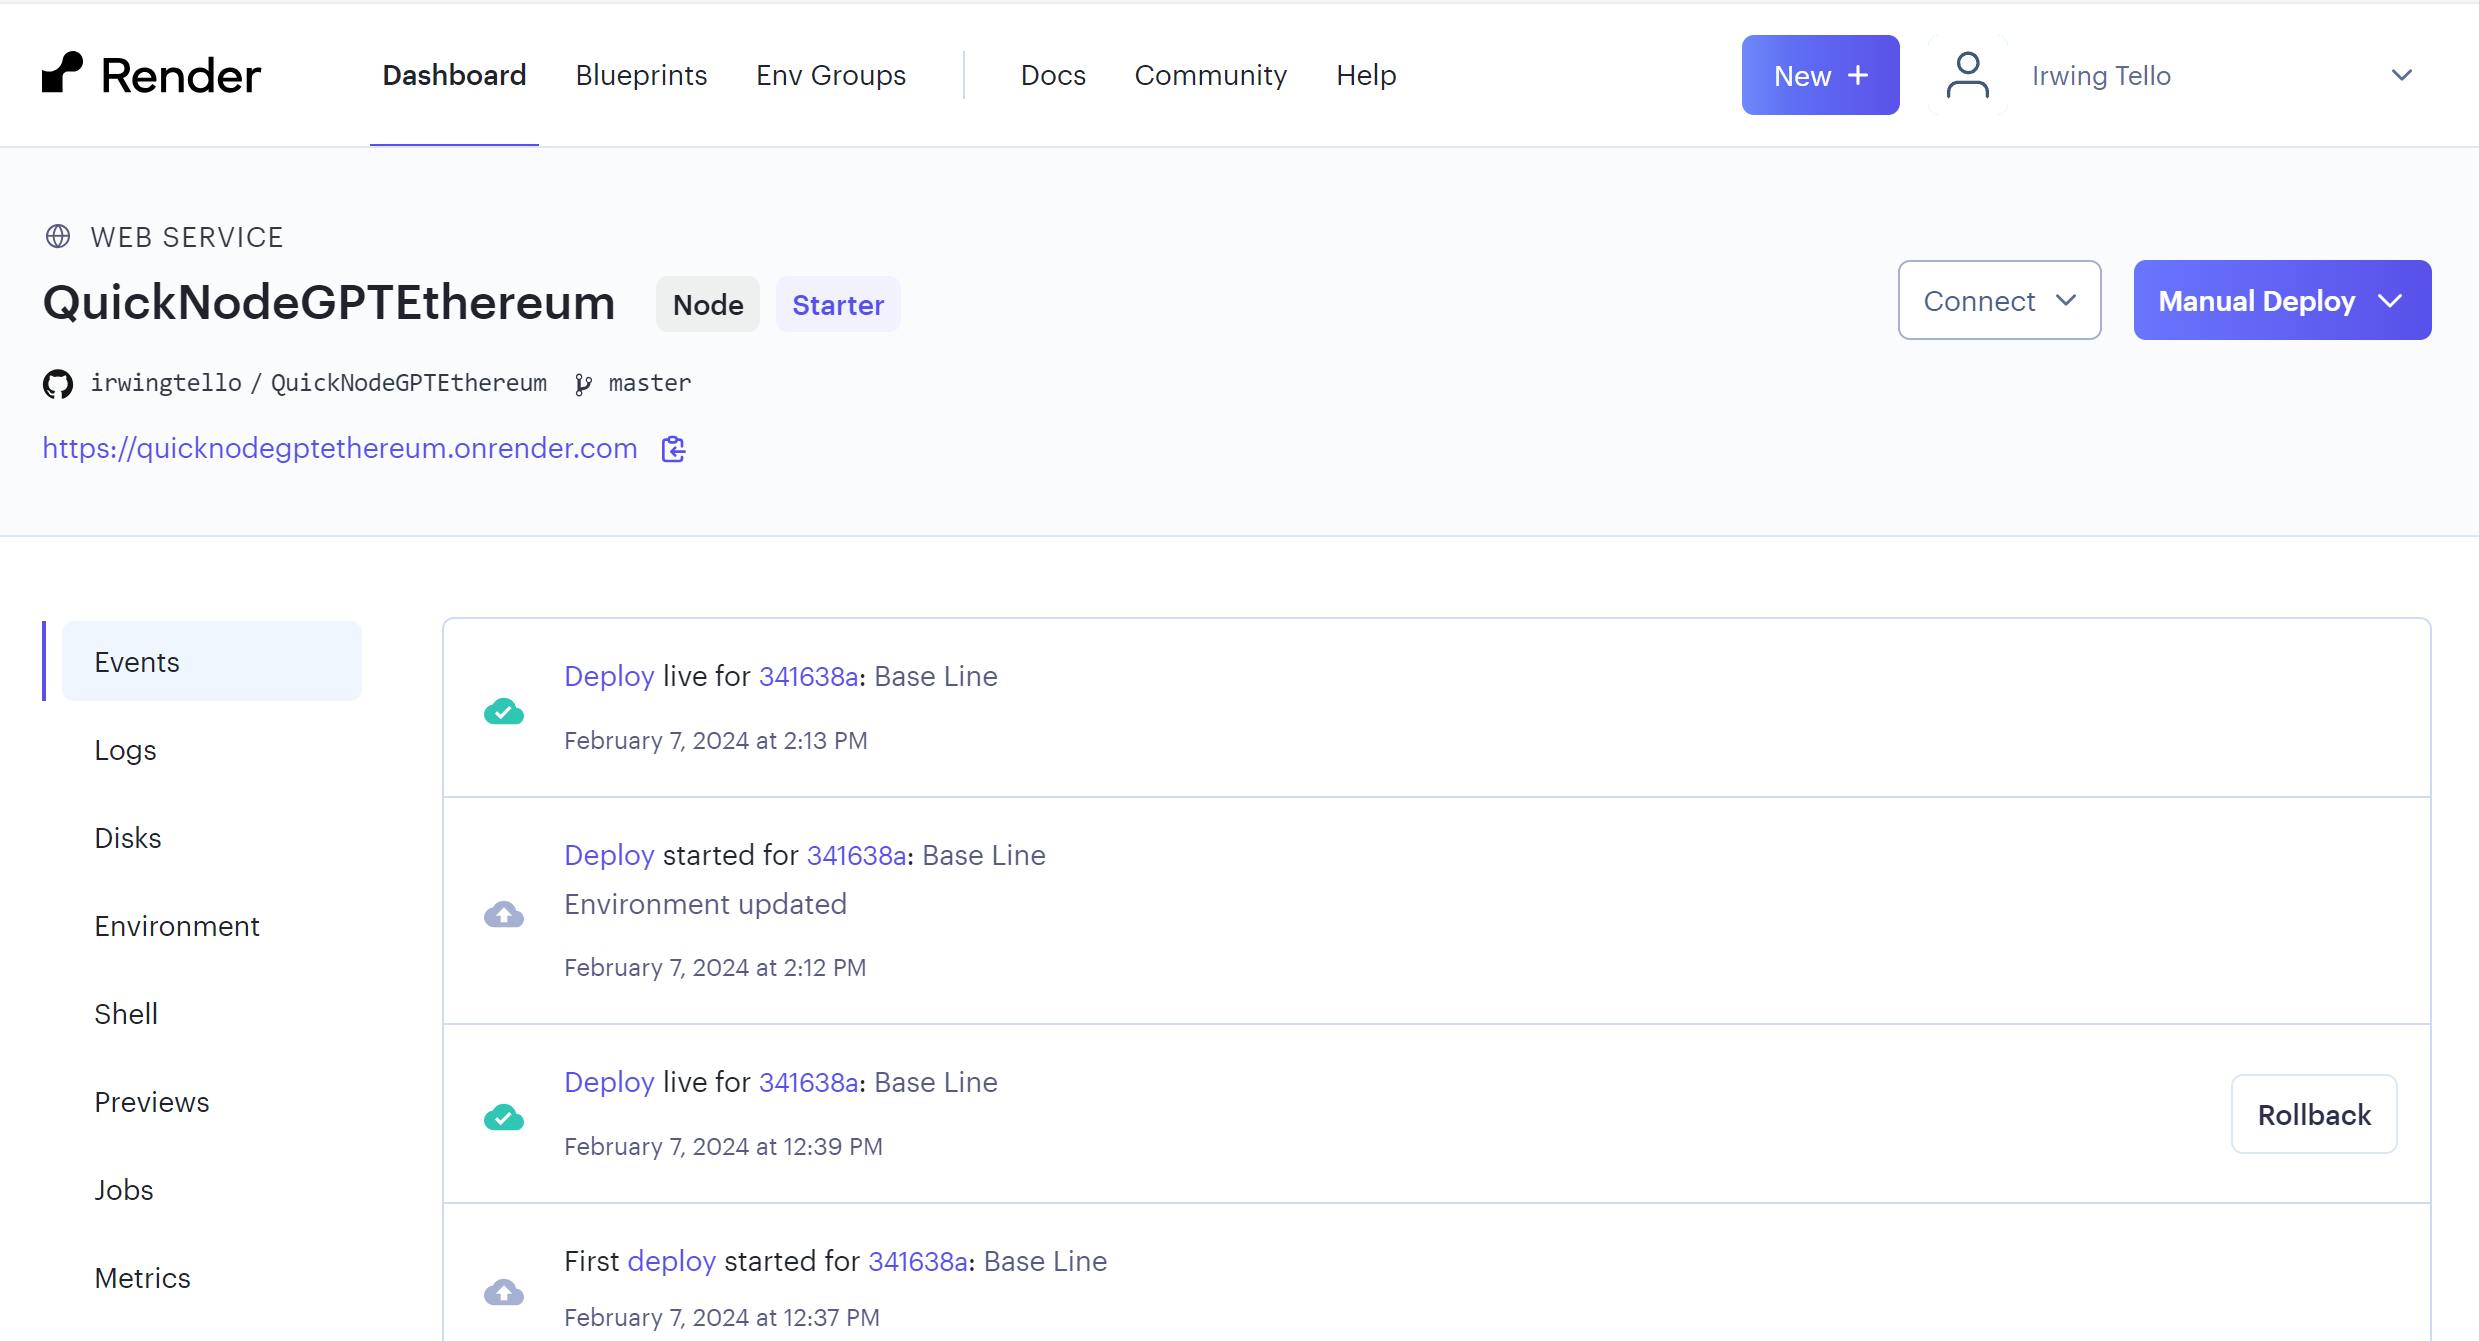
After that, click on the eye icon in the secret files section to display your variables.
In addition, replace the collection variable with your collection address and click the "Done" button. After clicking the "Done" button, click the "Save changes" button in the same section.
Now, you'll need to wait until the deployment is live

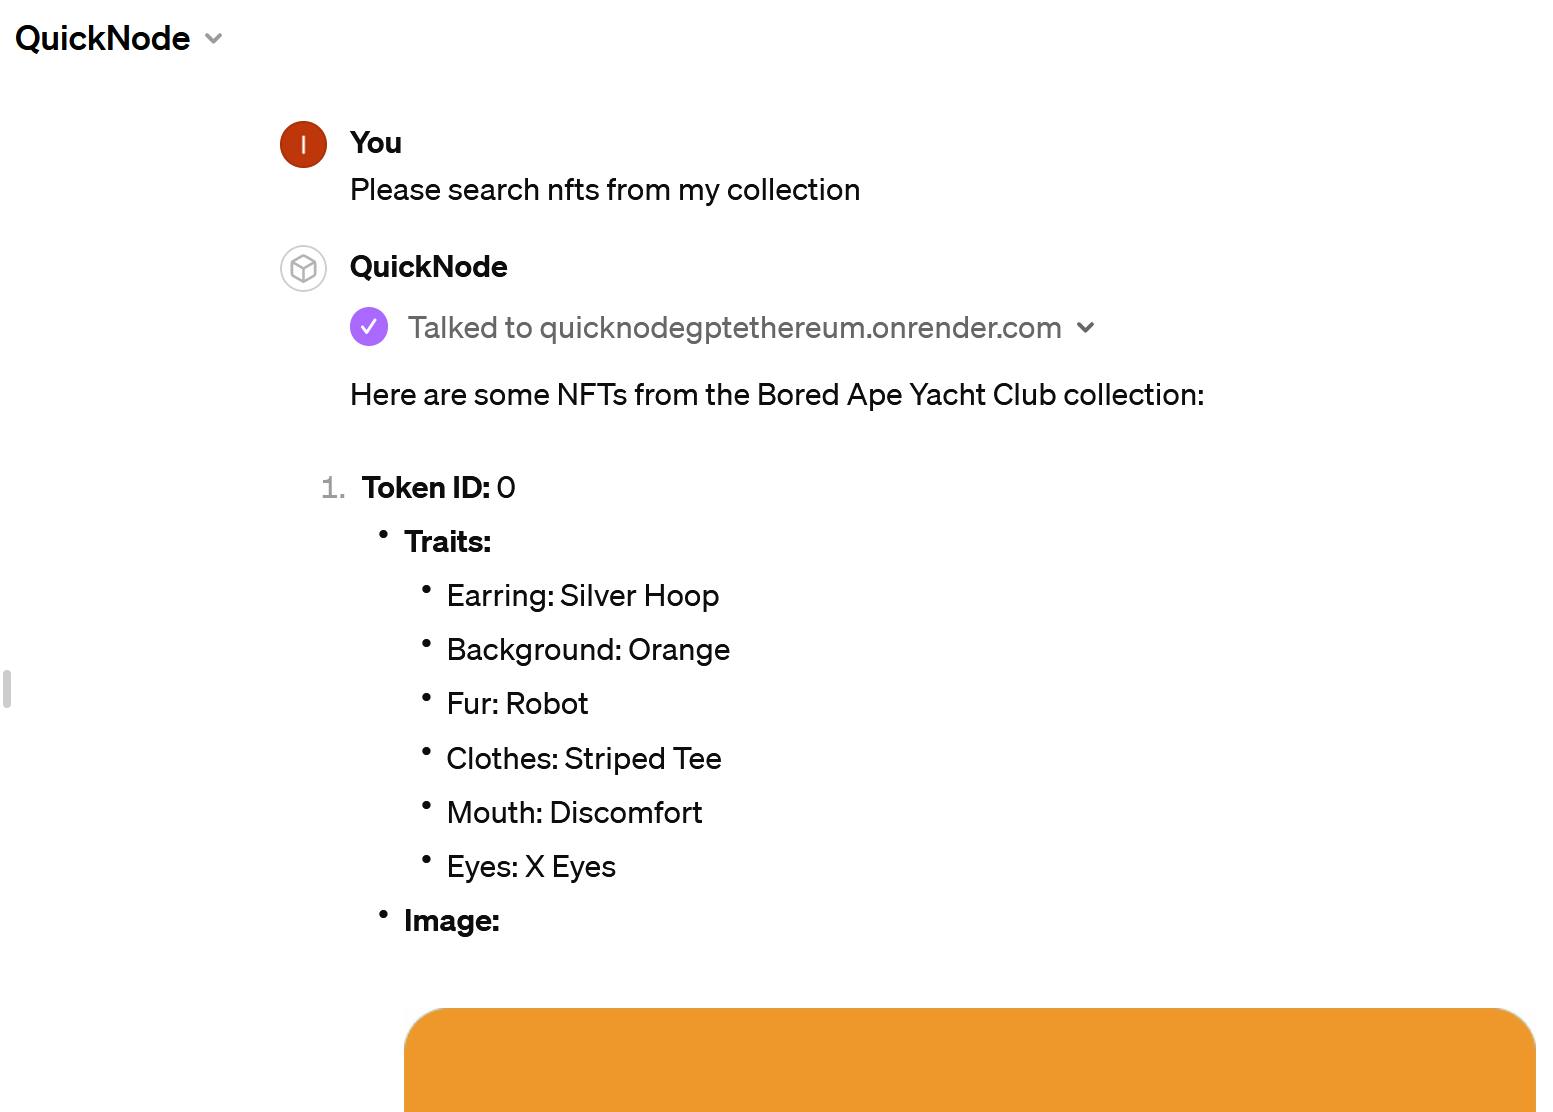
Finally you can query your collection on your gpt!
Conclusion
Congratulations! You have successfully created your actions on GPT to search NFTs from Ethereum using a collection and searching NFTs from your wallet.
I'd love to encourage you to explore expanding its functionality. After all, it's the little steps that set big things in motion 🚀.
We ❤️ Feedback!
If you have any feedback or questions on this guide, let us know.
Or, feel free to reach out to us via Twitter or our Discord community server.
We’d love to hear from you!
Author: Irwing Tello
Discord: discord.com/invite/ADjtsHVreT
Twitter: twitter.com/irwingtello
LinkedIn: linkedin.com/in/irwingtello
Email: irwing@dfhcommunity.com
Youtube: youtube.com/@irwingtellomx
You can support my work here:
BTC: 34kXK9CpTJP1PyHKw2kUD2bt6rtGcG5CHY
EVM Address: 0x8B98F8Ff69d2A720120eD6C71A9Bc5072b8Eb46D
Solana: Ey9oVFHW79giacRZaKxigYjeihMsY7ox8jxc7Hp1sJmS
